Photographing children is one of the more challenging shoots that a photographer can undertake! Kids are unpredictable, don’t always listen to direction, and certainly aren’t fans of staying still for too long. But their naturalness and lively movements actually make children great fun to work with – providing you know how to get the best out of them. In this guide, I’m going to provide you with the tips and tricks you’ll need to get the best possible photographs of children.
Here’s what we’ll cover:
- Equipment
- The best camera settings for photographing children
- Location and clothing
- Tips and tricks to get the best photos of children
Equipment
When it comes to photographing kids and your equipment, the keyword is ‘fast’! Ideally, you’ll be using a camera with interchangeable lenses and the ability to shoot in manual mode but whatever camera you do use, you want to make sure that it doesn’t have any discernible shutter lag. Most modern cameras don’t suffer from any real lag, but I do think that mirrorless cameras tend to fire fractionally more slowly than DSLRs. But you can overcome this with careful focusing, appropriate shutter speeds and the fact that even kids aren’t always on the move!
A fast lens with a large maximum aperture is ideal for shooting portraits as it allows you to easily create bokeh and isolate your subjects from their surroundings. 50mm lenses (or one that gives you an equivalent focal length if you’re using an APS-C or Micro 4/3rds camera) are ideal for shooting kids. A f1.8 version is remarkably cheap and, despite usually being made of plastic, produces outstanding images. However, a lot of people prefer to work with a zoom lens when photographing children as they easily allow you to quickly alter the focal length to accommodate moving subjects. The downside to this is that most reasonably priced zoom lenses have a variable aperture range (usually f3.5 – f5.6) which can limit how small a depth of field you can achieve. Zoom lenses with a fixed aperture throughout their range are available, but with a considerably larger price tag.
I’d also recommend carrying a flashgun – it can be useful when shooting outside as fill-in flash to get rid of any shadows and, if you’re shooting inside, you can use it to balance out unattractive colour casts from household bulbs. Of course, the ultimate kit for shooting inside is studio lighting but that’s a considerably larger investment (and indeed another article altogether).
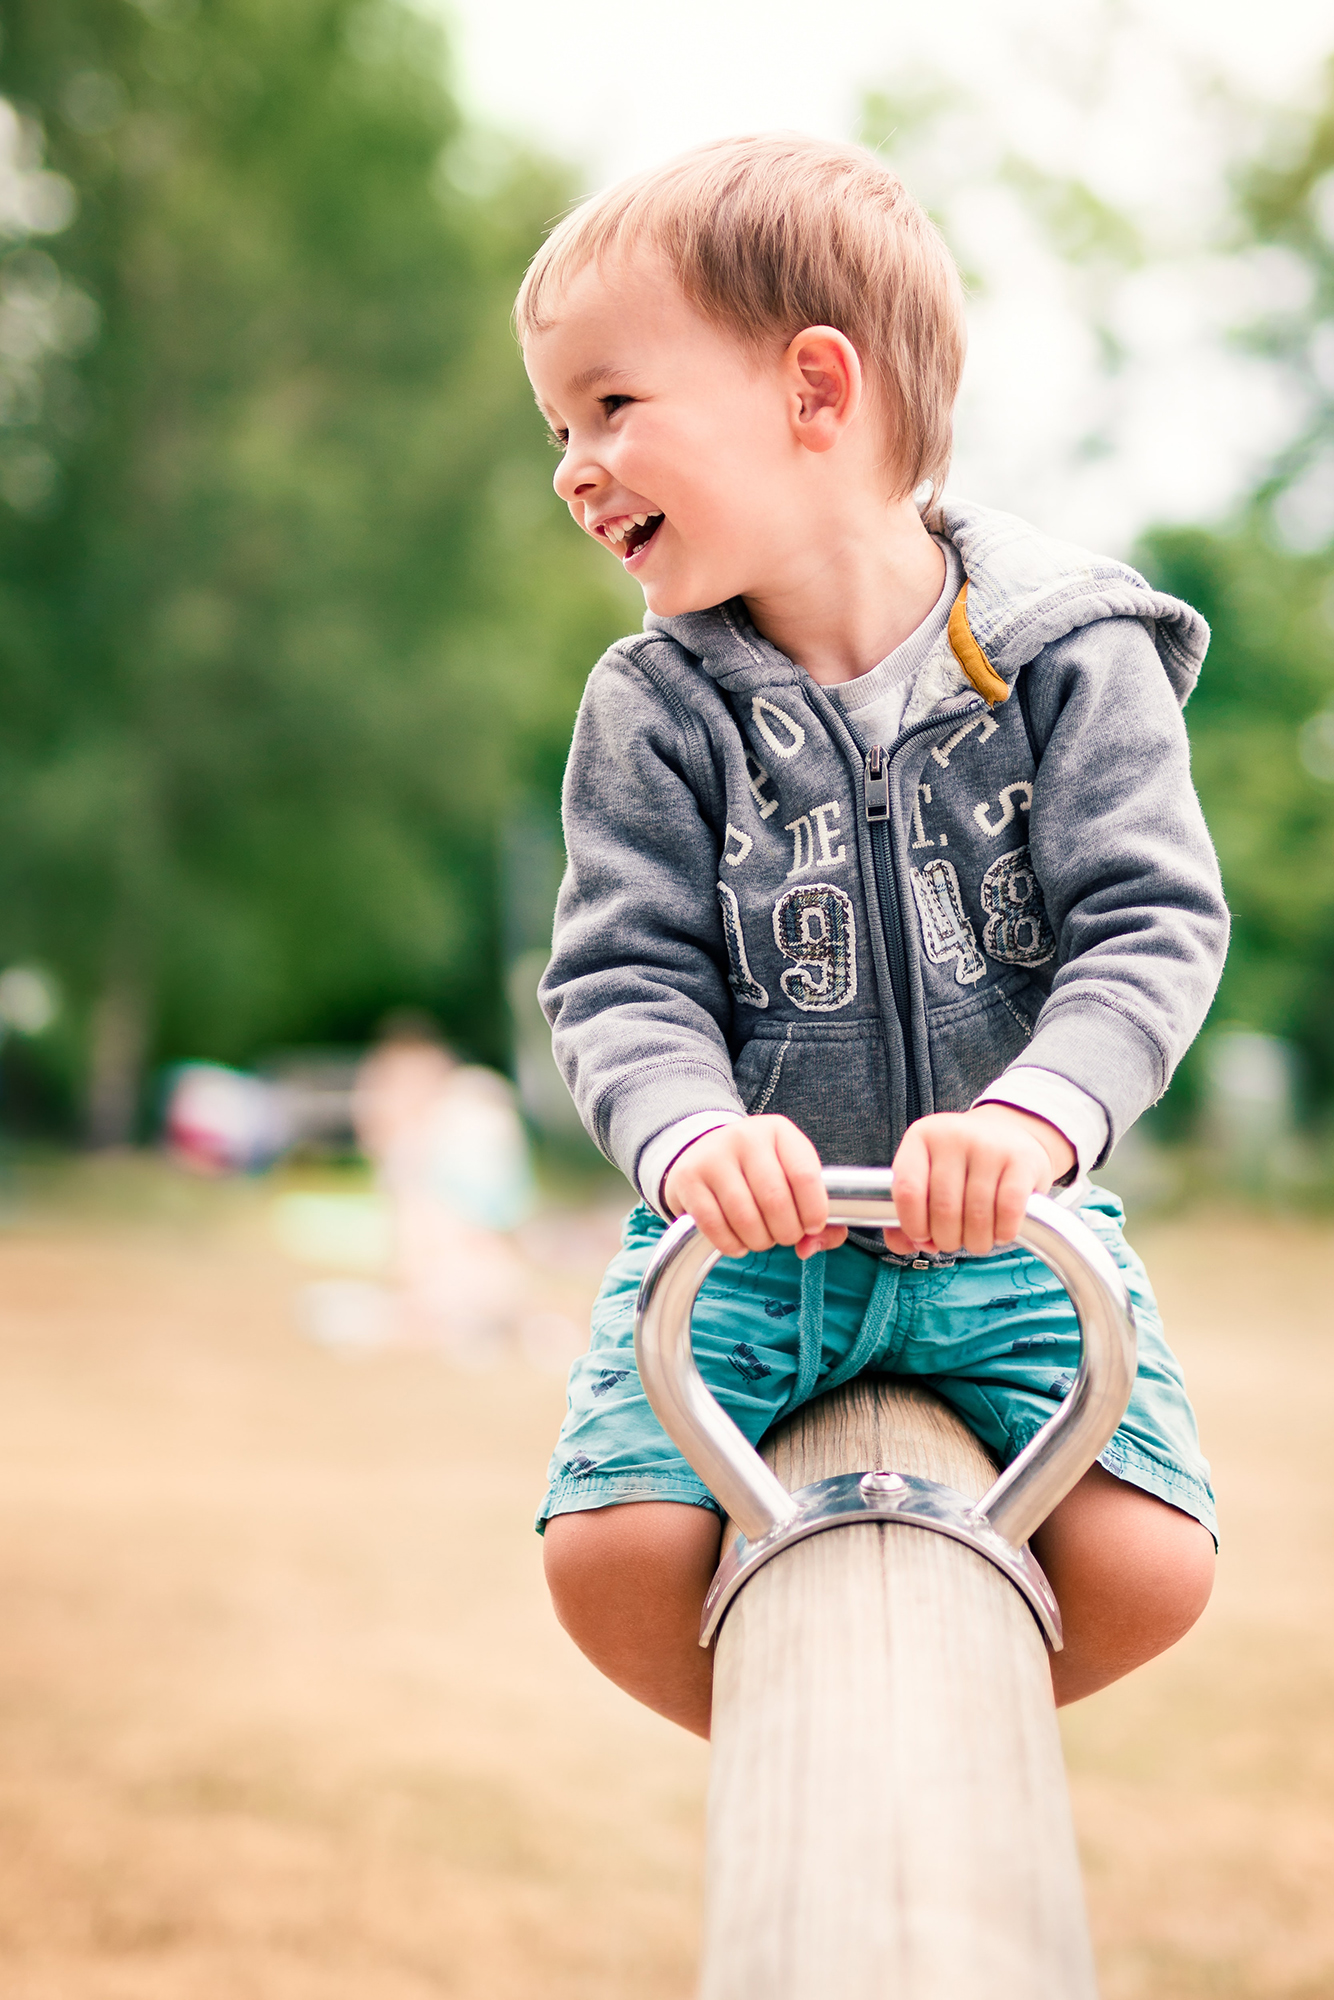
Photography By Benjamin Wedemeyer | A lens with a large maximum aperture allows you to use a small depth of field that blurs out any distracting elements in the background.
The best camera settings for photographing children
One of the key things you need to do when photographing children is to be prepared. Children move quickly, so you don’t want to be fiddling with your camera settings and missing shots. These are the settings I’d recommend you have dialed in before you start.
- Mode – Ideally you’ll want to shoot in Manual mode, which allows you full control over the camera and the exposure triangle of ISO, shutter speed and aperture. If you’re not confident using full manual, start by using Aperture Priority mode. This allows you to control aperture (and therefore depth of field) while the camera sorts out everything else.
- Aperture – I’d recommend using an aperture of around f4 to start with. This will give you a small enough depth of field to blow out the background, whilst still keeping kids’ faces sharp. Increase the depth of field if you’re shooting the whole body to between f8 – f11.
- Shutter Speed – Although 1/60th of a second is fast enough to shoot handheld, I’d recommend that you use a slightly faster speed for children, as they don’t tend to stay still for long! I would shoot at 1/125th or faster to ensure you freeze any action.
- ISO – As always, you want to use as low an ISO as possible. ISO 100 is the optimum, as it will prevent your images from having any noise. Of course, you can push it higher – particularly with modern DSLRs or add in a little flash to illuminate your image.
- Focusing – Set your AF mode to continuous focusing or auto focusing, which will allow your camera to keep refocusing if your subjects are moving. You also need to choose single point focusing, so that you know where your camera is focusing.
- RAW – It’s best to shoot in RAW, as this gives you the most options and the best quality for editing in post production.
- White Balance – Shoot in Auto white balance if you’re going to be in changeable light conditions. If you shoot RAW you can always tweak the colour temperature in post production.
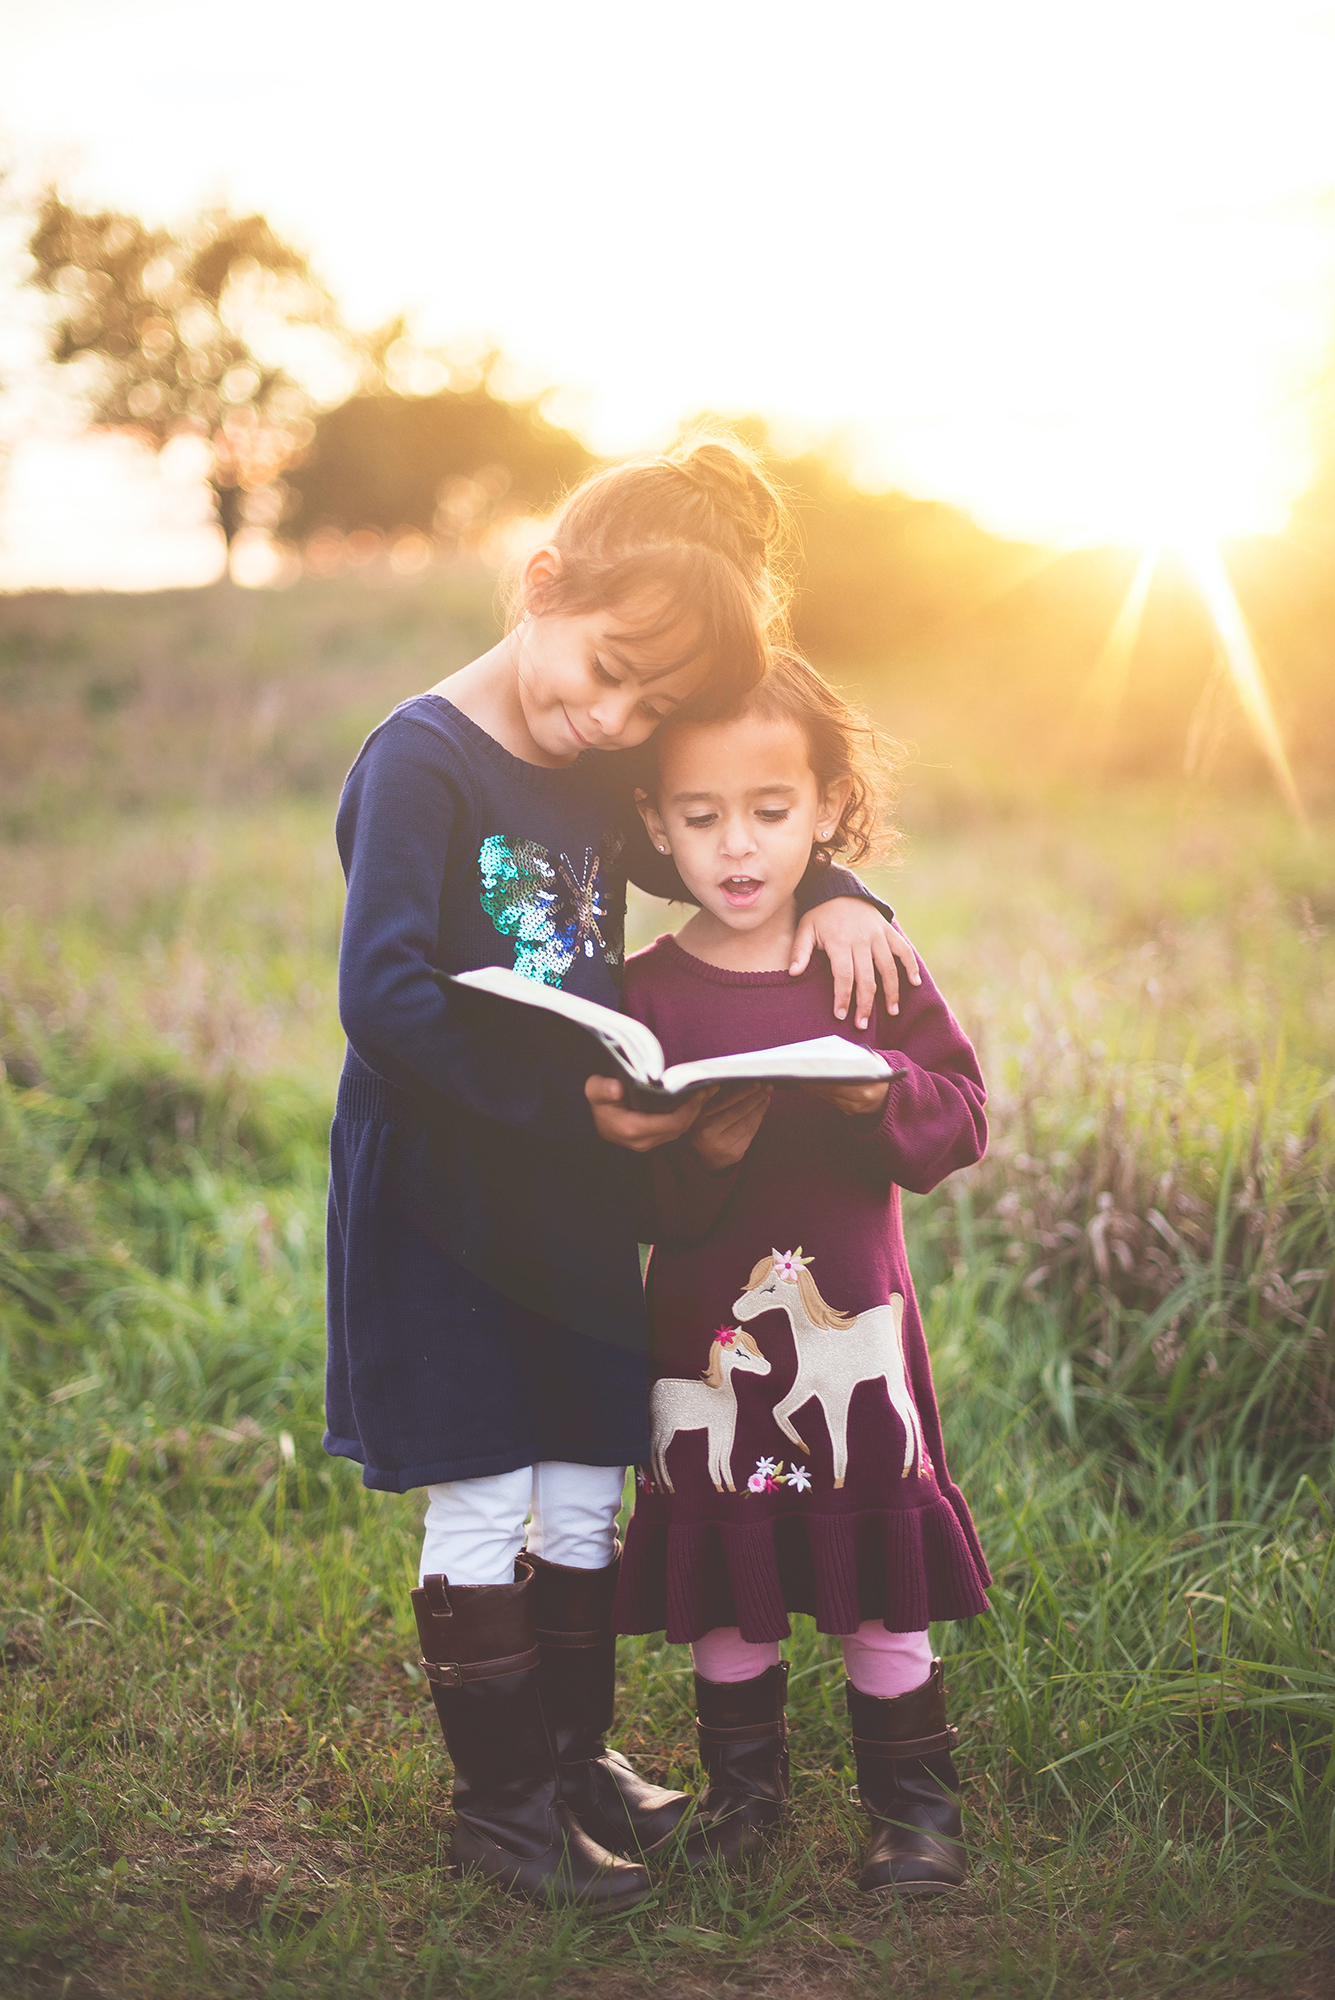
Photograph by Ben White | The soft light as the sun starts to set is far more flattering for portraits than the harsh light of the midday sun
Location and clothing
These may sound like trivial things, but the right location and clothing really sets the mood of a shoot. I do think the most natural shots of children come when you’re shooting outside with space for kids to move around in. Of course, that can be weather dependant! It’s a good idea to scout locations before a shoot (unless you’re using a garden of course). Look for locations without distractions and one that ideally has consistent colours for a pleasing blurred out background. Beaches, woodland and meadows can all work well and provide plenty of space to run around in. I’m also a big fan of shooting at particular times of year – in the UK we get beautiful Autumn colours, or the bluebells in April make a wonderful blue carpet for images. Think about the things that are unique to where you live and use them in your shoots. When shooting outside, try to avoid shooting in the middle of the day when there are hard shadows. The ideal times are early in the morning or late in the afternoon when the light will be softer.
Always ask the child’s parents to dress them in outfits they’re comfortable in – there’s nothing worse than a kid being constantly distracted and fiddling with their clothes when you’re trying to take photos. I also ask parents to bring a few different outfits that reflect the child’s personality and to avoid anything with very bright or obvious logos.
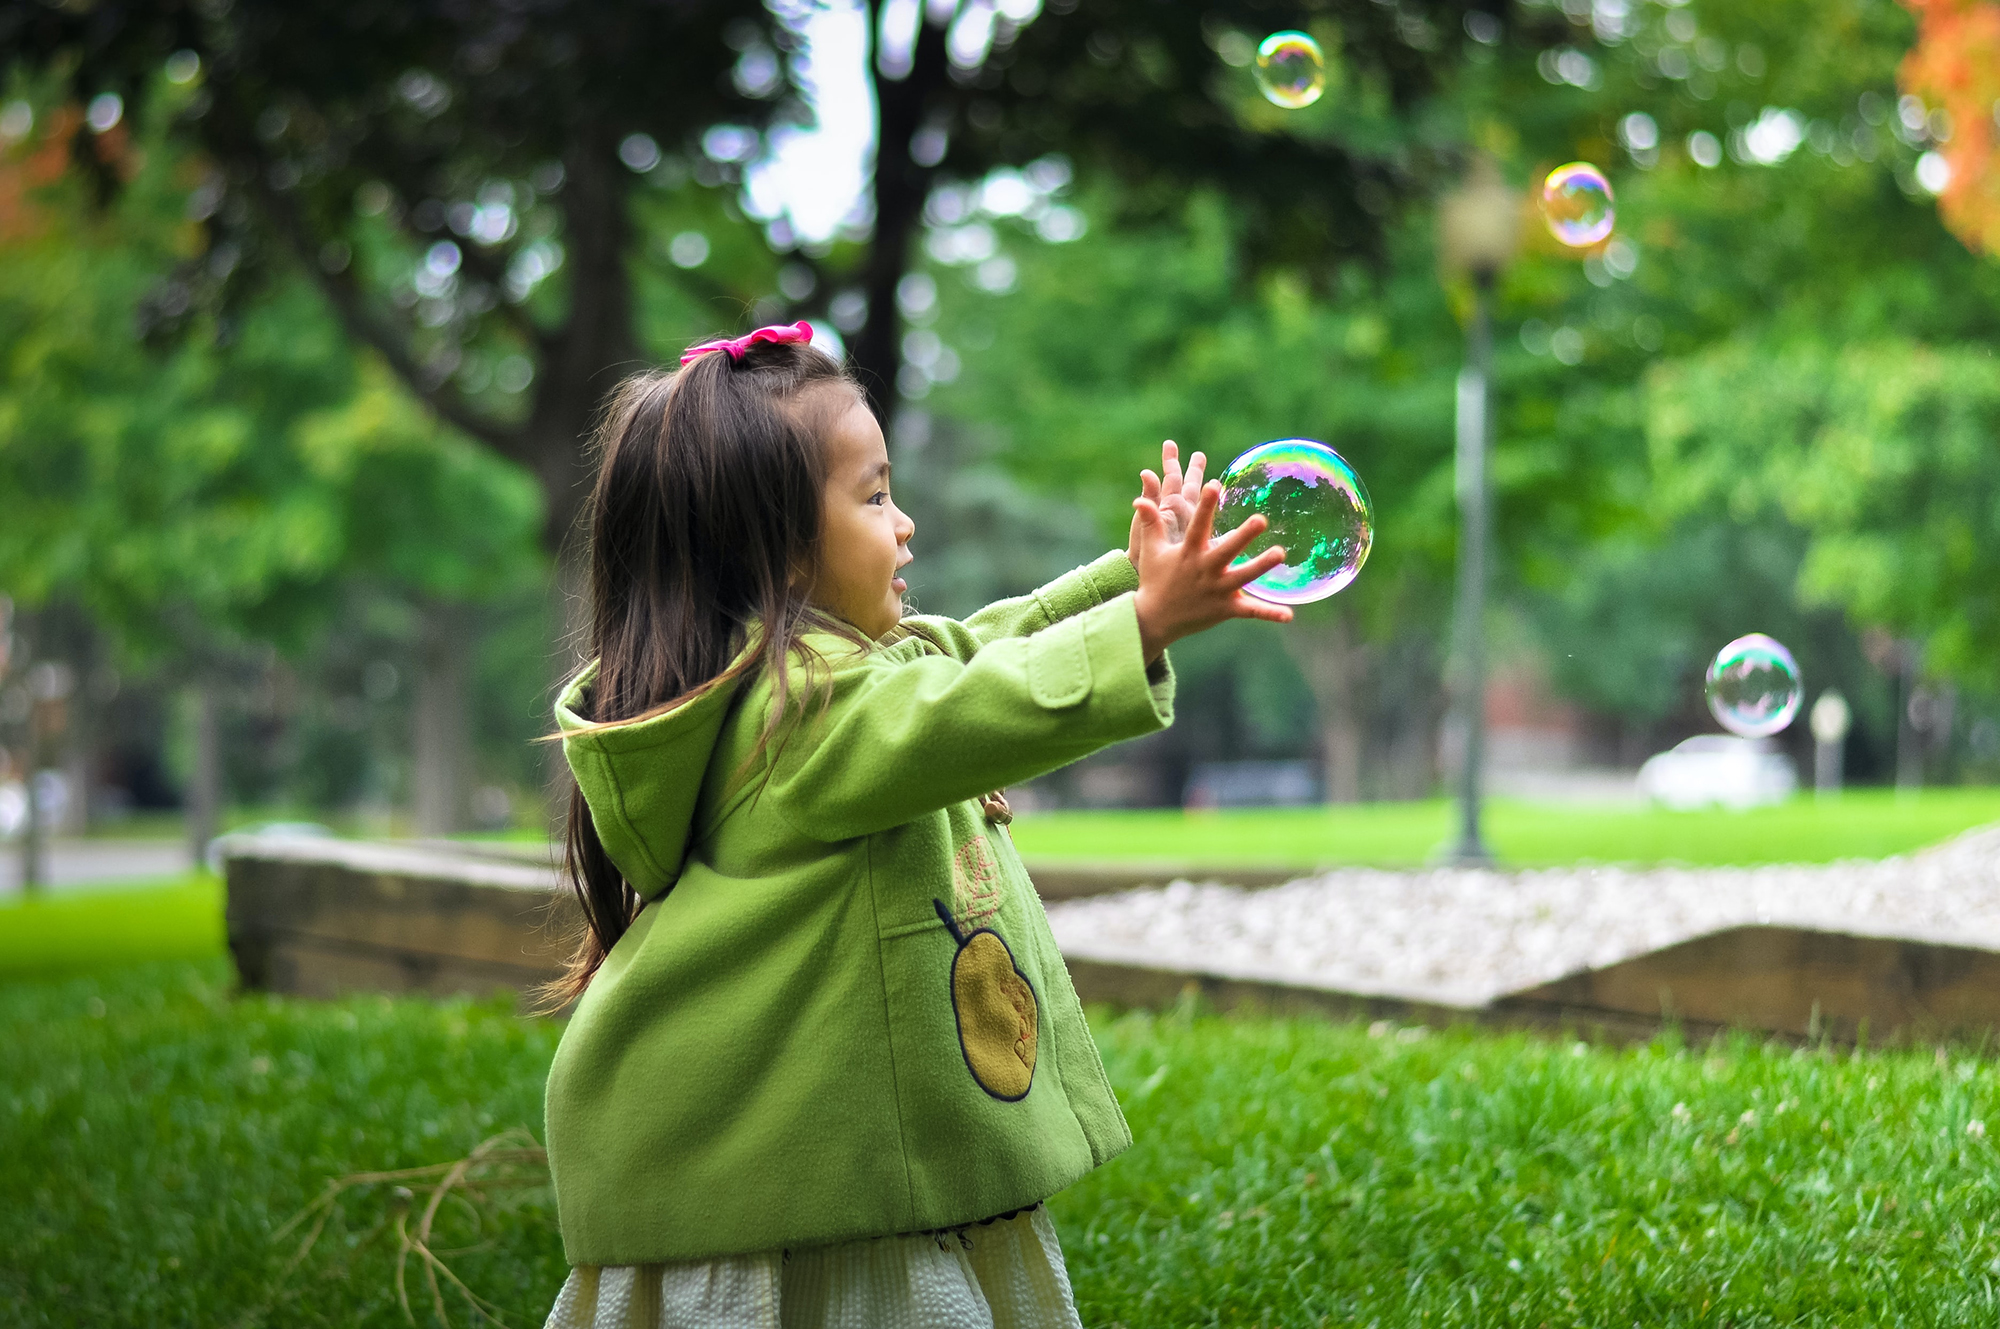
Photograph by Leo Rivas | Using props such as a bubble maker helps keep children engaged and can allow you to shoot really natural, unposed shots.
- Props – Children can be nervous or easily distracted when you’re taking photos. Props are an easy way to relax them and keep the attention focused. Ask the parents to bring along some favourite toys and some fun accessories such as hats and sunglasses. Bubble makers and balloons are always guaranteed to raise some giggles and, if all else fails, a few sweets can be used as bribery tactics!
- Sharp eyes – As with any portrait, you really must ensure that your subject’s eyes are pin-sharp. A portrait loses all impact if the eyes are soft. If you’re using a smaller depth of field to blur out a background, you’ll need to take even more care over your focus. Make sure, as I mentioned previously, that you use a single AF point and position it over either the nearest eye to the camera or in between the eyes to get sharp focus.
- Get on their level – Photographs taken of a child from a standing position don’t always look great as it can look as if you’re looming over your subject. It’s also more daunting for the child. You’ll get far better shots and better angles if you sit or kneel on the floor so that you’re at the same height as the child.
- Keep your camera to your eye – Kids move quickly and their expressions and movements constantly change. So, keep your camera to your eye and track it with the child, otherwise I can almost guarantee that you’ll miss a fantastic shot!
- Engage with the child – You can’t expect a child to pose for photos unless you’re prepared to talk to them and help get them relaxed. Find out what they enjoy, ask them questions and don’t be afraid to goof around a little! Kids react well to photographers who are prepared to let their hair down and crack a silly joke or two.
- Keep it short – Time is precious when you’re shooting children. My shoots are never longer than an hour because kids will quickly run out of steam or simply get bored if they’re stuck in front of a camera for too long.
- Don’t pose too much – It’s fine to suggest things to help start kids off in front of the camera but you really don’t want to force them into poses. Let them be themselves and move freely. You’ll get far better shots that way.
Have fun and don’t be afraid to be a bit silly when you’re photographing children. And remember, kids don’t have airs and graces!
In conclusion
Photographing children is certainly challenging but it’s also great fun. Children aren’t self-conscious in the same way that adults can be and photographing them gives you an opportunity to capture natural images that really convey the child’s personality. So, grab a camera and enjoy working with children!
Self-help quiz
- What is a good prime (fixed) lens to use?
- What is a good aperture to start with?
- What focusing mode should you use?
- What are some good props to work with?
- What’s the maximum amount of time I’d recommend shooting for?
Cover Photo by Caroline Hernandez