Landscapes are portraits of the earth. They capture both the beauty and the drama of our natural world. Landscapes may or may not include human structures like bridges or piers. They can show how we interact with the natural world and provide a sense of scale – ‘this is how small we are in relation to nature’.
When you think of good landscape photos, you may think of epic landscapes from remote places. Or the black and white images made by Ansel Adams, one of the great landscape photographers, come to mind. But you do not need to travel the globe or hike miles to create landscape photos. You can create a landscape in your backyard or at a local park.
Let’s look at a few elements that make a good landscape photo.
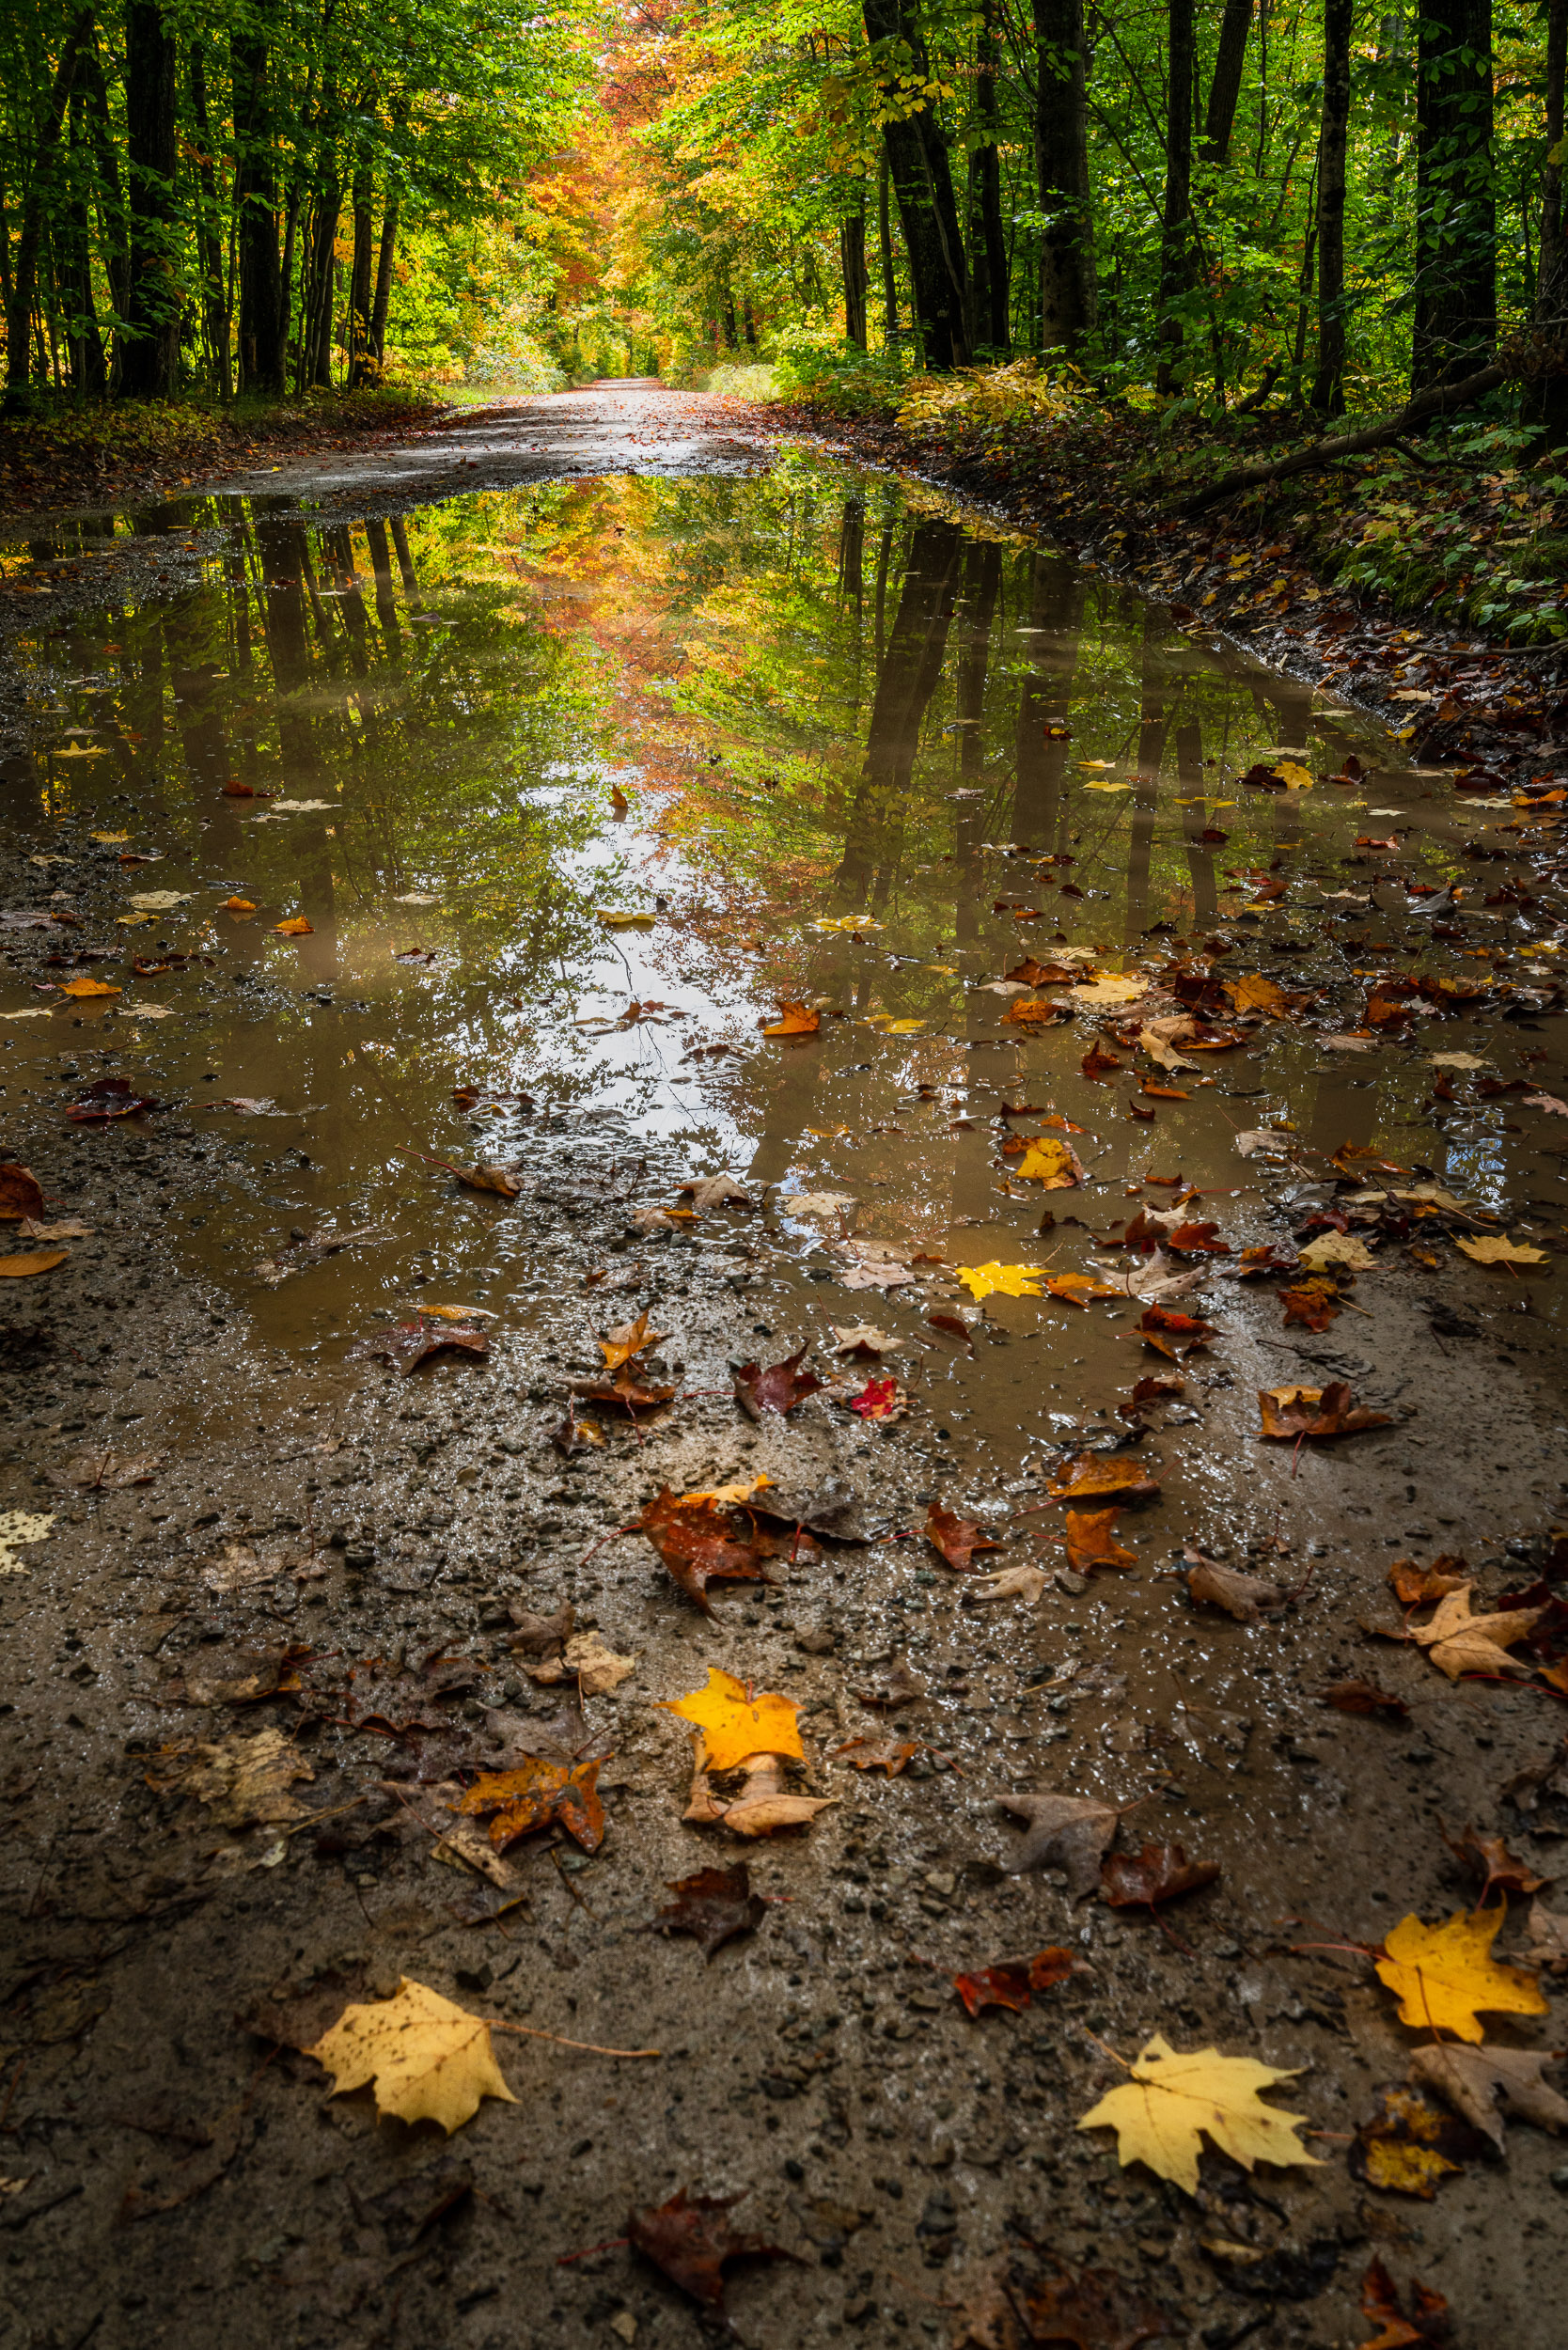
Photo By Jenn Mishra | You do not need to go far to create a good landscape photo. Fall colors and a bit of rain make this average road photogenic.
Find a Focal Point
Good landscape photos have a focal point. There is something immediately interesting to look at. The subject may be a mountain, a waterfall, or a tree.
Photographing nature can be awe-inspiring. The sky may be dramatic. The scene stretching out in front of you is breathtaking. But this feeling does not necessarily translate into a two-dimensional image. A colorful sunset is not enough to make a good landscape photo. A faraway mountain range falls flat. But add a subject, and you may have a winner!
The sunrise was beautiful on the morning that I took this image (see below). But it was not enough to make a good landscape photo. The silhouetted trees along the horizon are too small in the frame.
I moved the camera a bit and included a decorative lighthouse and a reflection of the sunset in the pond.
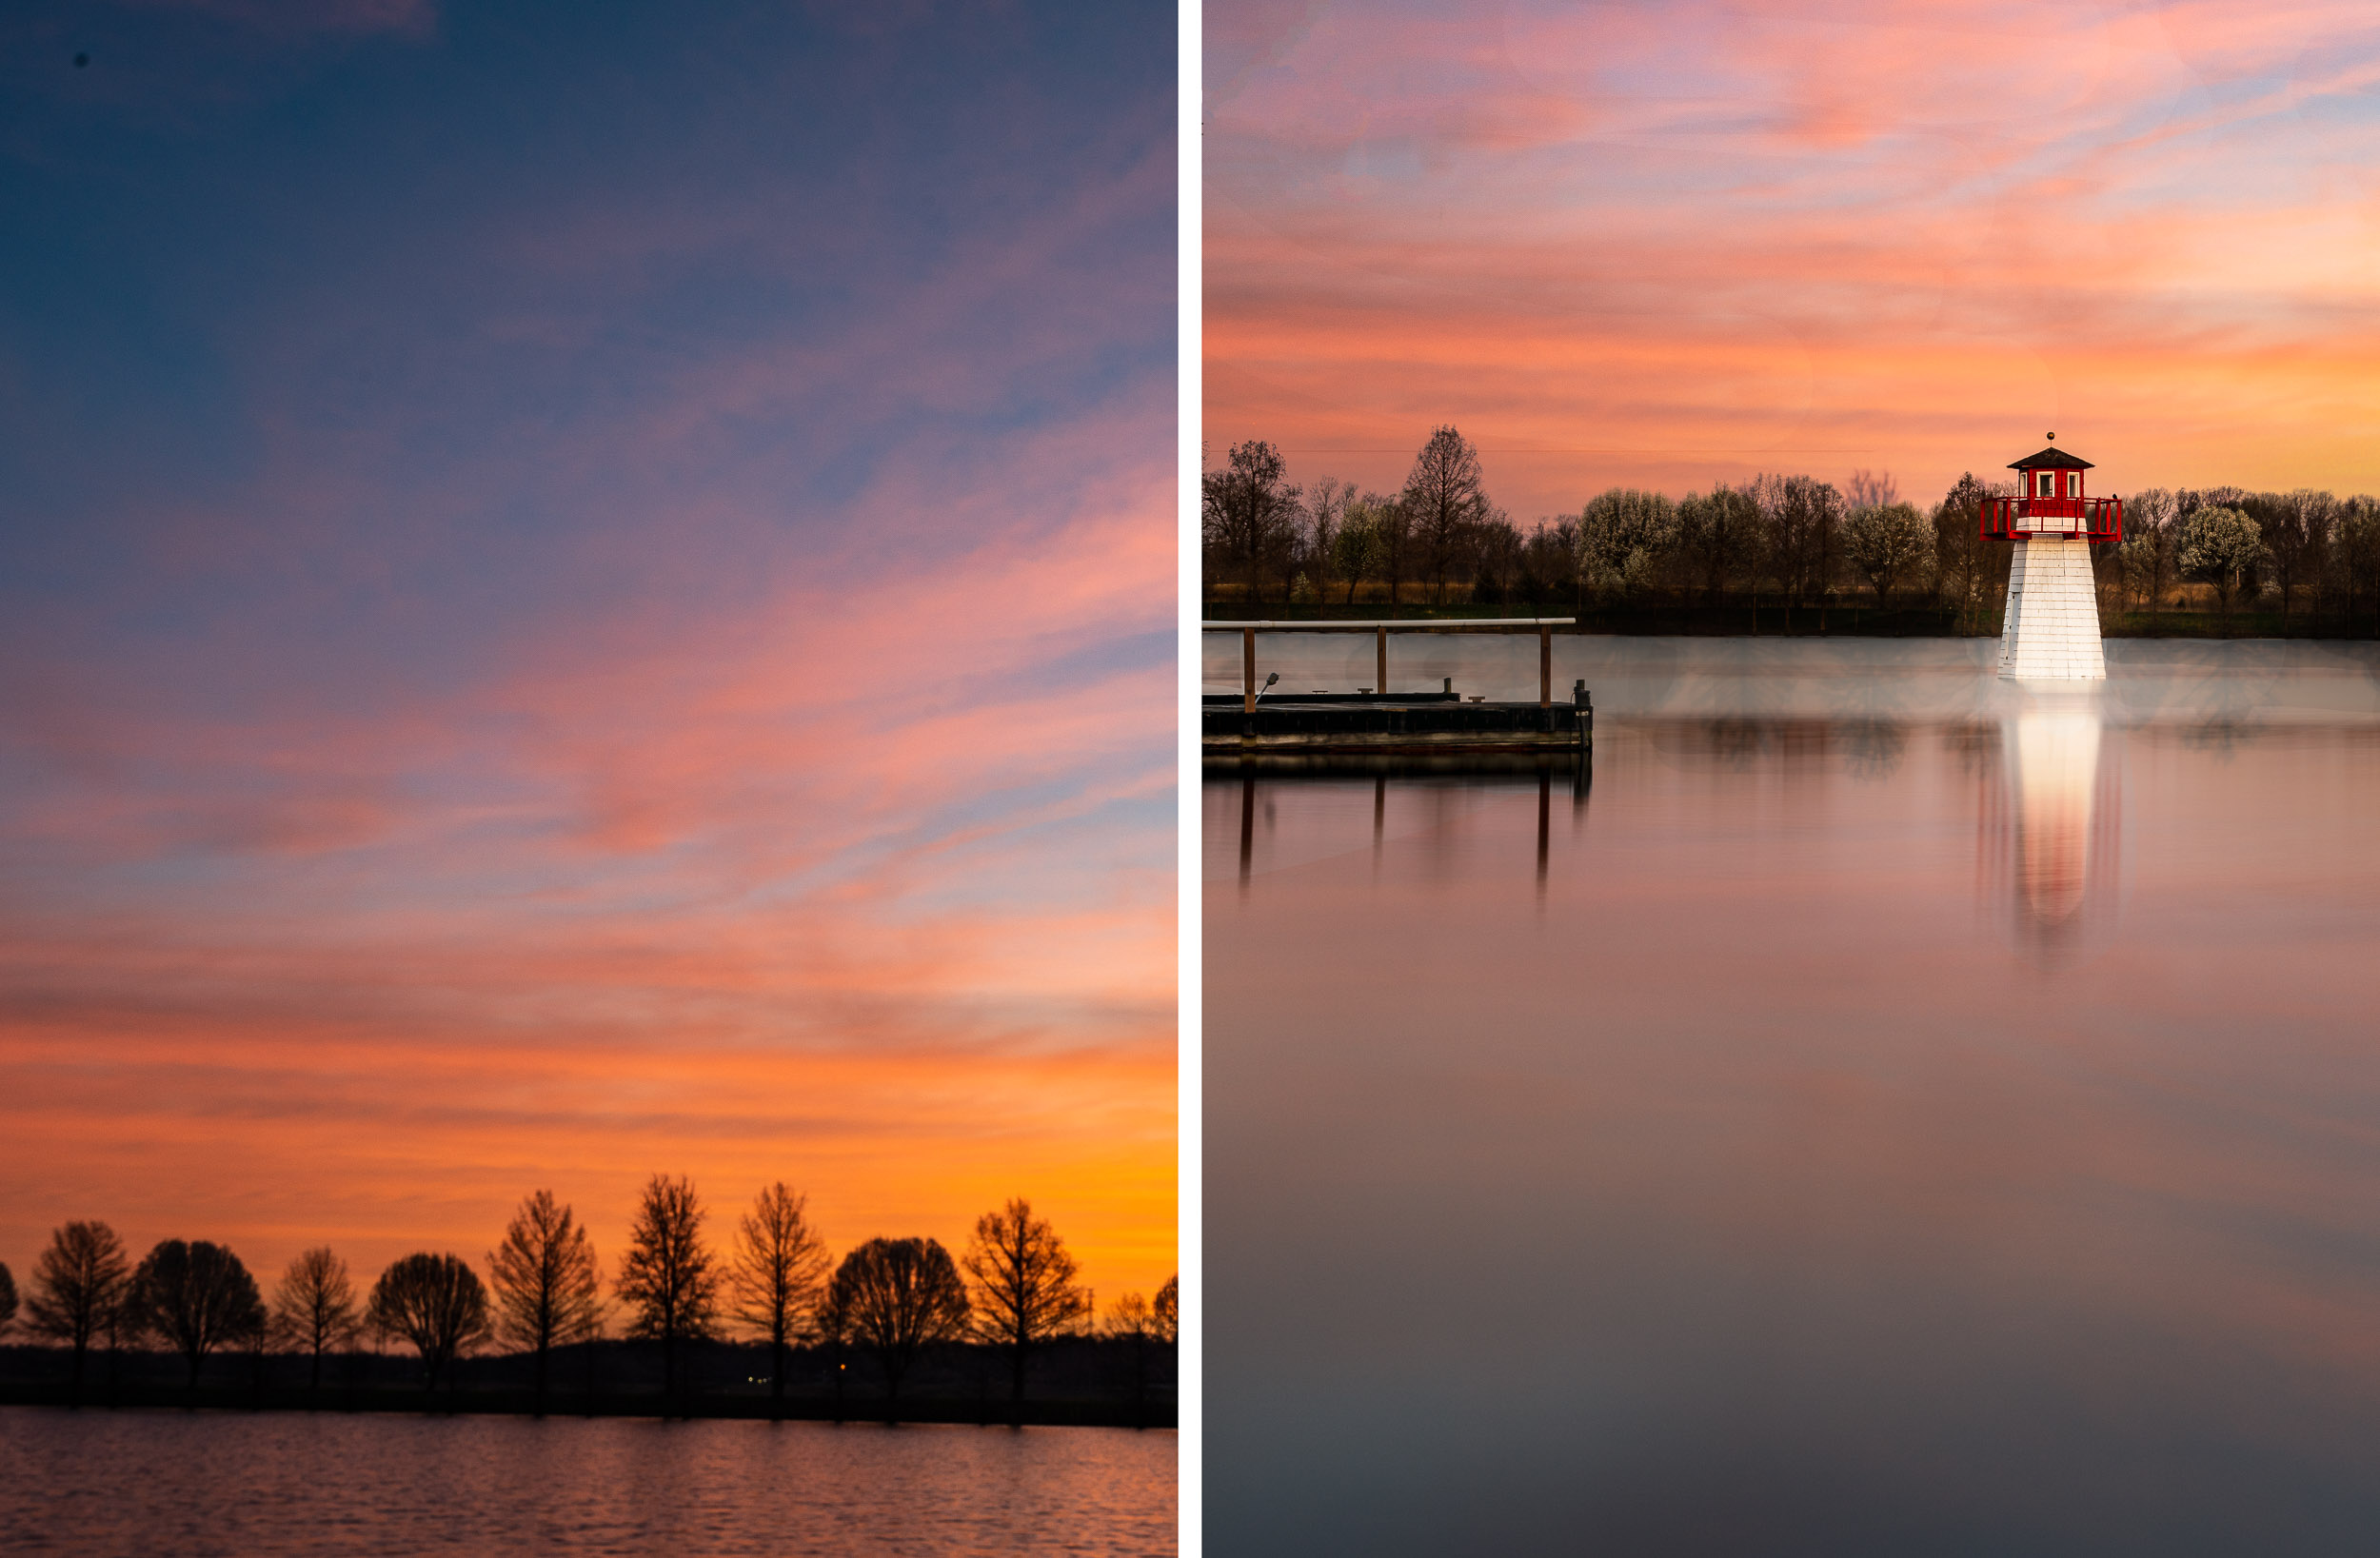
Photo By Jenn Mishra | The photo on the left shows the sunrise without a clear subject. The photo on the right shows the same sunrise with a subject.
If there is no natural focal point, create one. Put your camera on a tripod and set the timer. Walk into the scene. You become the subject and you will bring the viewer along with you into the landscape.
Follow the Sun
In landscape photography, the sun is your primary light source. But the amount and quality of light changes throughout the day. Landscape photographers are often out in the mornings and evenings. Sunsets and sunrises can add color to the sky, making it more dramatic. The quality of light is more diffuse when the sun is near the horizon, and the sunlight comes in at an angle. The resulting shadows create depth.
There is nothing wrong with taking landscape photos in the middle of the day. But the scene will often look flat without shadows. Blue skies are fine. They are just more common and have less variety.
Just before sunrise and just after sunset is called the golden hour. The sun is below the horizon, but the sky has a golden light. Before golden hour in the morning and after the golden hour in the evening is blue hour. Light from the sun tints the night sky. Some of the best colors happen during blue hour.
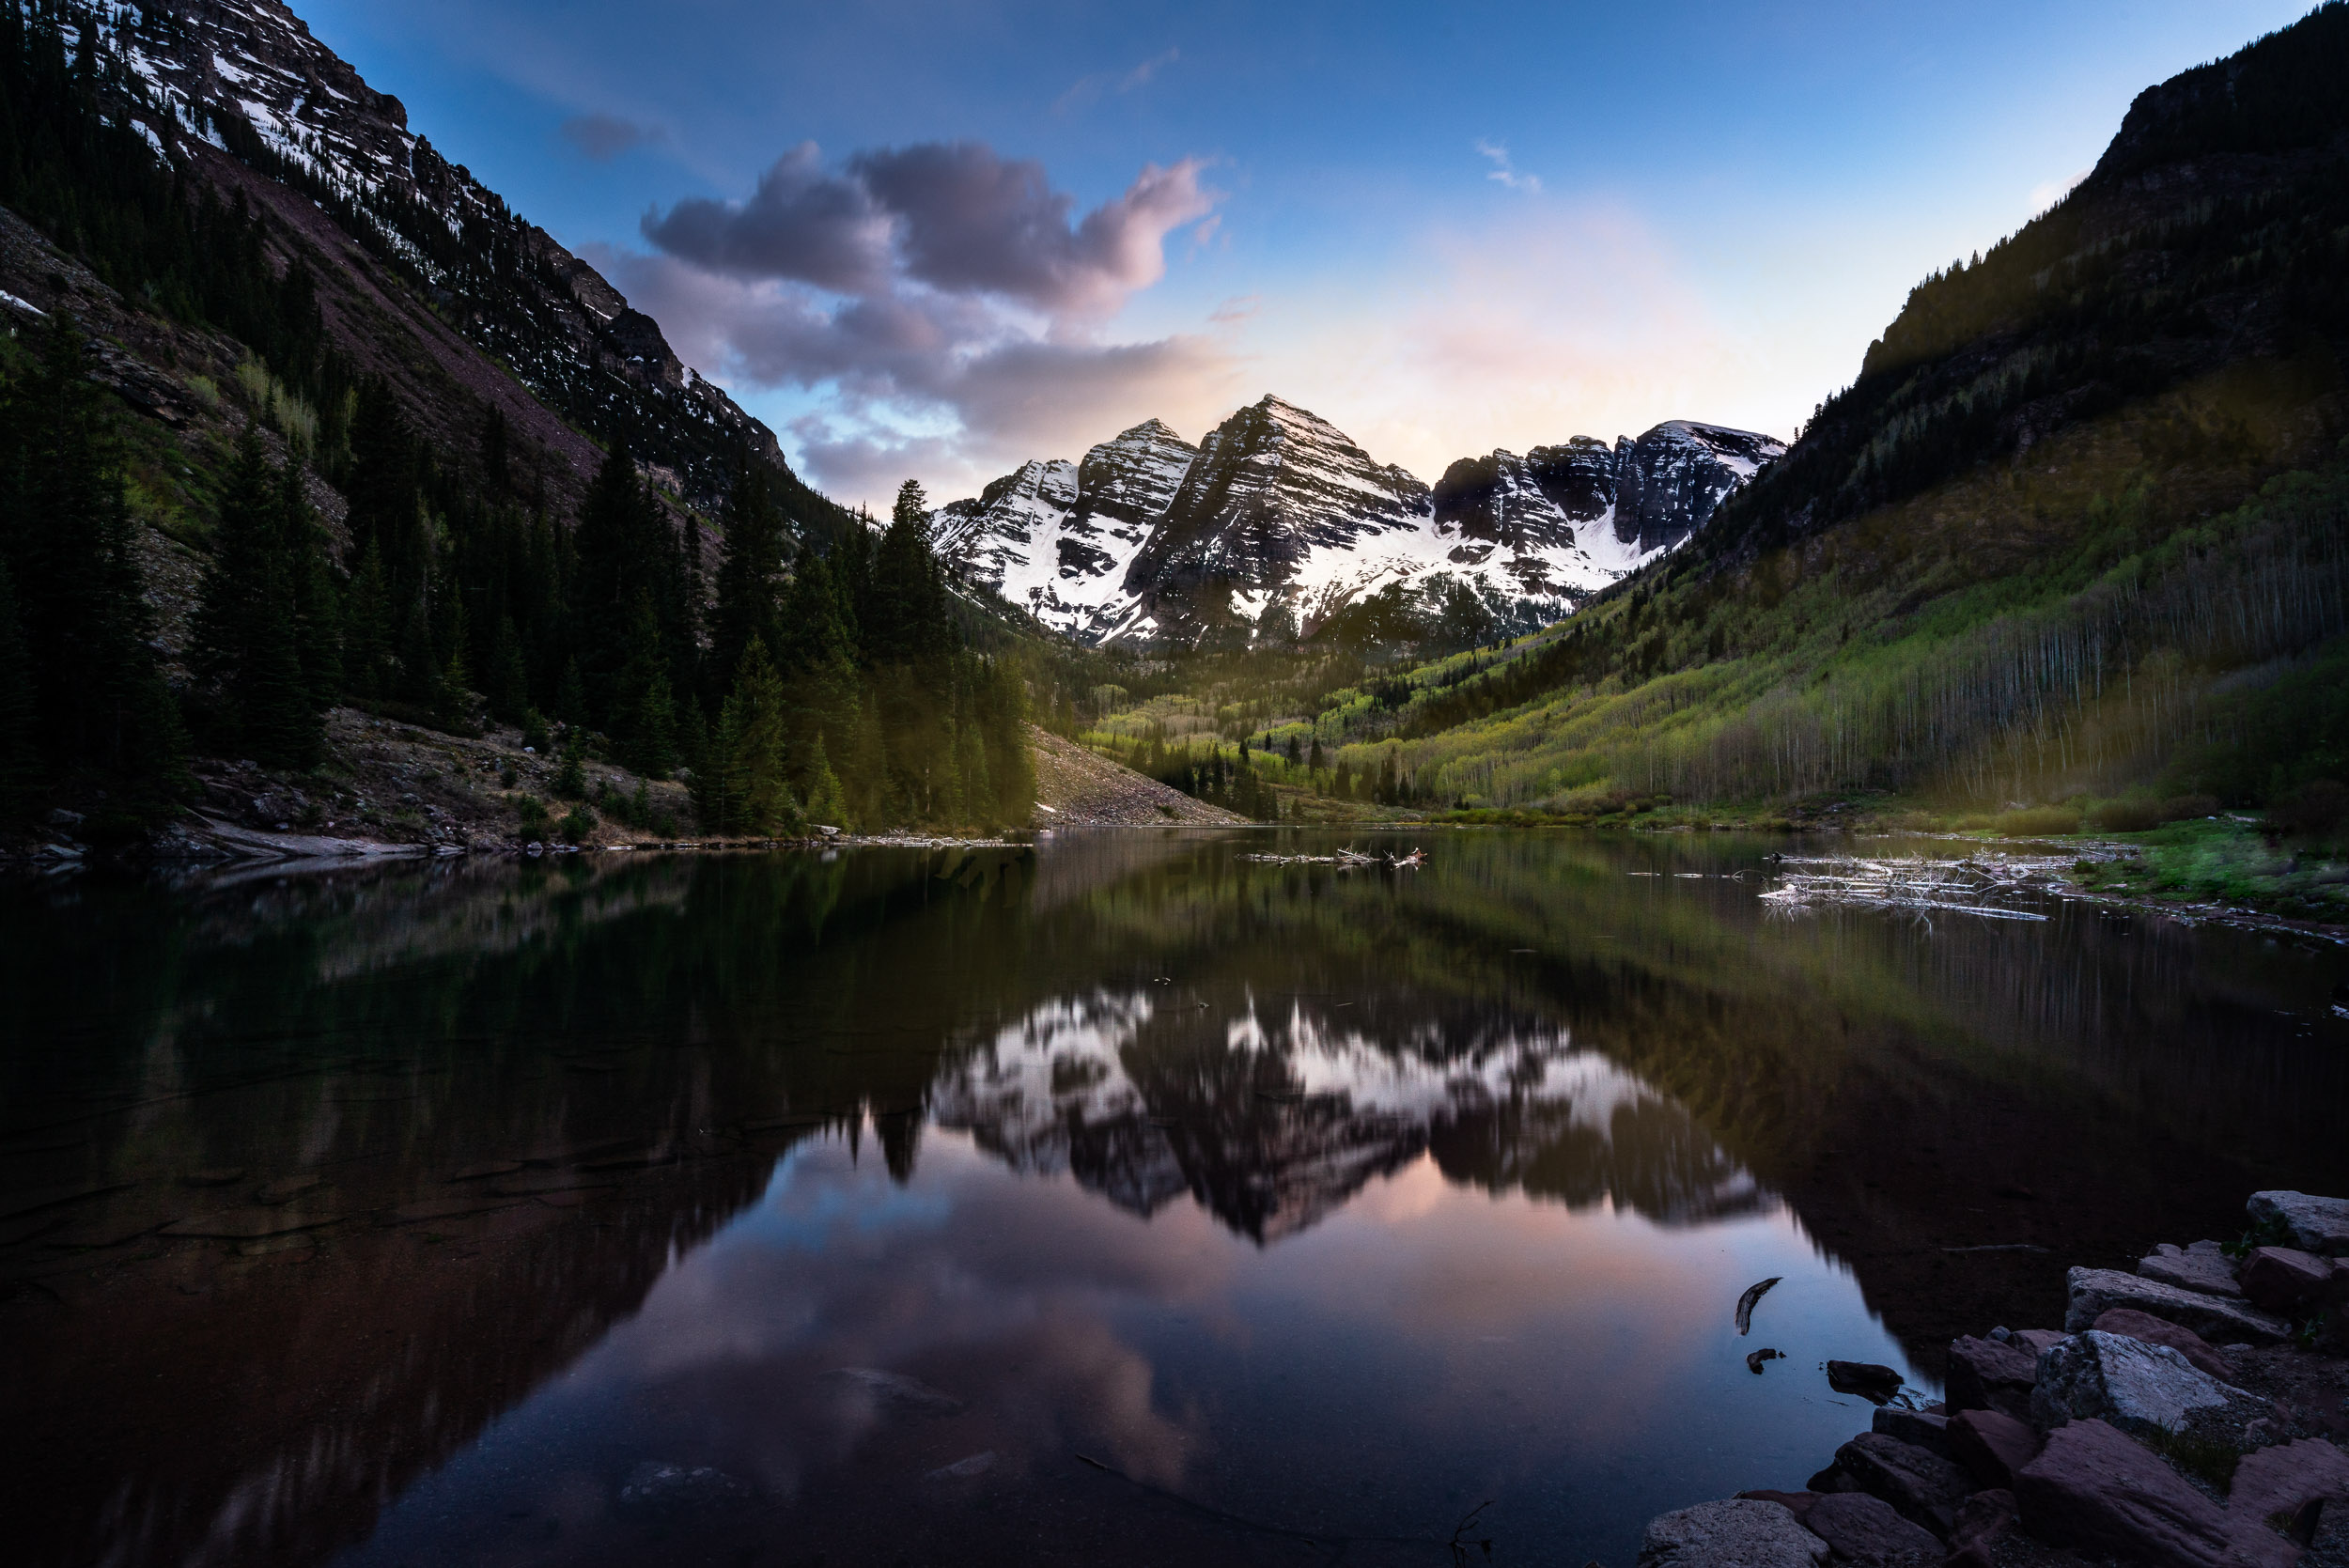
Photo By Jenn Mishra | Landscapes photographed in the mornings and evenings may have more color in the sky, and shadows create depth. I took this photo in the Rocky Mountains during blue hour.
There are many apps like PhotoPills that tell you when sunset and sunrise happen in your area. They also will let you know when blue hour and golden hour start. You can use the apps to figure out where the sun will be along the horizon. You can plan where to be to capture the sun in relation to a particular subject.
Watch the Weather
Sometimes the worst weather creates the best photos. Fog makes even the most mundane tree mysterious, and snow cleans up a cluttered landscape. And you can’t have rainbows without a bit of rain. Landscape photographers use weather apps like Clear Outside and My Lightning Tracker to help track storms.

Storms add drama to the sky. Some are thick and dark. Others let the sun shine through breaks in the clouds. Each storm is different. No one will ever photograph that same sky again. But storm photography can be dangerous, so do your research first. It is best not to get too close!

Photo By Jenn Mishra | Storm clouds move in over a peak in the Rocky Mountains.
Position Horizon
Most landscape photographs include at least some of the horizon. It is the most obvious line in your image. Make sure that it is level. Adjust it in post-processing if you need to.
But also think about where to place the horizon vertically in your frame. There is nothing wrong with the horizon in the center of the image. It is where we expect the horizon to be. Half of the photo is the sky, and the other half is land or water. But because it is expected, this position is not very interesting. Instead, try and place the horizon off-center.
Move the camera up and include more sky. Move the camera down to show more land. The decision is yours. If the sky is not that interesting, focus on the land. If the sky is colorful or has dramatic clouds, give it more presence in the image.
I photographed this sunrise in two different ways. One shows more of the cloud pattern in the sky. The other focuses on the lines created by the rivulets across the sand.

Photo By Jenn Mishra | Sunrise composition focused on the sky.
Add Depth and Focus
Good landscape photographs have depth front to back. They include visual interest in the foreground and in the background. Popular foreground objects include flowers or rocks. Get down low to give the foreground more prominence in the frame. Backgrounds include the sky, but also layered elements like mountains or trees.
Landscape photographers use a deep depth of field. This means that the entire scene is in focus front to back. To get everything in focus, use a narrow aperture like f/11 or f/16. Then, focus about a 1/3rd of the way into the frame. Identify the furthest point and the nearest element you want in focus. Find something about 1/3rd of the distance between them to use as a focus point. This is a general guide. If you want to be more precise, use a hyperfocal distance calculator. There is one in
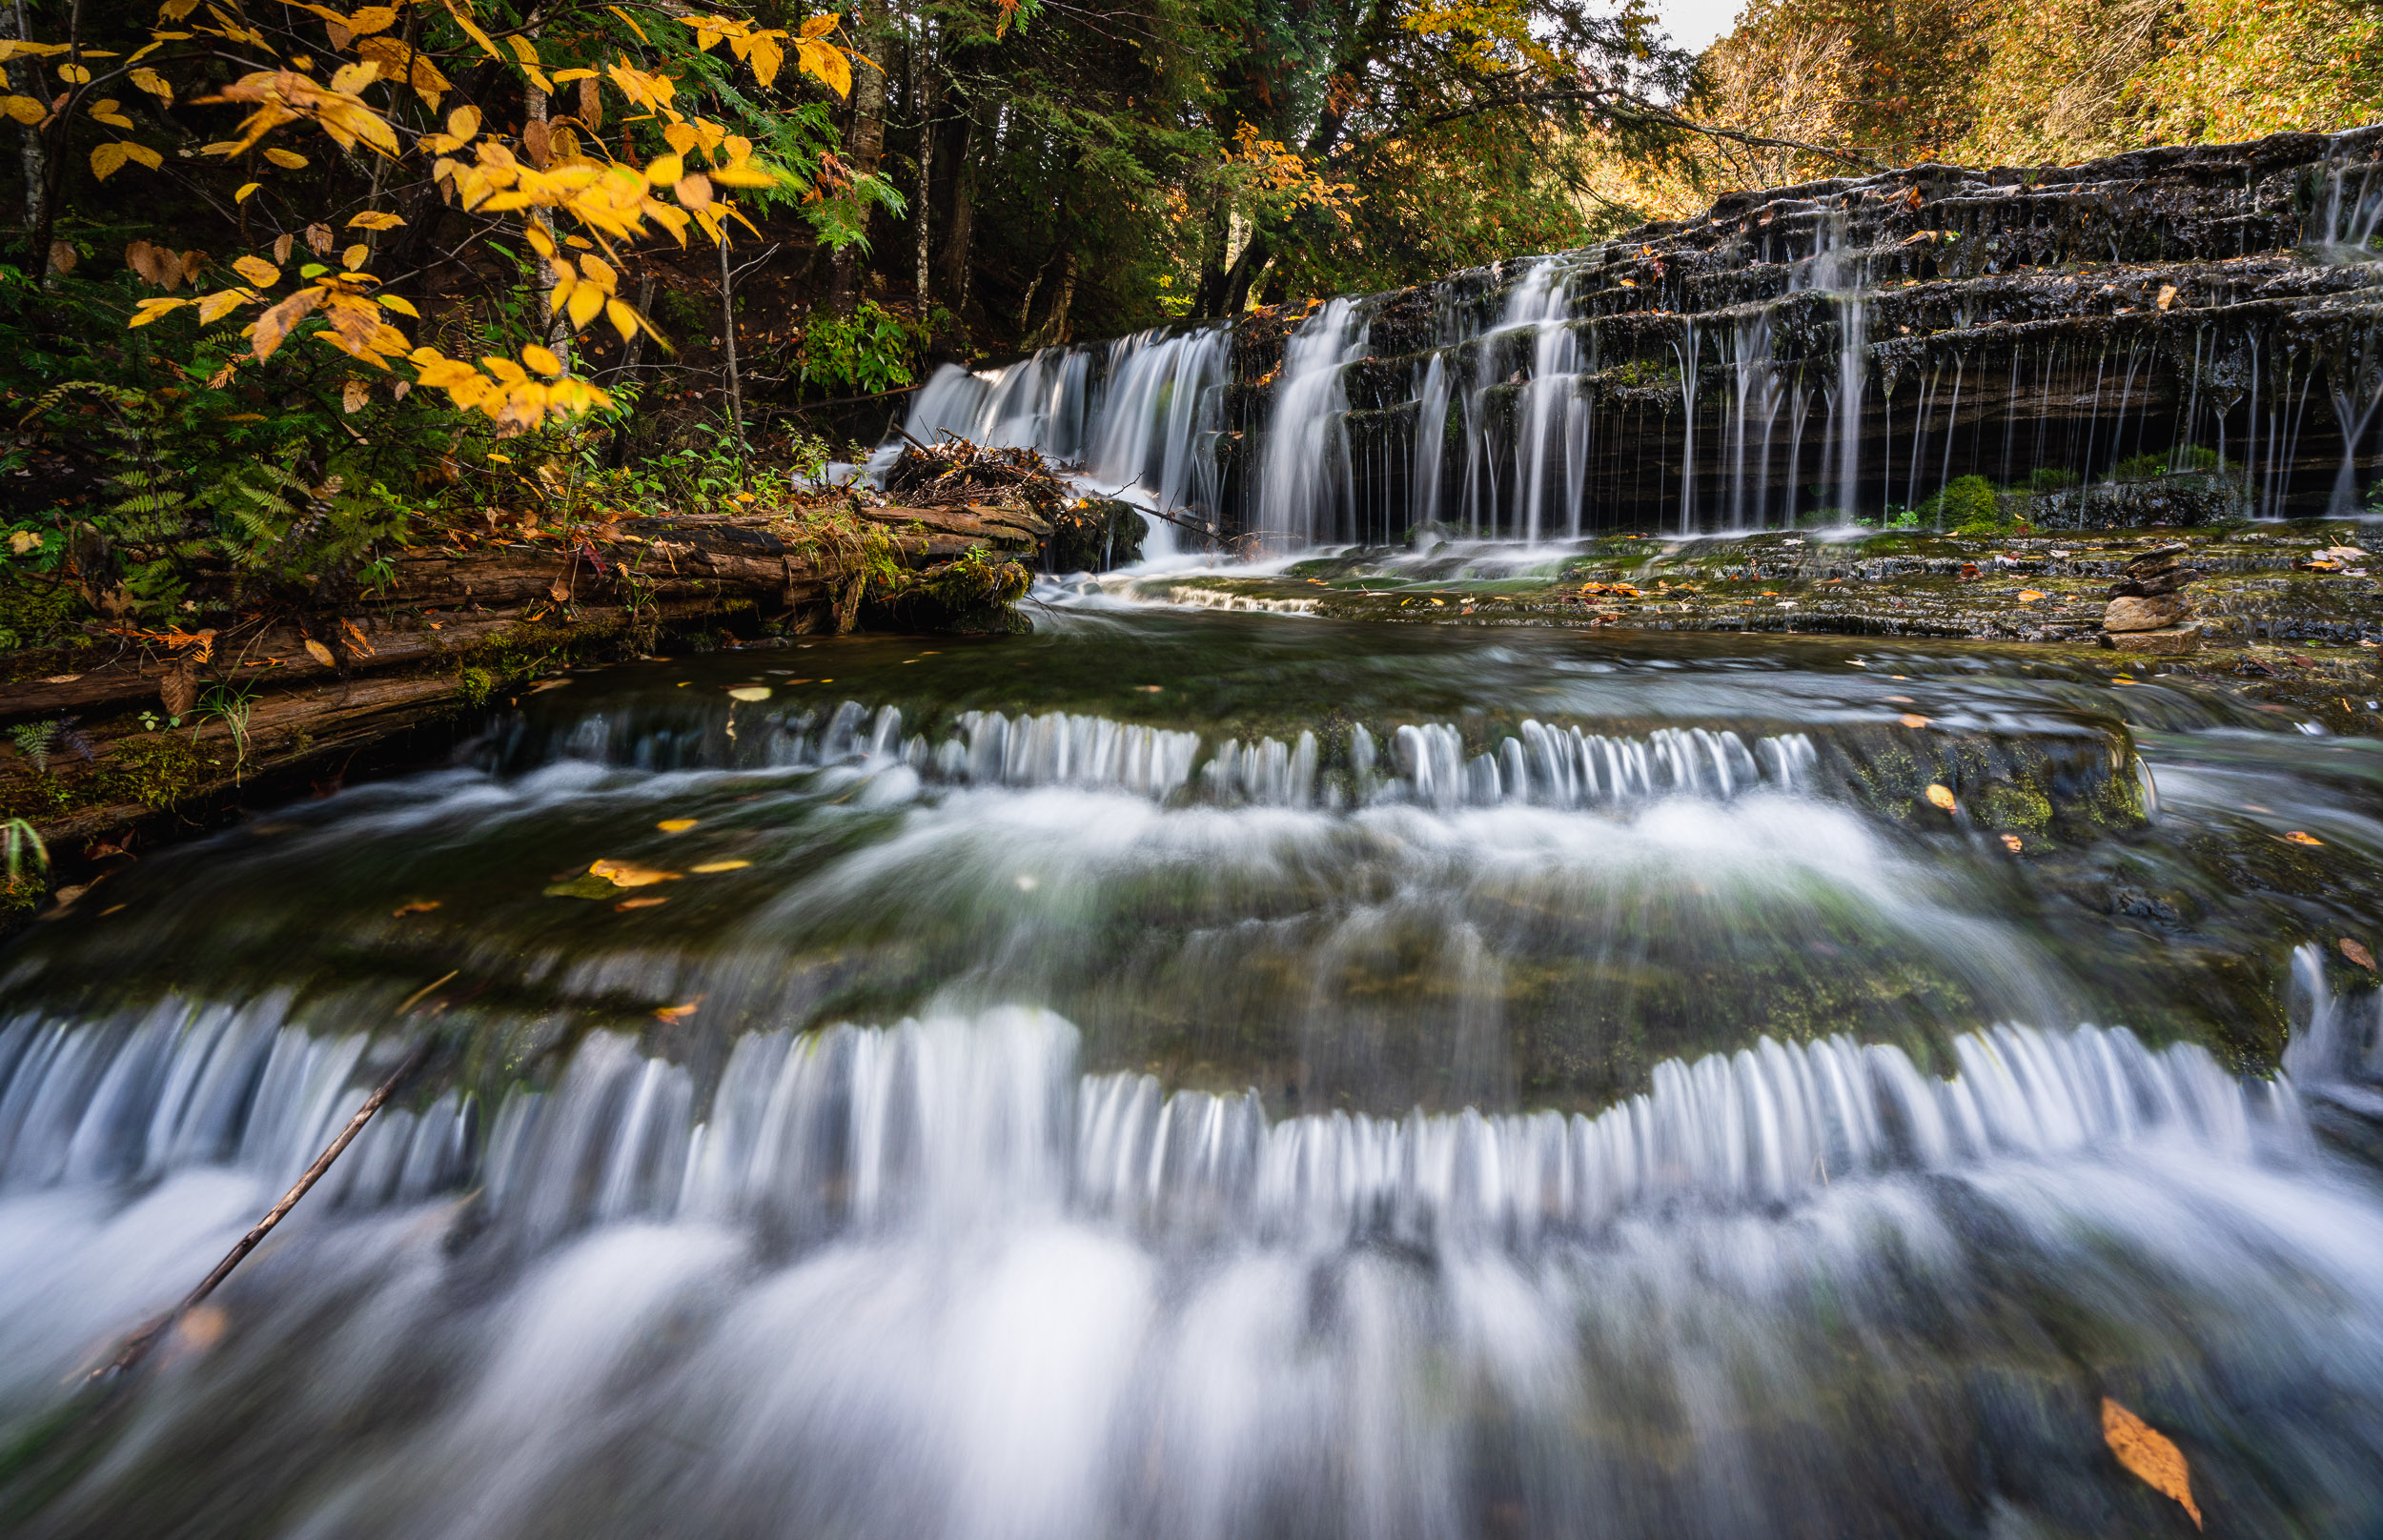
Photo By Jenn Mishra | This layered waterfall has visual interest in the foreground, mid-ground, and background.
Look for Lines
The horizon is the most obvious line in most landscape photos. But look for other lines. Diagonal lines make your image more dynamic and interesting.
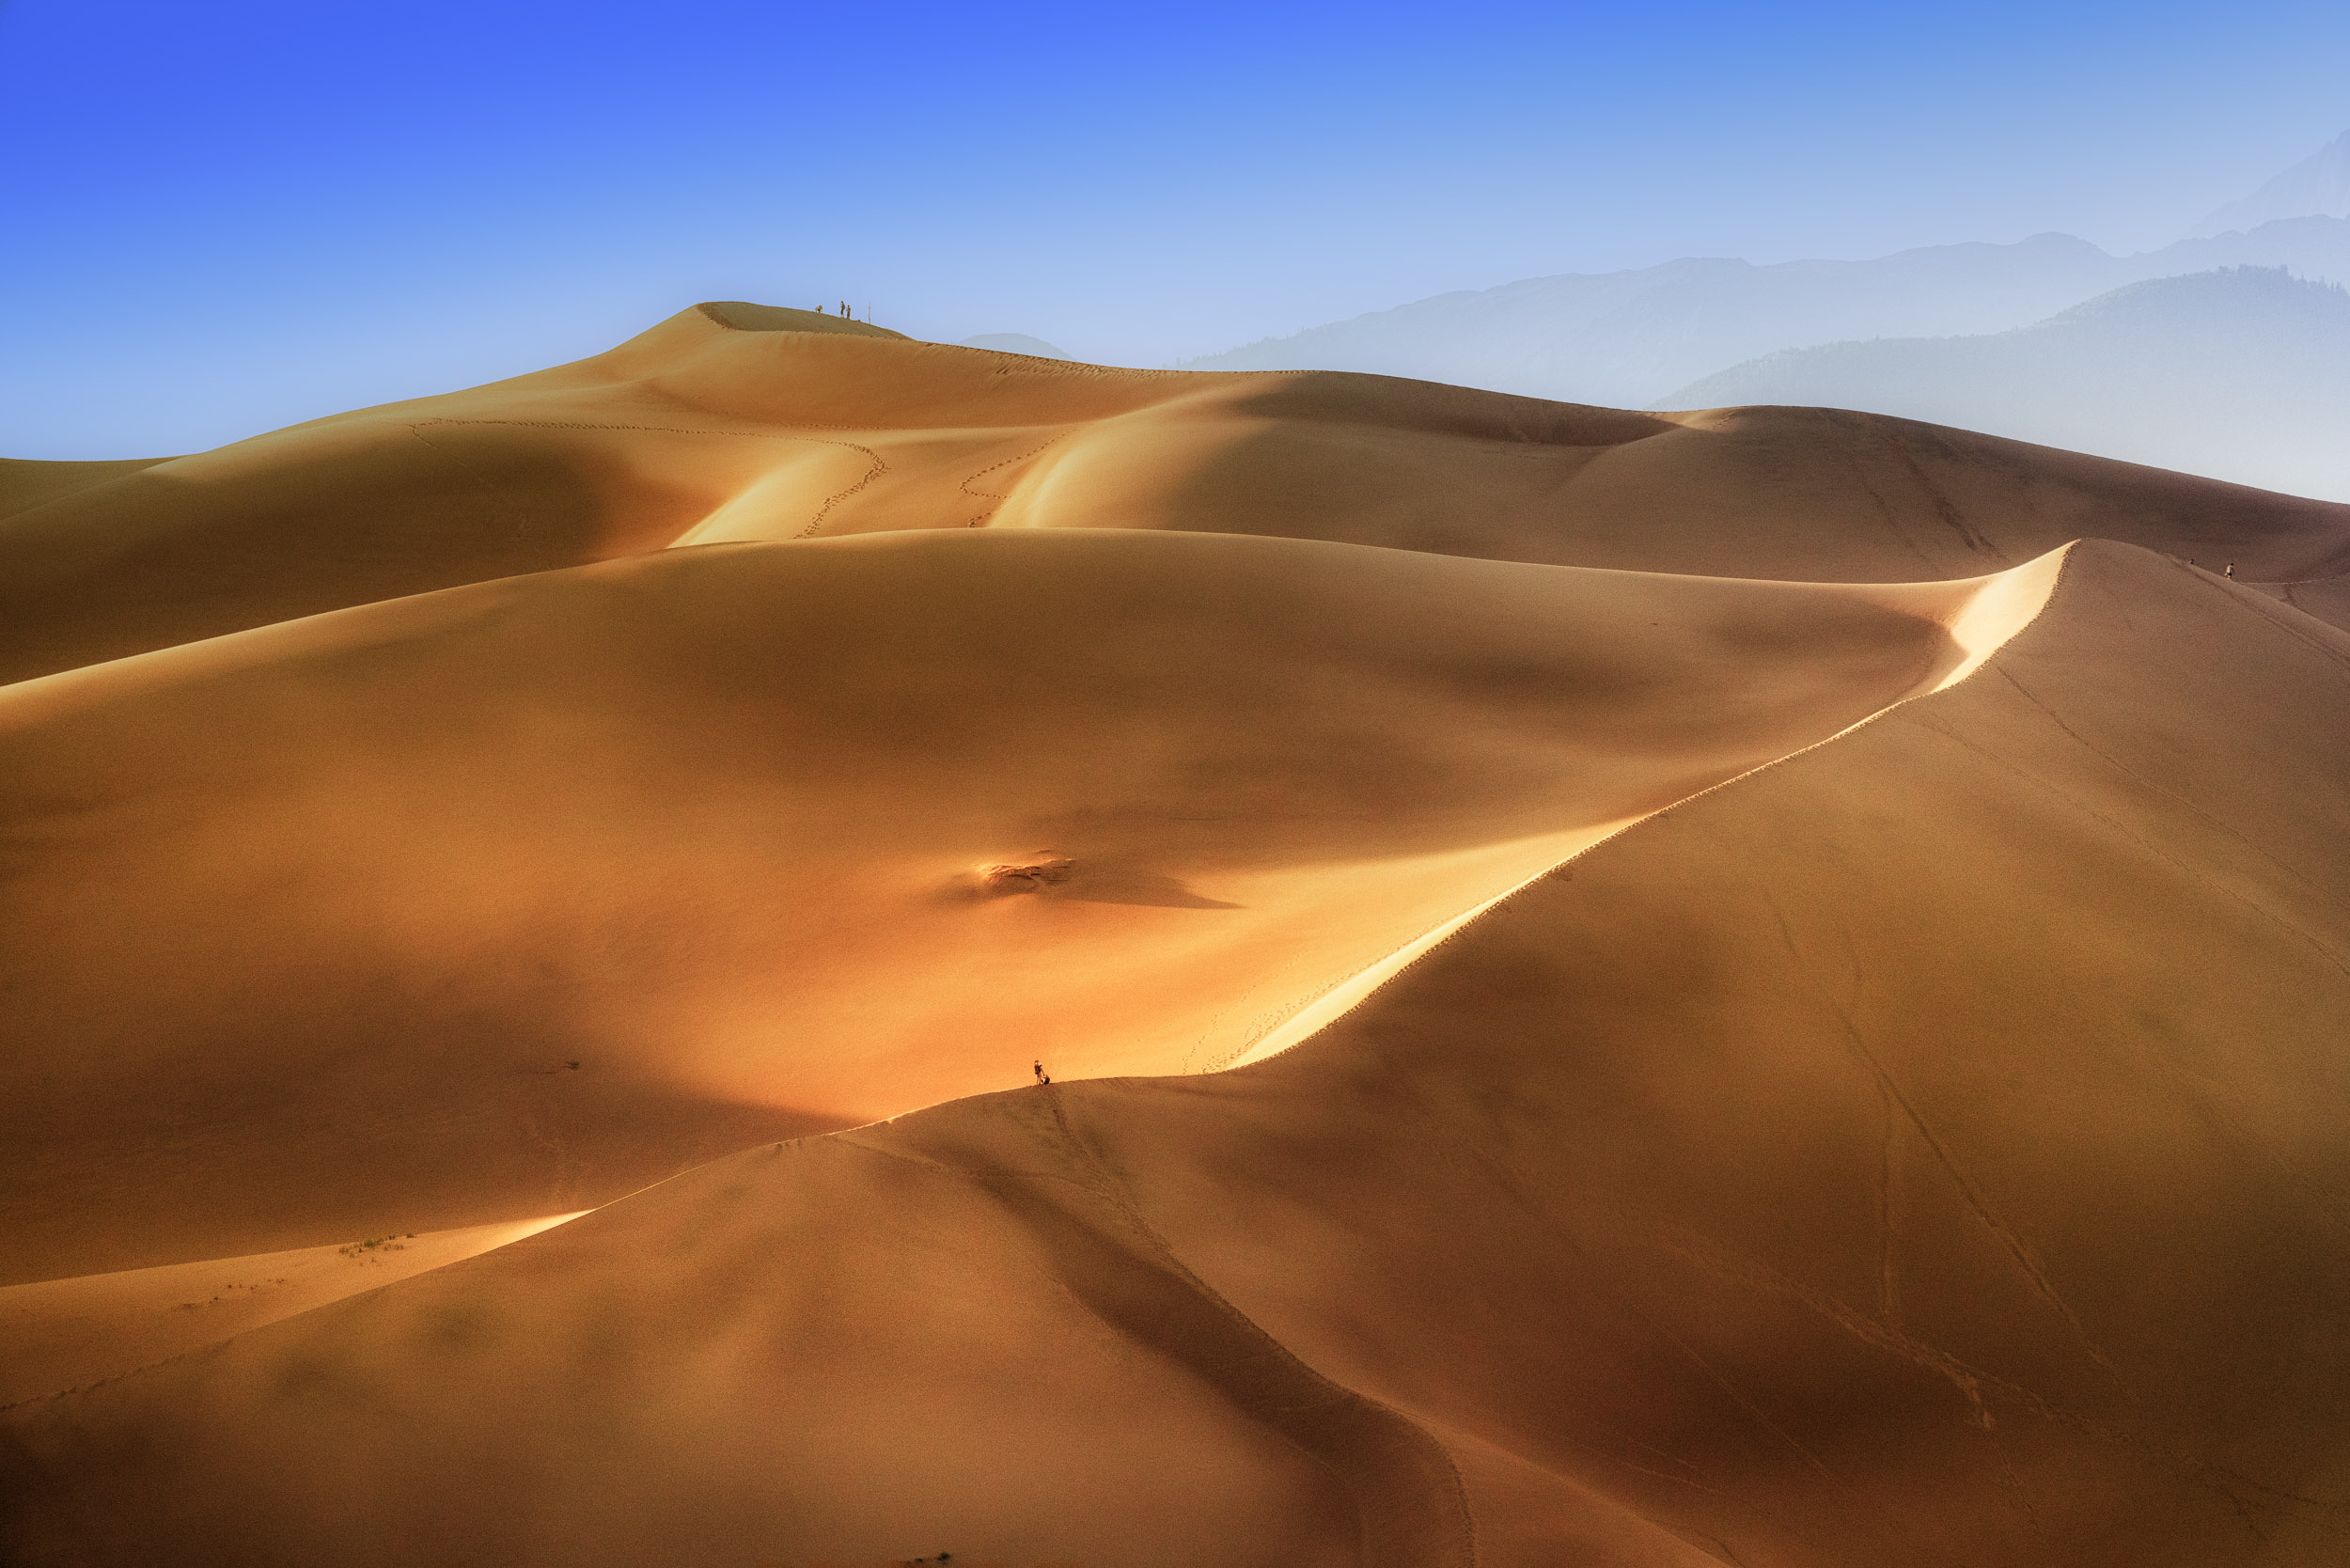
Photo By Jenn Mishra | The drifting sand dunes create diagonal lines that bring the eye into the frame.
Especially look for leading lines. These are lines that lead from the edge of your frame in towards a subject. Leading lines can be roads, fences, clouds, railroad tracks, or even power lines. Your eyes will follow the lines. So, make sure they lead somewhere important and not out of the photograph.
Two parallel lines like a railroad track converging in the distance is called a vanishing point. A vanishing point works as a focal point.
Long Exposure Effects
Landscape photographers love long exposure. A long exposure is when you leave the shutter open for at least a ½ second, usually longer. When you do this, any motion in the scene is captured as a blur. Moving water smooths out, and clouds streak across the sky.
To create a long exposure, mount your camera on a tripod. If you open your shutter for a few seconds in bright sunlight, the image will be over-exposed. During the day, you will need neutral density filters to block some of the light coming into your camera. The darker the neutral density filter, the longer you can leave your shutter open. A by-product of long exposure is that anything briefly moving across the scene, like people, will disappear.
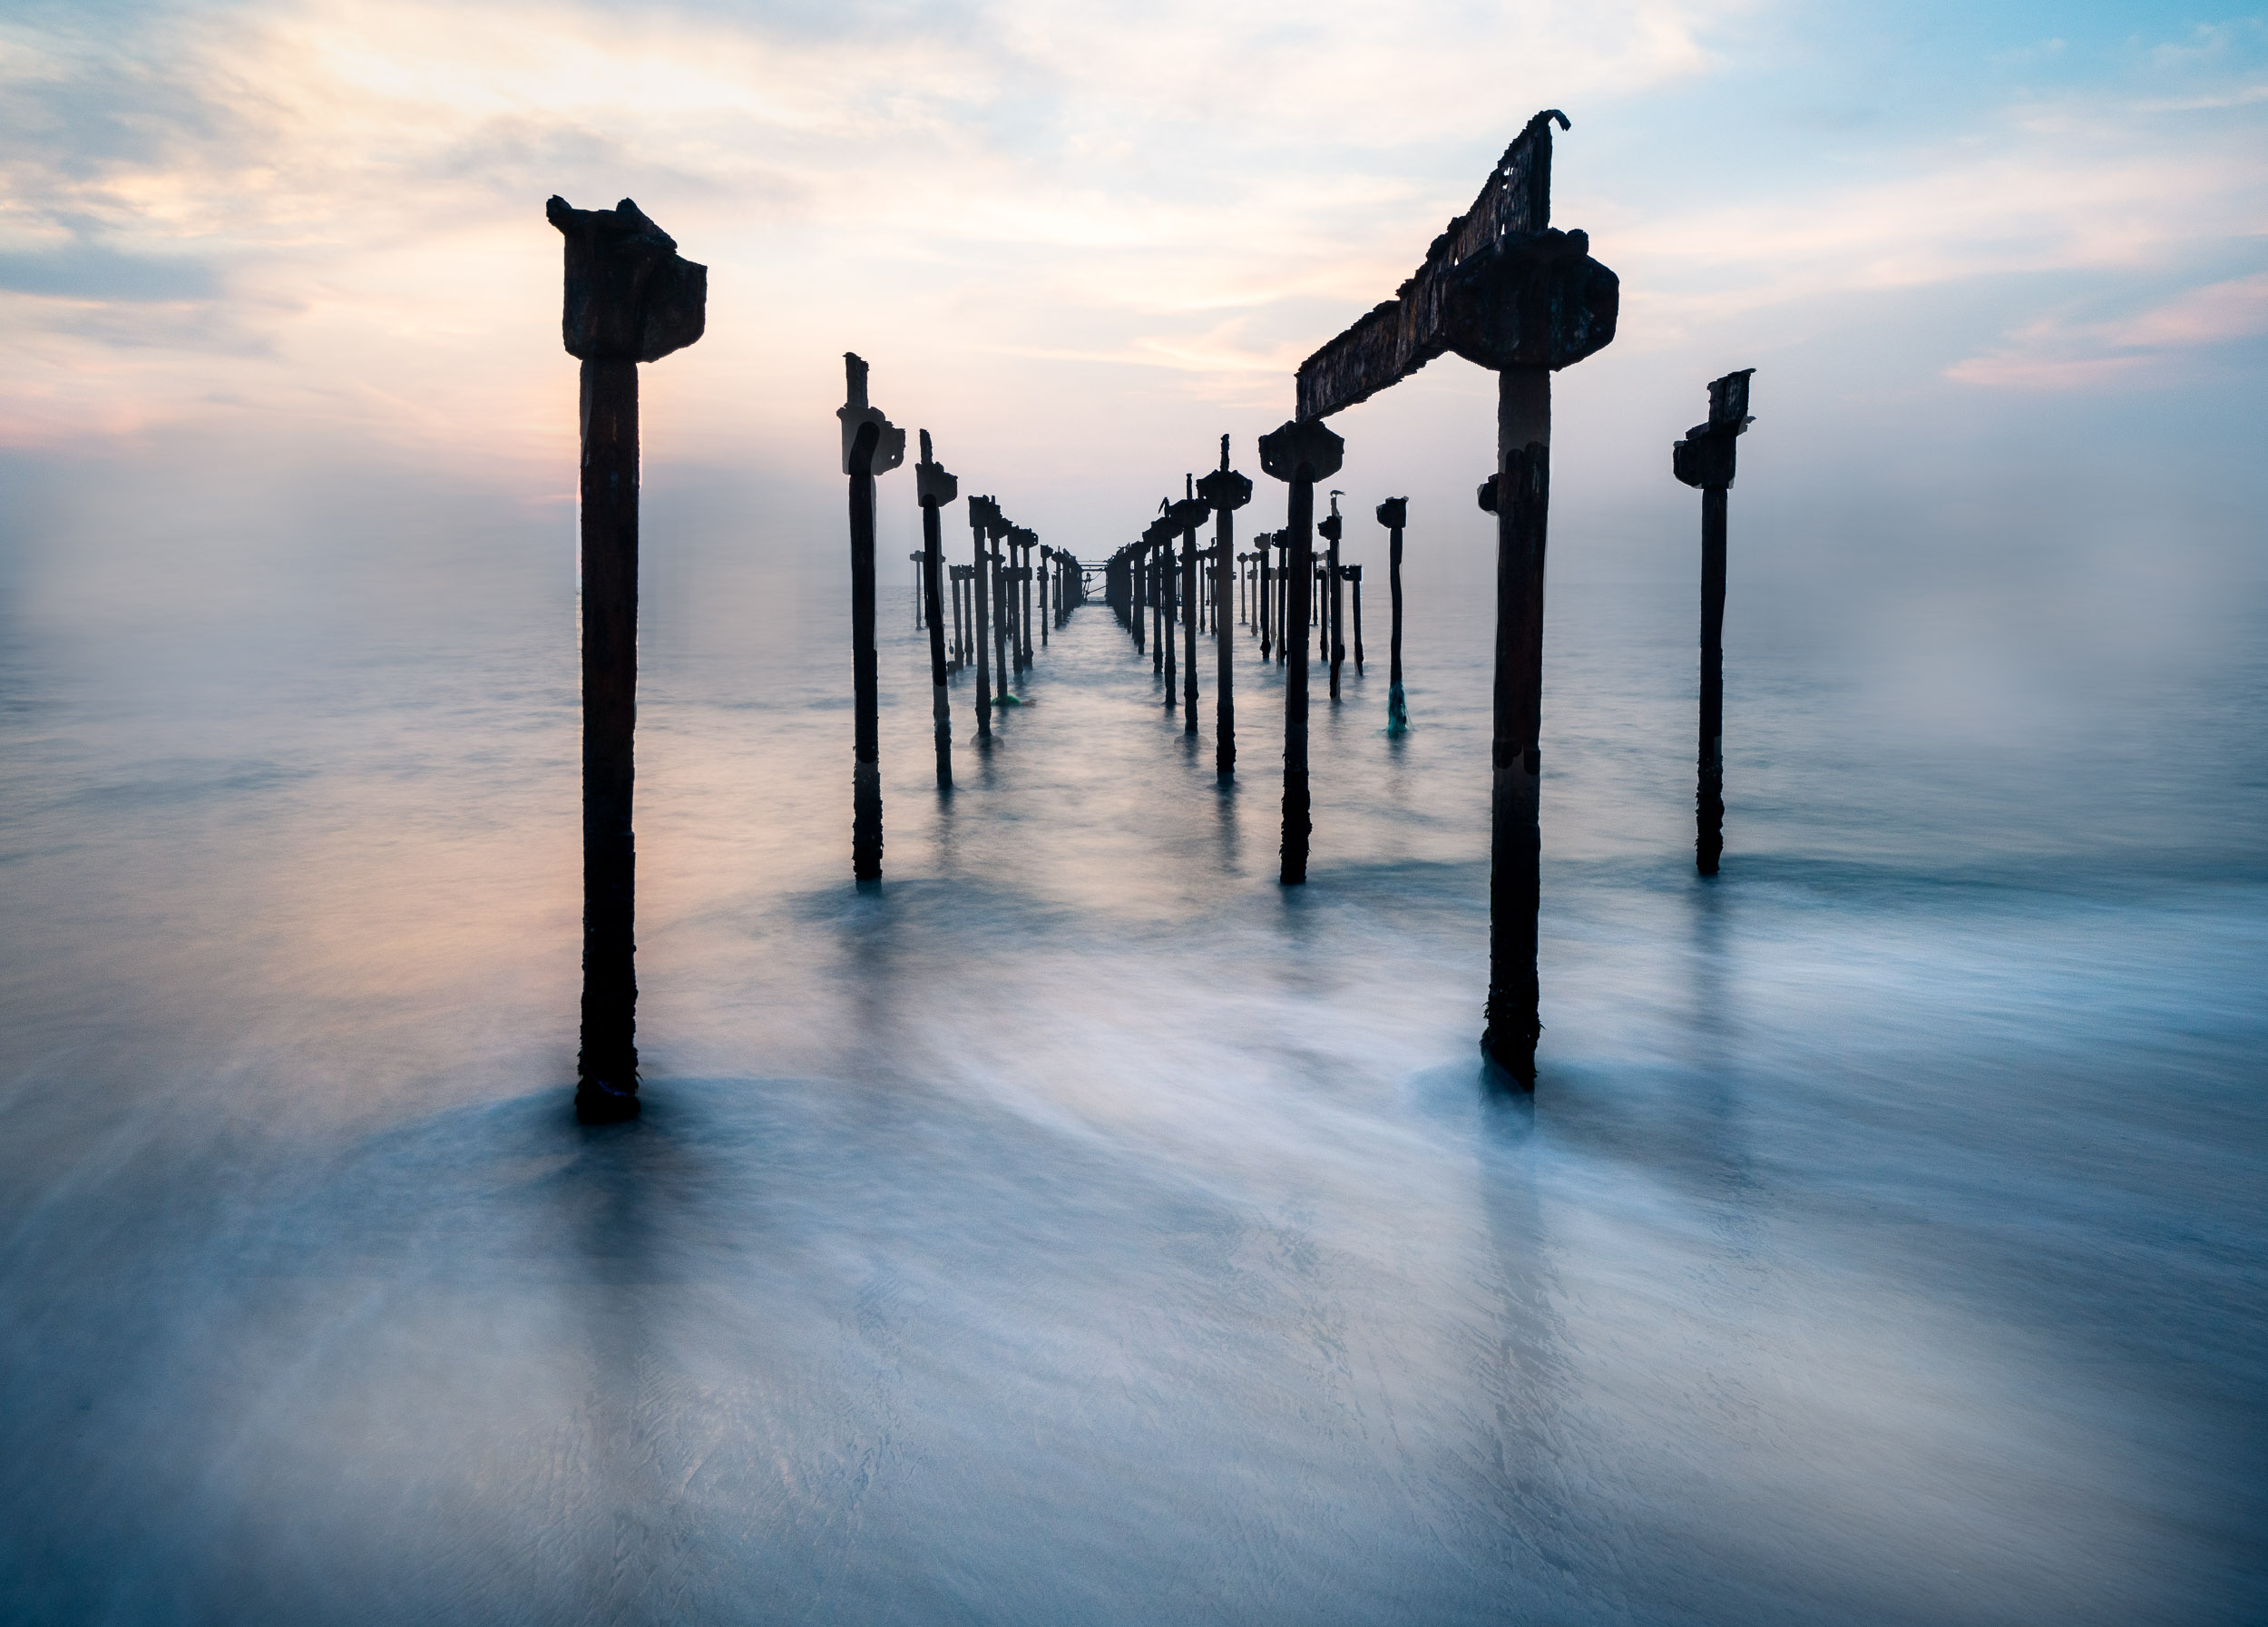
Photo By Jenn Mishra | The photo looks calm because of the long exposure, but I shared the sunset with hundreds of people. The rotting pier disappearing into the distance is an example of a vanishing point. My settings were 2.5seconds at f/11, ISO400.
Use Any Lens
You can use almost any lens to photograph landscapes. Wide-angle lenses let you capture an epic scene showing miles in every direction. But sometimes this type of scene is too large to translate into a photograph. What looks epic to our eye comes across as small in the image.
Telephoto lenses bring you visually into the scene. You can zoom in to capture small details that are lost in a wider image. You may be able to create many different intimate landscapes without moving your feet.
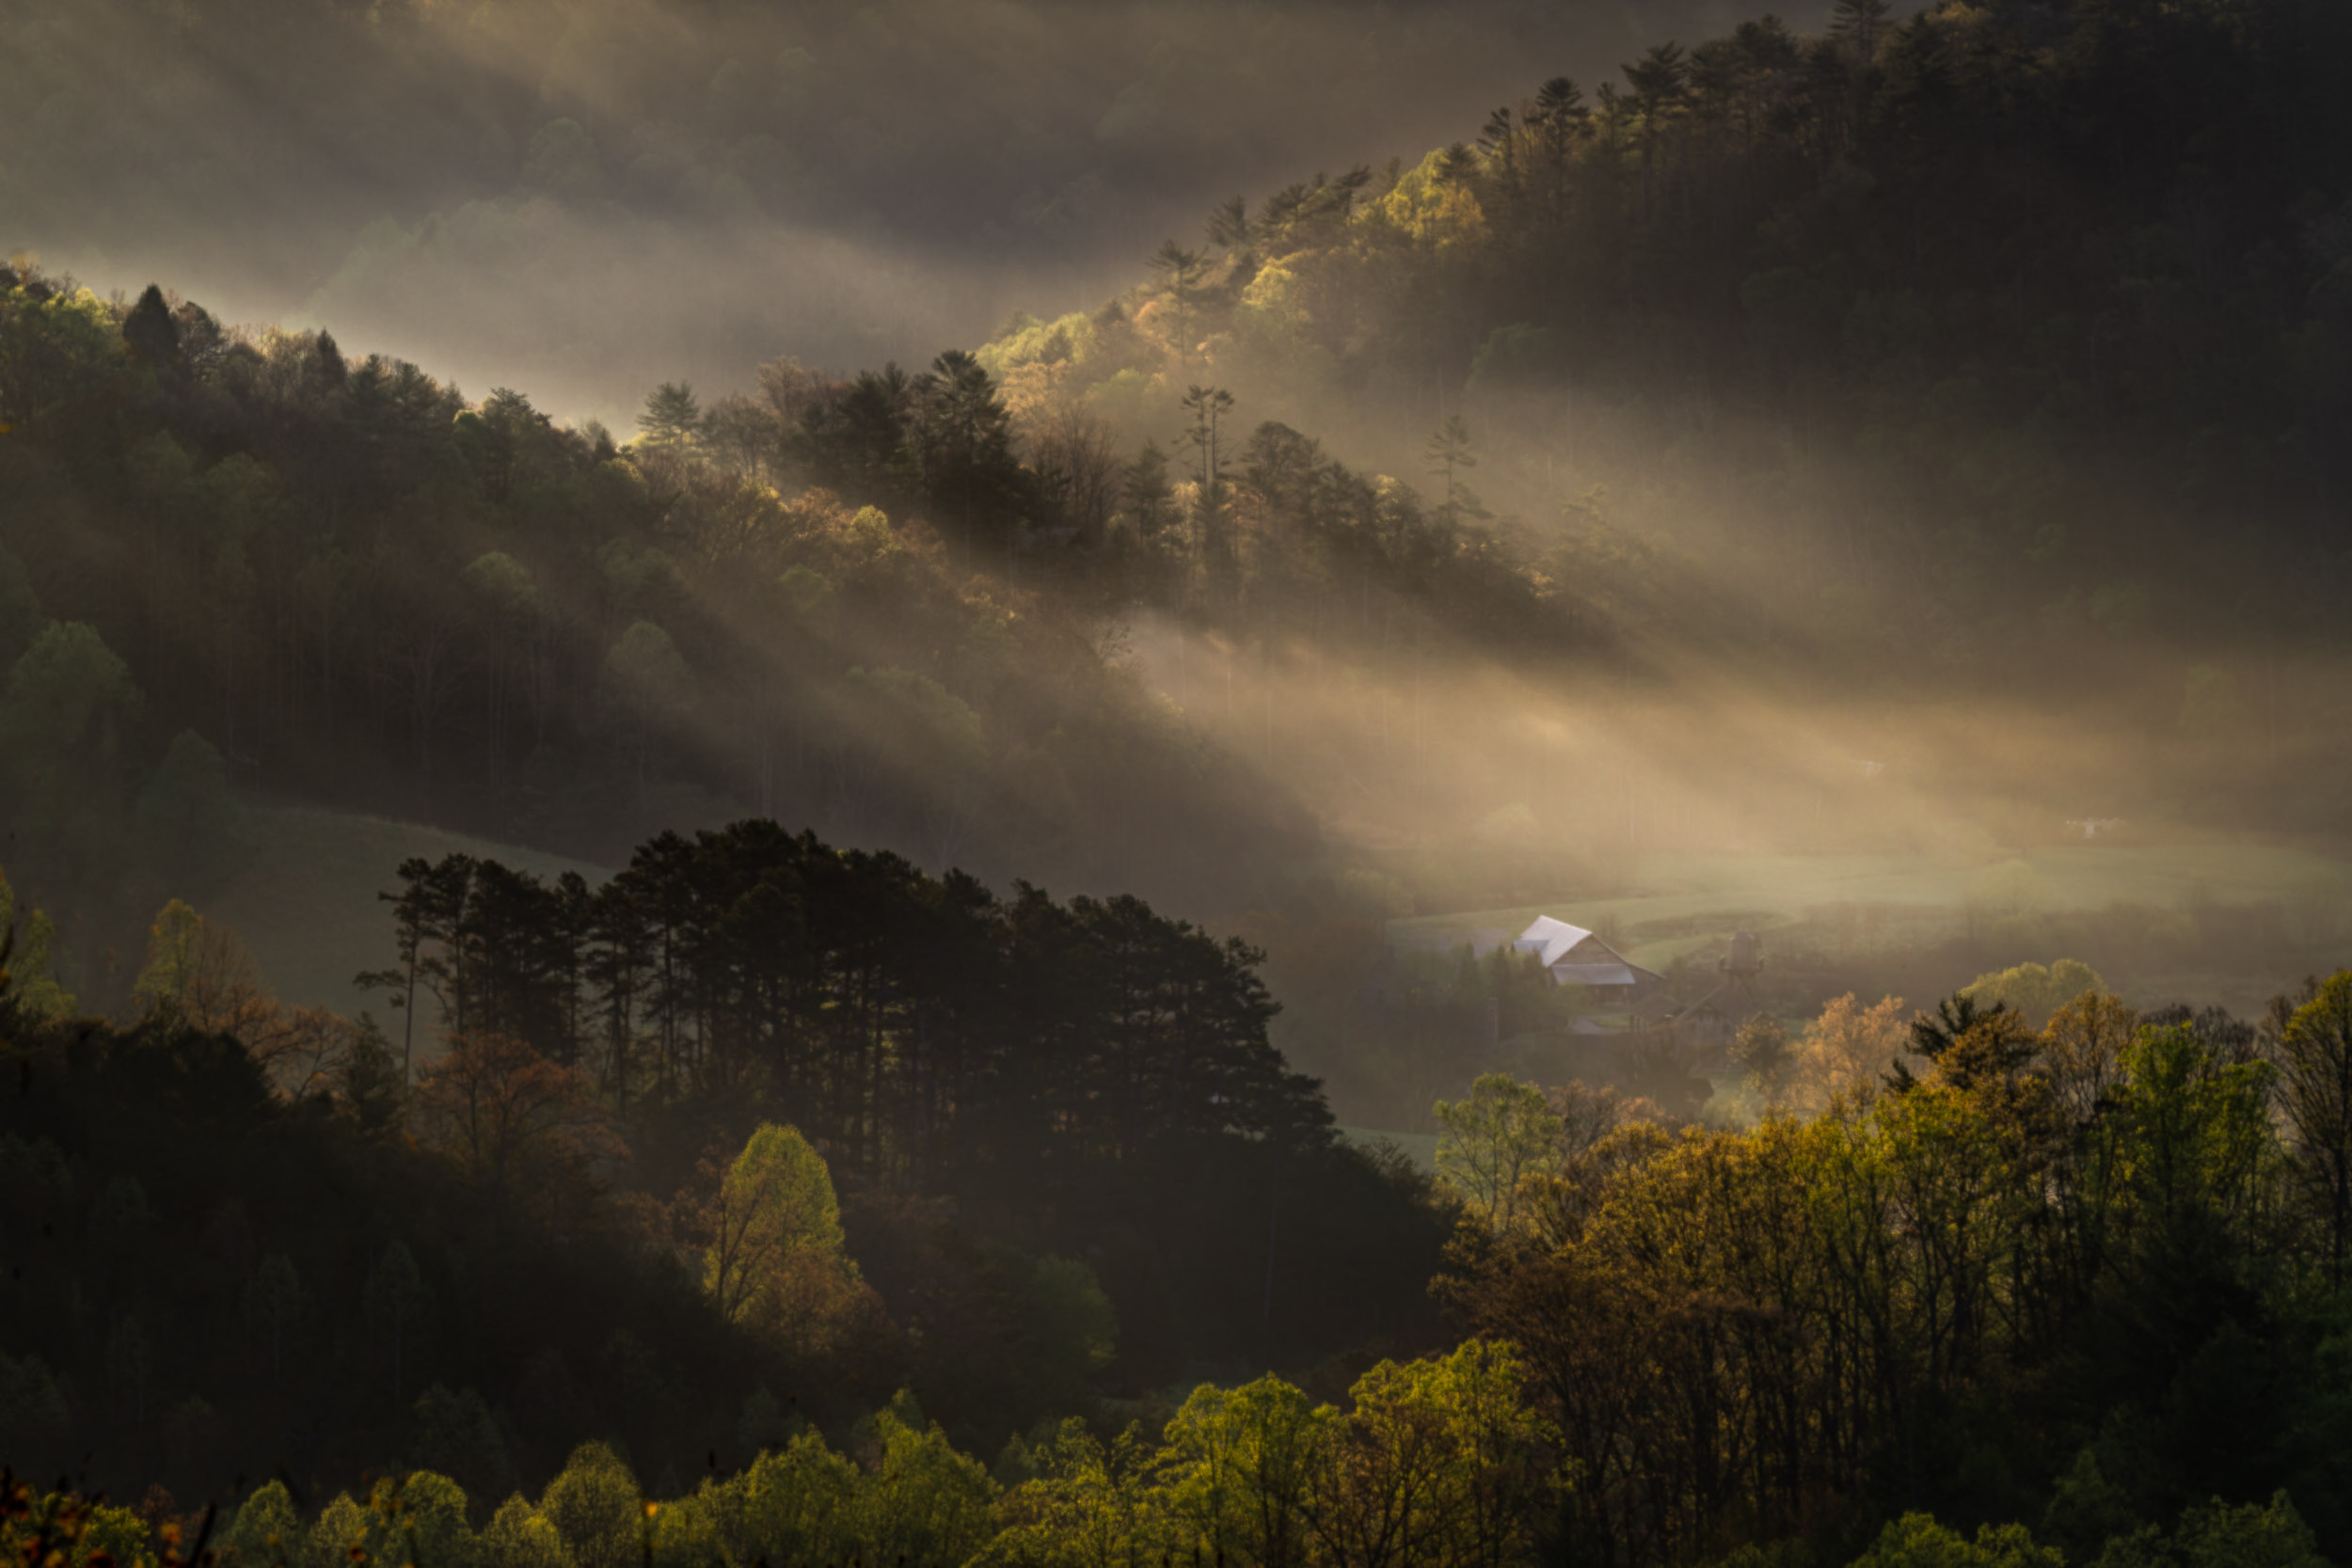
Photo By Jenn Mishra | After photographing the layered mountain ranges of the Smoky Mountains, I used a telephoto lens to take a closer look into the valley as the morning sun crested the ridge.
Wide-angle and telephoto lenses change the relationship of objects in your scene. Telephoto lenses compress the scene. For instance, mountains in the background will appear closer to a foreground subject. Wide-angle lenses separate elements in your image. You decide which is right for your landscape scene.
Try Different Perspectives
Landscape photographers often use a tripod. This lets them frame the scene and take multiple shots if they need to. But tripods are made to move, not stand in one place. Lower your tripod or raise it as high as it will go. Want to get higher? Use a drone. Seeing the scene from a different perspective makes it more interesting.
To make good landscape photographs, try different perspectives and move your tripod around. As you change perspective, relationships between the elements change. Take a step left or right and overlapping elements in your scene may separate. A lower perspective reduces the amount of mid-ground. This brings your foreground and background visually closer together.
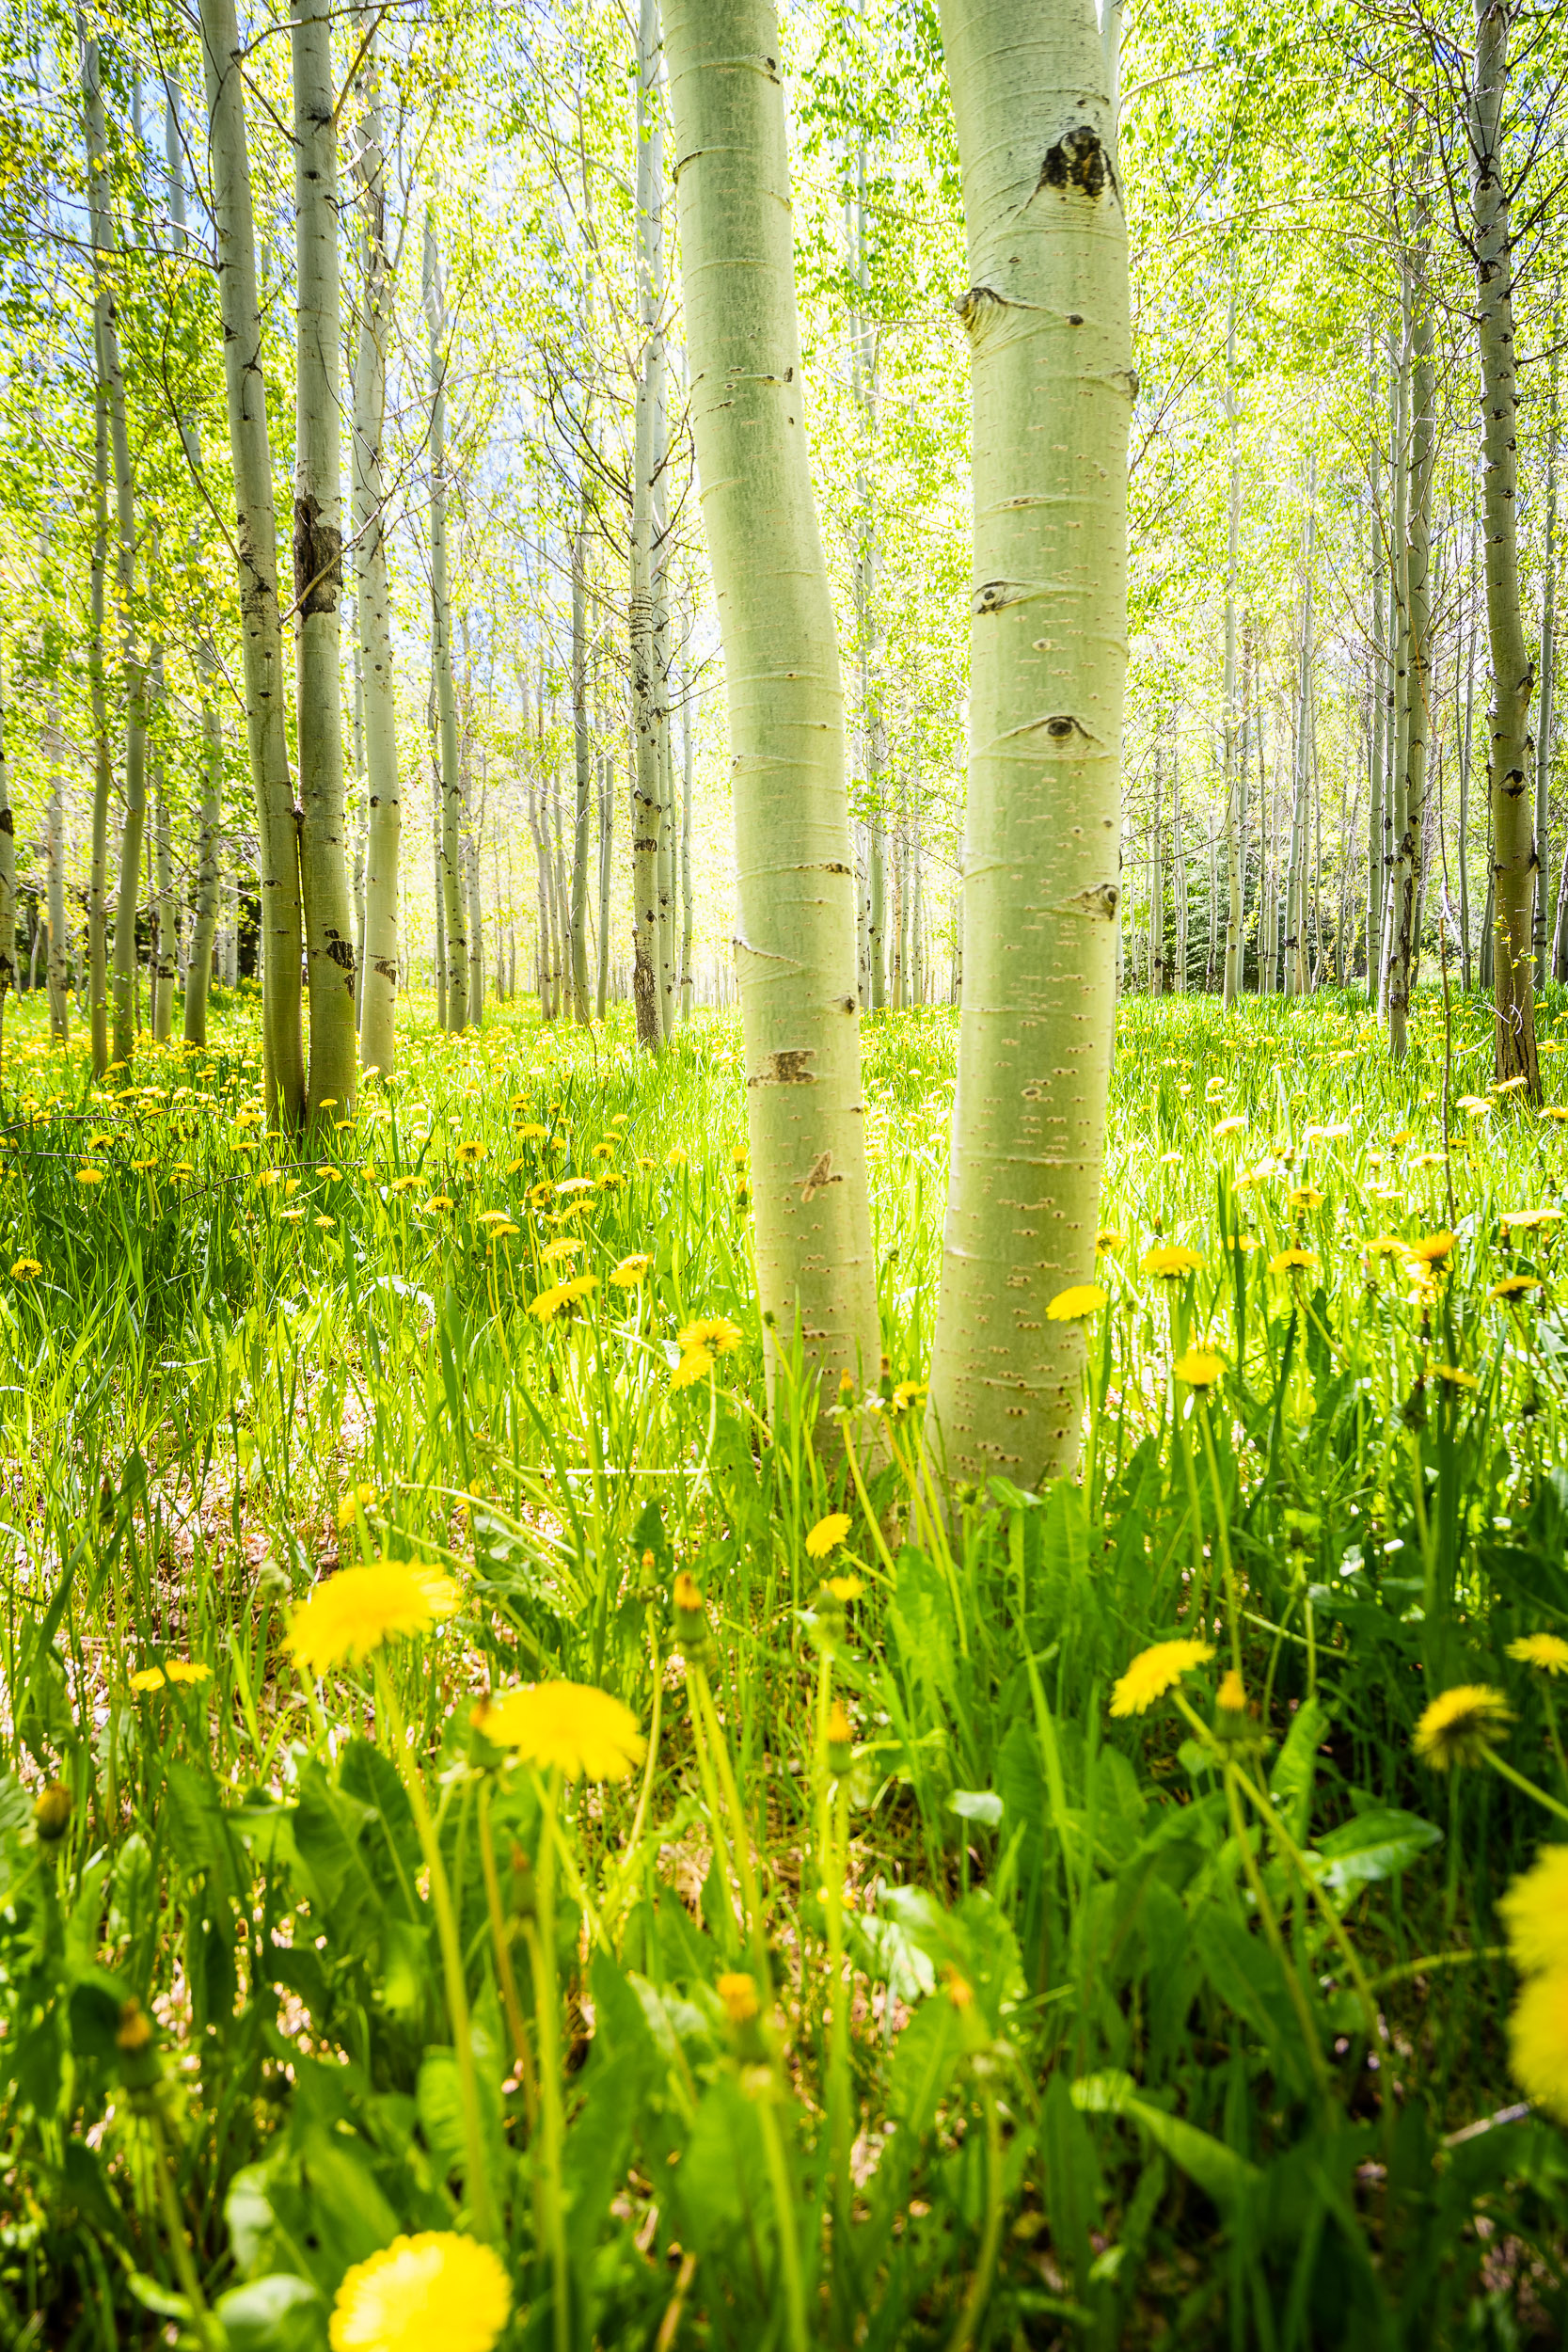
Photo By Jenn Mishra | A low perspective emphasizes foreground elements and reduces the mid-ground. This makes these aspen trees look closer together.
Composite Images
Many landscape photographers combine several images to create one shot. This is called compositing. For best results, the images are made with the camera mounted on a tripod. Let’s look at some of the most common types of landscape composites.
Panorama
Panoramas capture a scene wider than you can photograph with one lens. There is a panorama setting on many phone cameras. But you can also create a panorama by taking multiple photos of a scene. With each image, you move your camera across the horizon, overlapping the shots. The images are stitched together with a program like Lightroom.
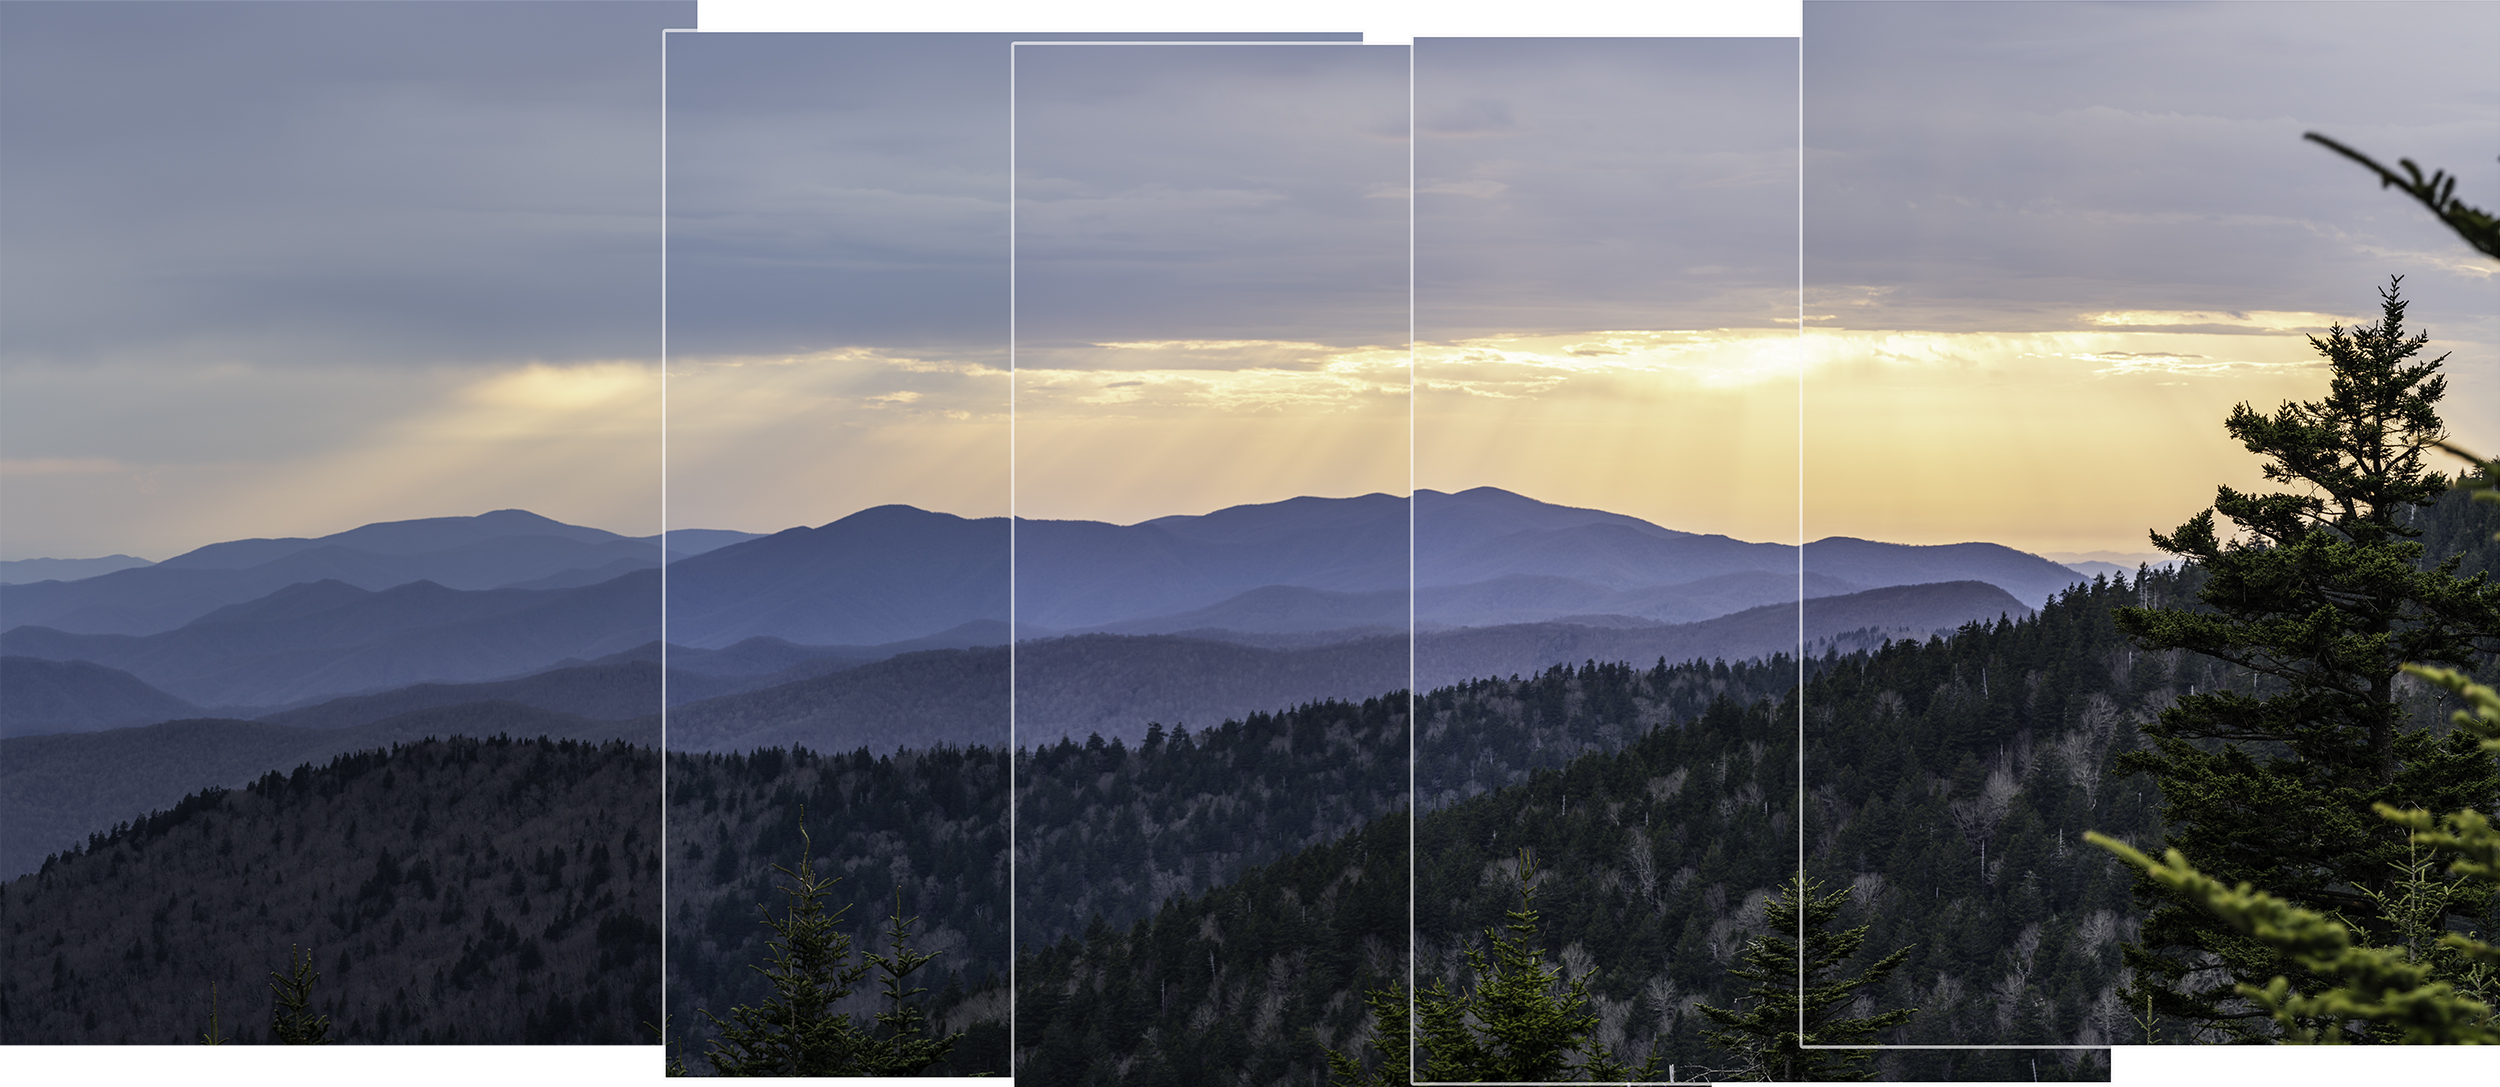
Five images of the landscape taken in portrait mode combine to create one horizontal panorama.
High Dynamic Range (HDR)
A High Dynamic Range (HDR) photo is a composite of 3, 5, or 7 images taken at different exposures. One is under-exposed by a stop or two. One is over-exposed by a stop or two. Use this when you have a very bright light, light the sun, and deep shadows. Photo editing programs like Lightroom will combine HDR images into one, taking the best exposure from each.
Focus Stack
To get sharper landscape photos, landscape photographers sometimes take many different photos of a scene. Each time they change the focus point. This is called focus stacking. One image may have the foreground in focus. The next may have an object in the mid-ground in focus. A third focuses on the background. The in-focus parts of each image are combined in programs like Photoshop.
Composite
Compositing means combining two different images into one. Landscape photographers do this for a lot of reasons. For instance, astrophotographers may photograph a foreground element during the blue hour when there is still light. They combine it with a starry sky photographed later in the evening. Many photo editing programs let you replace a sky with one that is more interesting. Sky replacement is a form of compositing.
Conclusion
Many factors combine to create a good landscape photograph. Some have to do with the environment. Your landscape will be better with a focal point, interesting light, and dramatic skies. Others have to do with how you compose the image. For instance, the Rule of Thirds encourages you to place the land 1/3rd or 2/3rds of the way into your image. Different lenses and camera settings change the look of your landscape. In the end, you decide what is right for your photo.
Cover Photo By Jenn Mishra