Shooting portraits outside immediately lends a relaxed and natural air to images and it’s often less intimidating for subjects. In this guide, I’m going to look at the tips and tricks you need to know to get great shots, along with the technical know-how.
Here’s what we’ll cover:
- Essential Gear
- Camera settings
- Understanding and working with light
- Shooting tips
Essential Gear
Shooting portraits outside is all about making the most of the natural light available, but you’ll still need the right kit to get the best results. Fortunately, you don’t need mountains of kit to take great portraits outside!
Obviously, you’ll need your camera but the key piece of equipment for portraiture is your lens. I’m a big fan of the 85mm lens for portraits, although other pros swear by the 135mm! Either of these telephoto lenses will allow you to get up close to your subjects and achieve the small depth of field that works so well in portraiture. You could also use a 50mm lens or a zoom lens such as a 70-200mm.
A flashgun can be very useful to fill in shadows, and I’d also recommend carrying a reflector to bounce light back onto your subject’s face. A Sunfire reflector, which is a mixture of silver and gold stripes, will allow you to light most skin tones. For the most creative options, I’d also recommend carrying a trigger to allow you to use your flashgun off-camera.
Camera Settings
Obviously, your settings will alter according to the amount of natural light available and whether you’re using a flashgun for added artificial light. But there are some baseline settings that you can dial in before you start. I would always recommend shooting in RAW so that you’ve got the most options for retouching and colour correction in post-production.
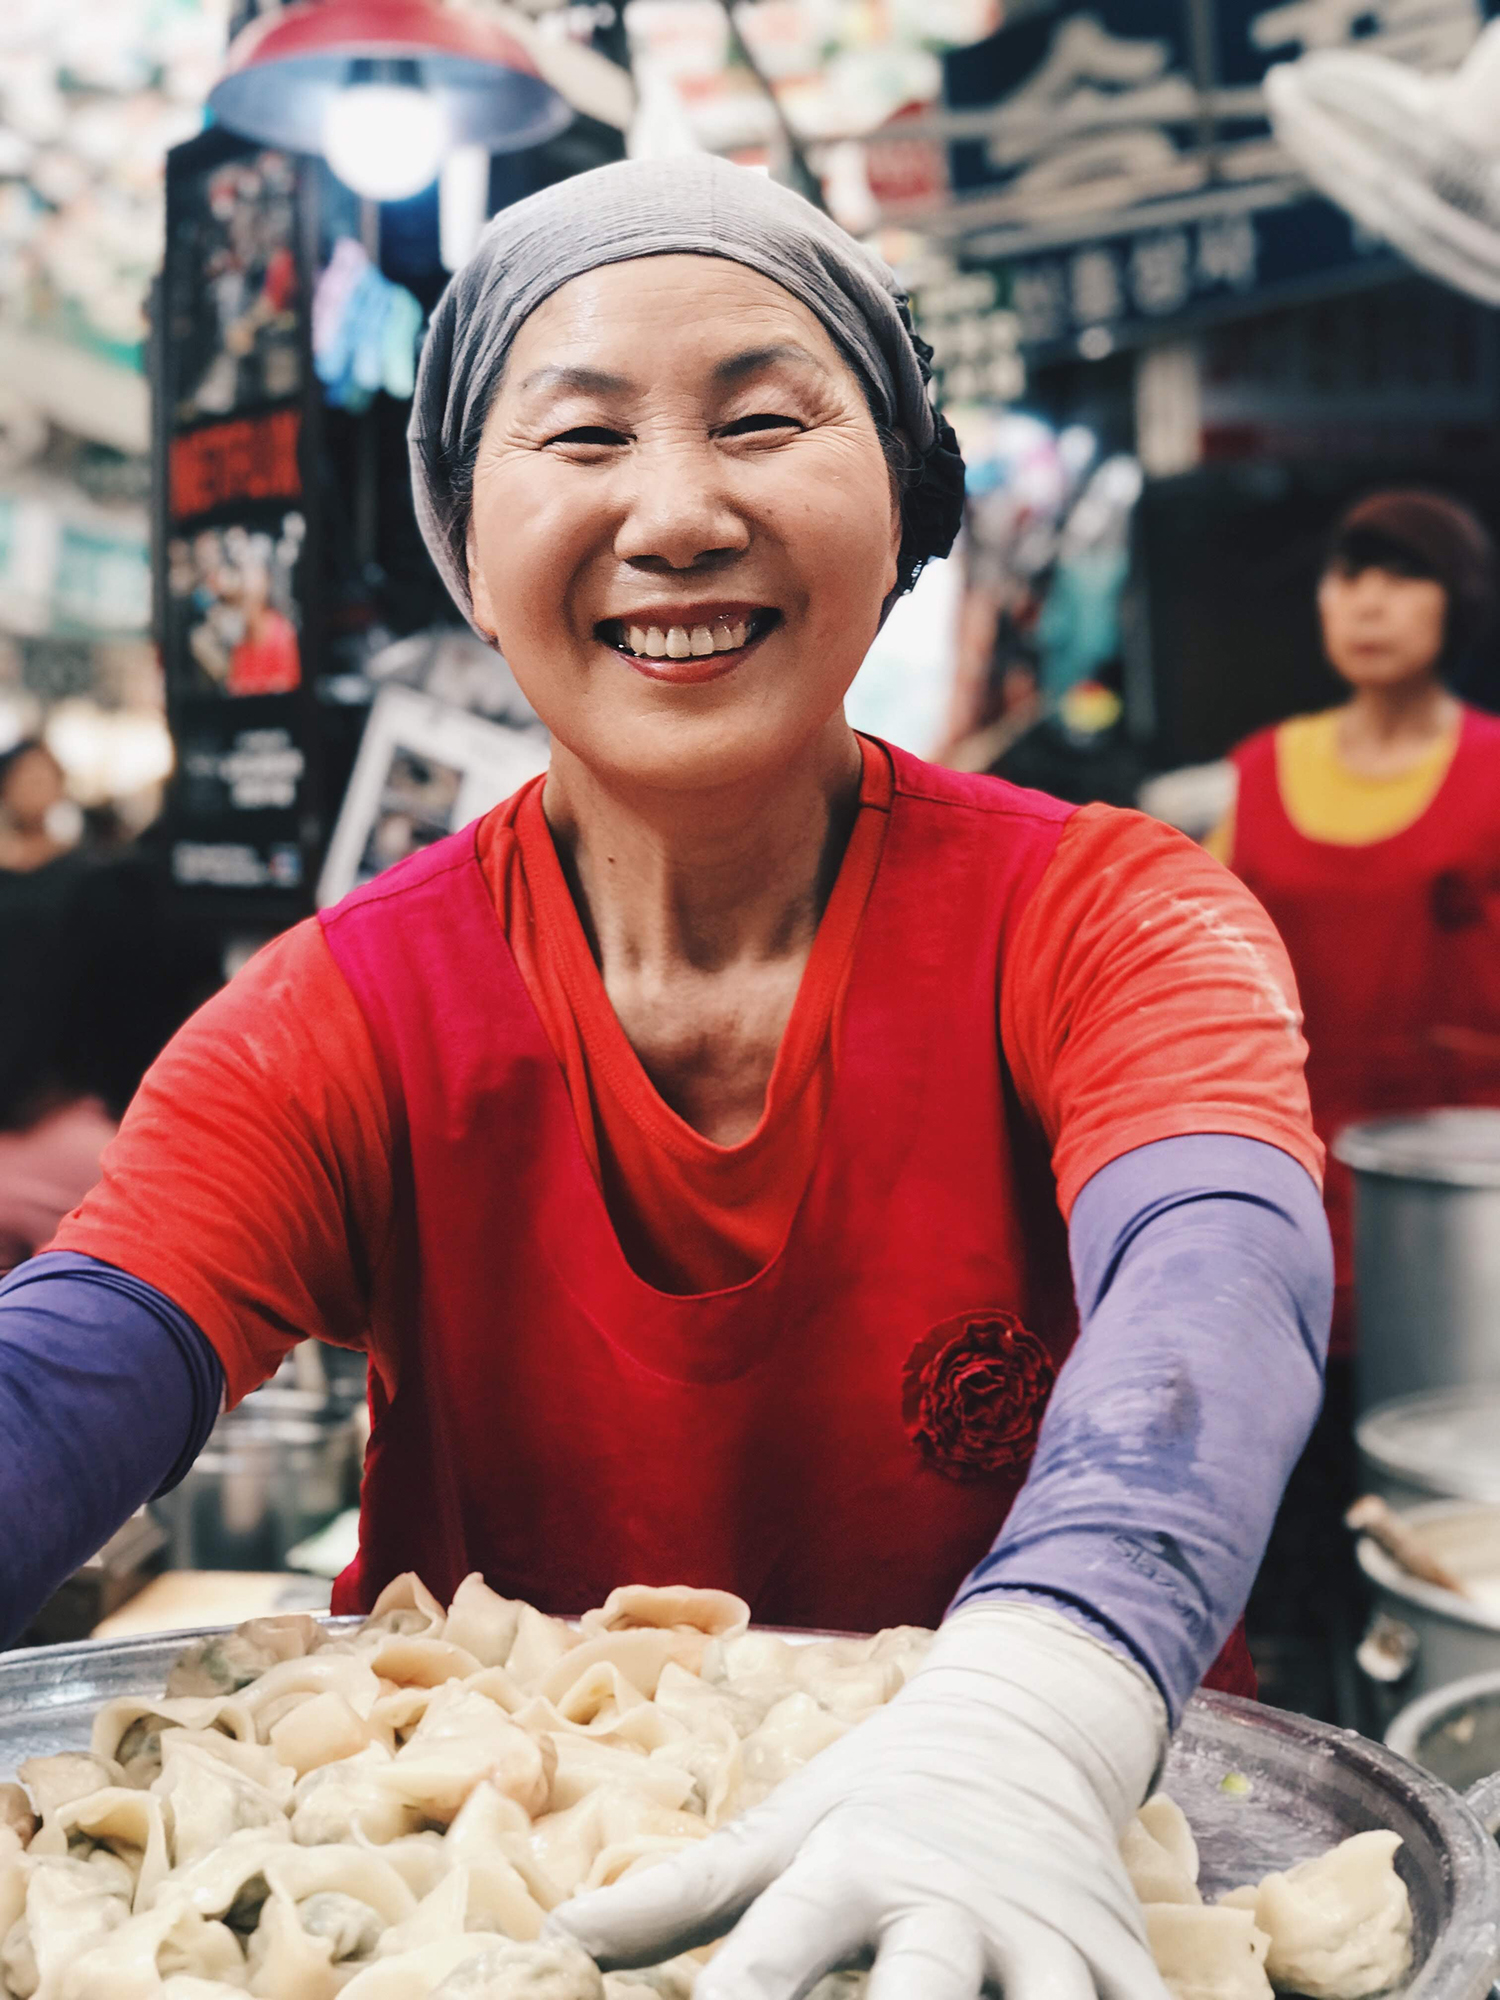
Portraits benefit from using a low ISO of around 100. This is because you don’t want any noise (digital grain) to distract from your subject. If you want to blur out your background to help your subject stand out, aim for an aperture of around f4 for a head and shoulders shot. Most outdoor portraits look better with a soft background, as it will help to isolate your subject. However, if you do want the whole shot to be in focus, you’ll need an aperture of around f16 to get both your subjects and the background sharp. These settings will dictate your shutter speed but remember that you’ll need a shutter speed of at least 1/60th of a second to prevent motion blur. If you’re using a heavy telephoto zoom lens, it’s a good idea to use a shutter speed equivalent to the focal length of the lens (e.g. 1/200th of a second for a 200mm lens). This prevents any blur from supporting a heavier lens.
Key Lesson: More important than anything else in portraiture is pin-sharp eyes. A portrait where the eyes are soft loses its impact, so it’s essential to manually choose your focal point so that you can position it over or in between the eyes. Some cameras allow you to choose a group of focal points or have face recognition/eye recognition to make things even easier.
Understanding and working with light
Different times of day have a very different effect on light, which you need to understand in order to get the best possible photos. Here’s a small chart to help you understand:
Time of Day Contrast Colours Sun Direction
1. Midday Highest Neutral White Near Vertical
2. Evening & Morning High Slightly Warm Mid to Low
3. Golden Hour Medium Warm to Fiery Near Horizontal
4. Twilight, Dawn & Dusk Low Cool Pastel Below Horizon
It’s important to understand how light works at various times of the day, as you might not always have control over when you’re shooting outdoor portraits. As well as understanding what the light is doing, you also need to be aware of how much actual sun there is – i.e. are you shooting in full sun, shade / partial sun or no sun at all.
Bright, midday sun presents the most problems for portraiture as you’ll be dealing with hard shadows and the problems of subjects squinting at the sun. But shade, partial sun, or no sun at all can produce flat images. These situations are where your flashgun and/or reflector can come in useful. You can use your flashgun to add light back into an overcast scene, or as a fill-in to overcome shadows. Reflectors bounce light back onto your subject’s face and help give skin a natural glow.
Key Lesson: The softer light at the ‘Golden Hour’ is particularly flattering for portraits. The sun is low and you won’t have contrasting shadows. The light also has pink and golden tones that look very attractive on the skin. So early morning and late afternoons are your friends when it comes to shooting outdoor portraits.
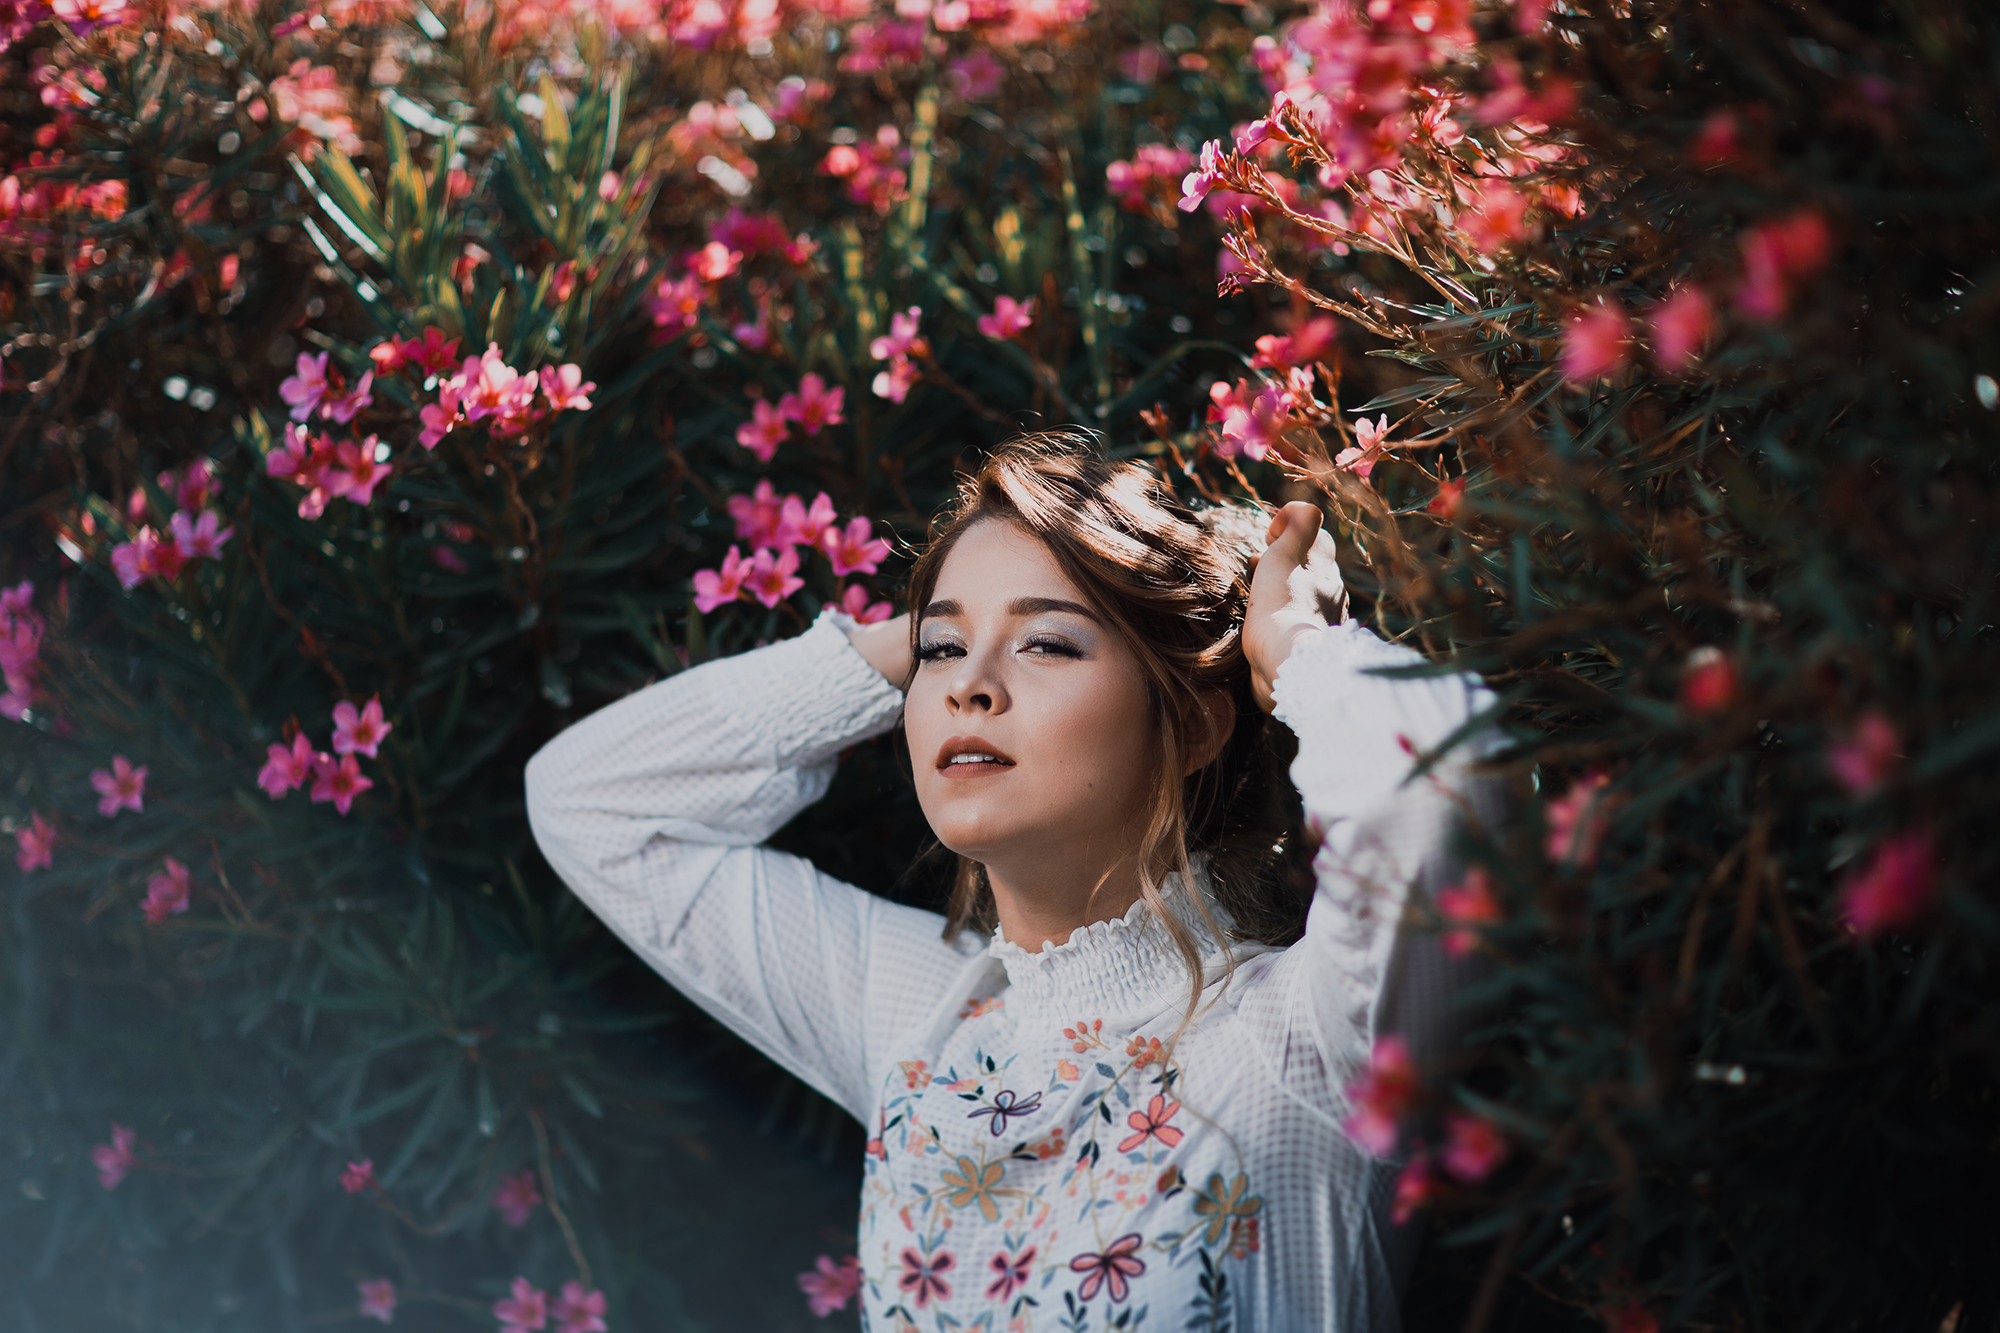
Make sure that you control the direction of your sunlight and where it’s hitting your subject. Use it as a sidelight or position the sun directly behind you. You can shoot directly into the sun to create an attractive rim light but watch that this doesn’t go too far and create a silhouette!
Shooting tips
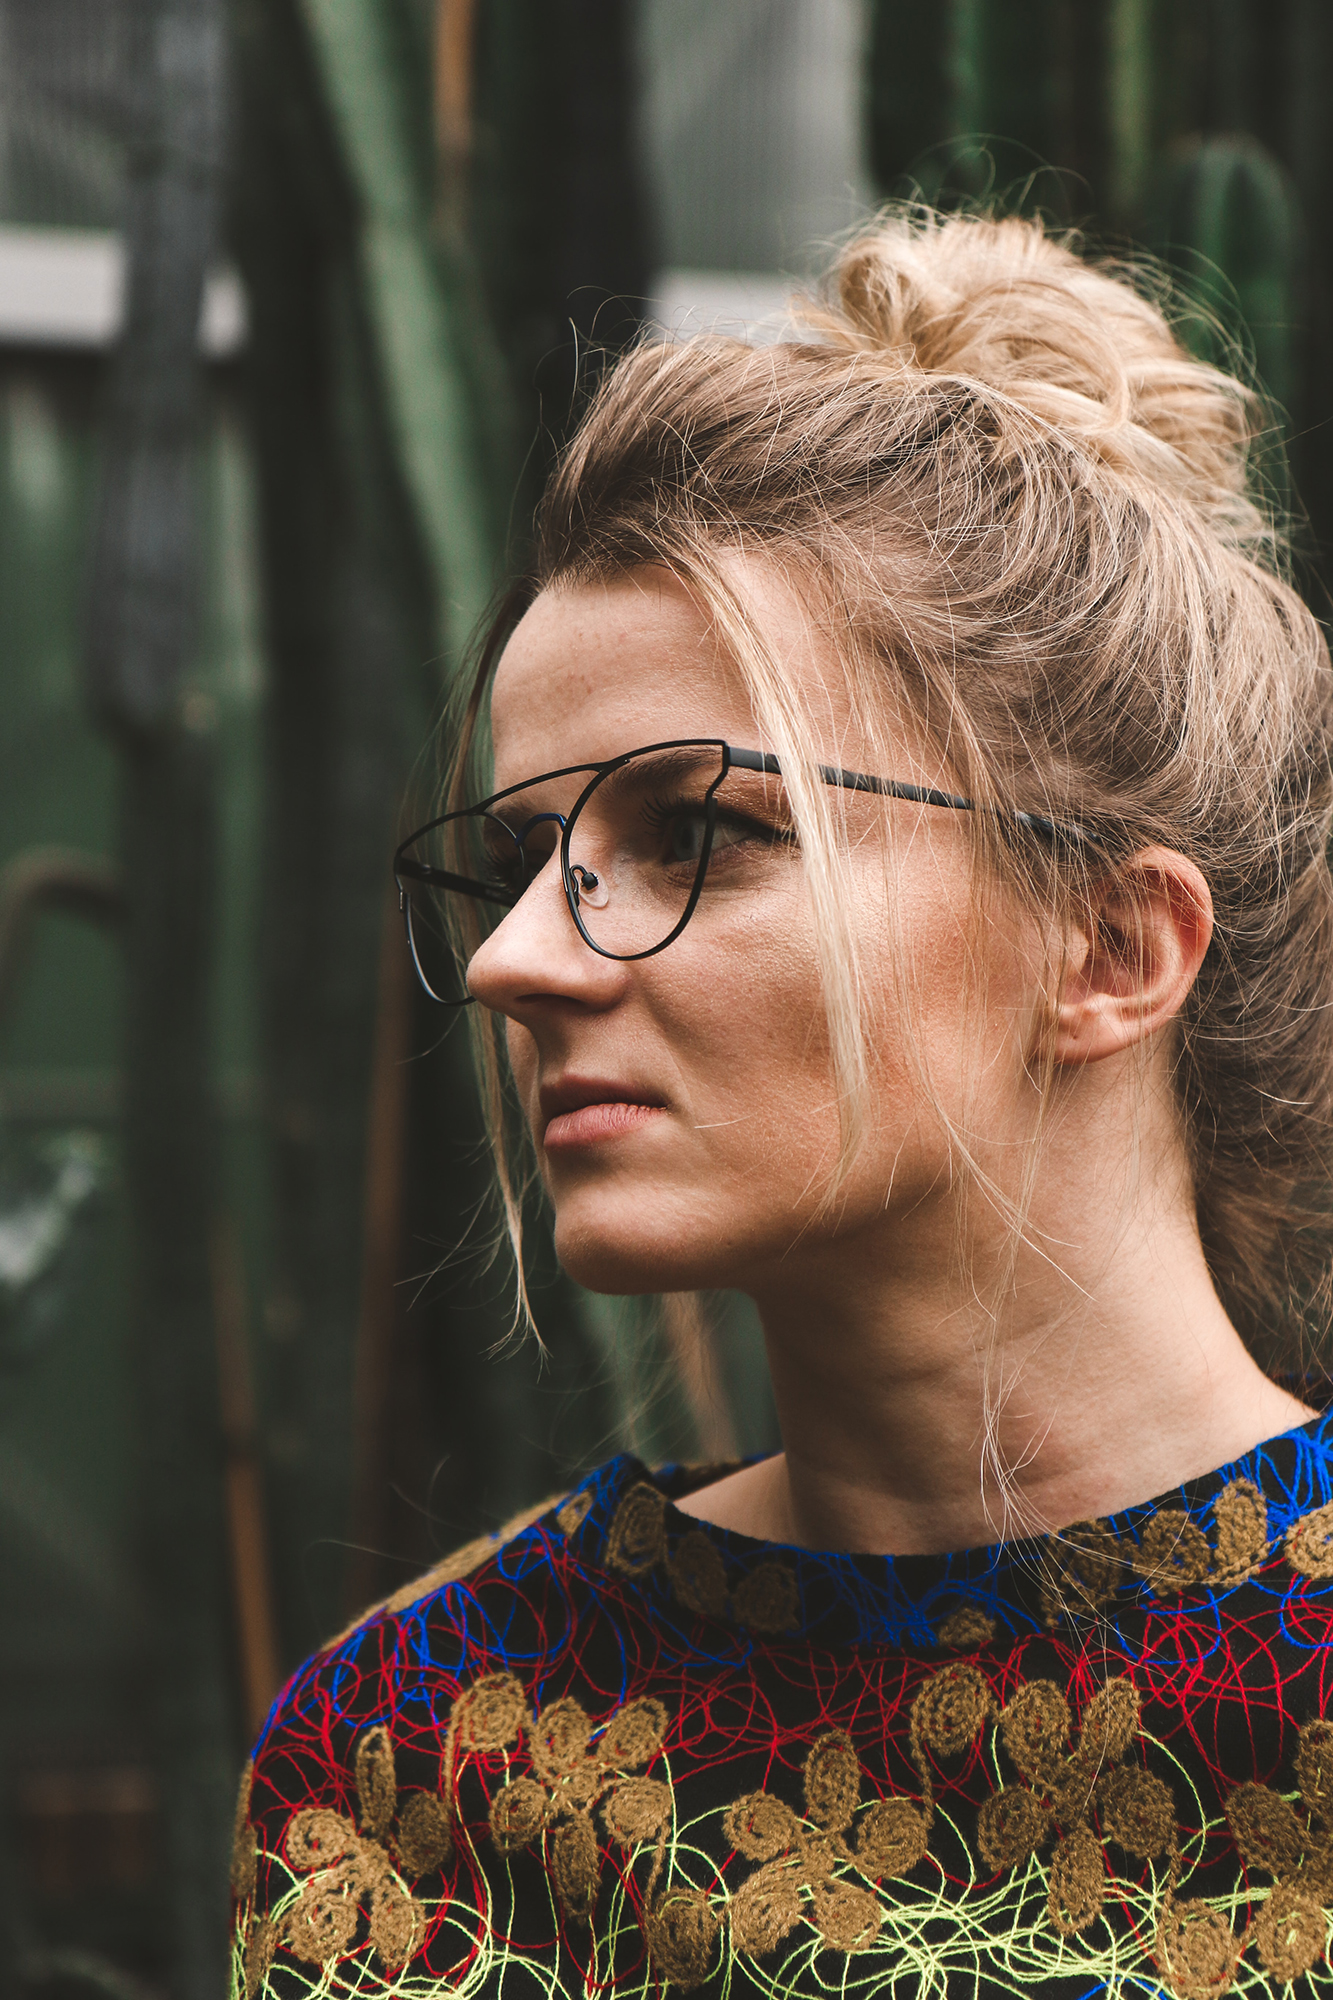
- Location, location, location – Choose a location that has lots of natural light as well as visual interest. Even if you’re using a small depth of field and your background will be blurred, you want it to provide an attractive colour palette. Check that you don’t position your subject so that a tree or telegraph pole is sticking out of their head!
- Relax your subject – Being photographed doesn’t come naturally to a lot of people! Help your subjects to relax by putting them at ease. I find chatting to them or cracking a few really bad jokes helps relax people and I also don’t announce when I’m going to be taking a shot. This helps to produce more relaxed images, as your subjects won’t be tensed waiting for the shutter to fire!
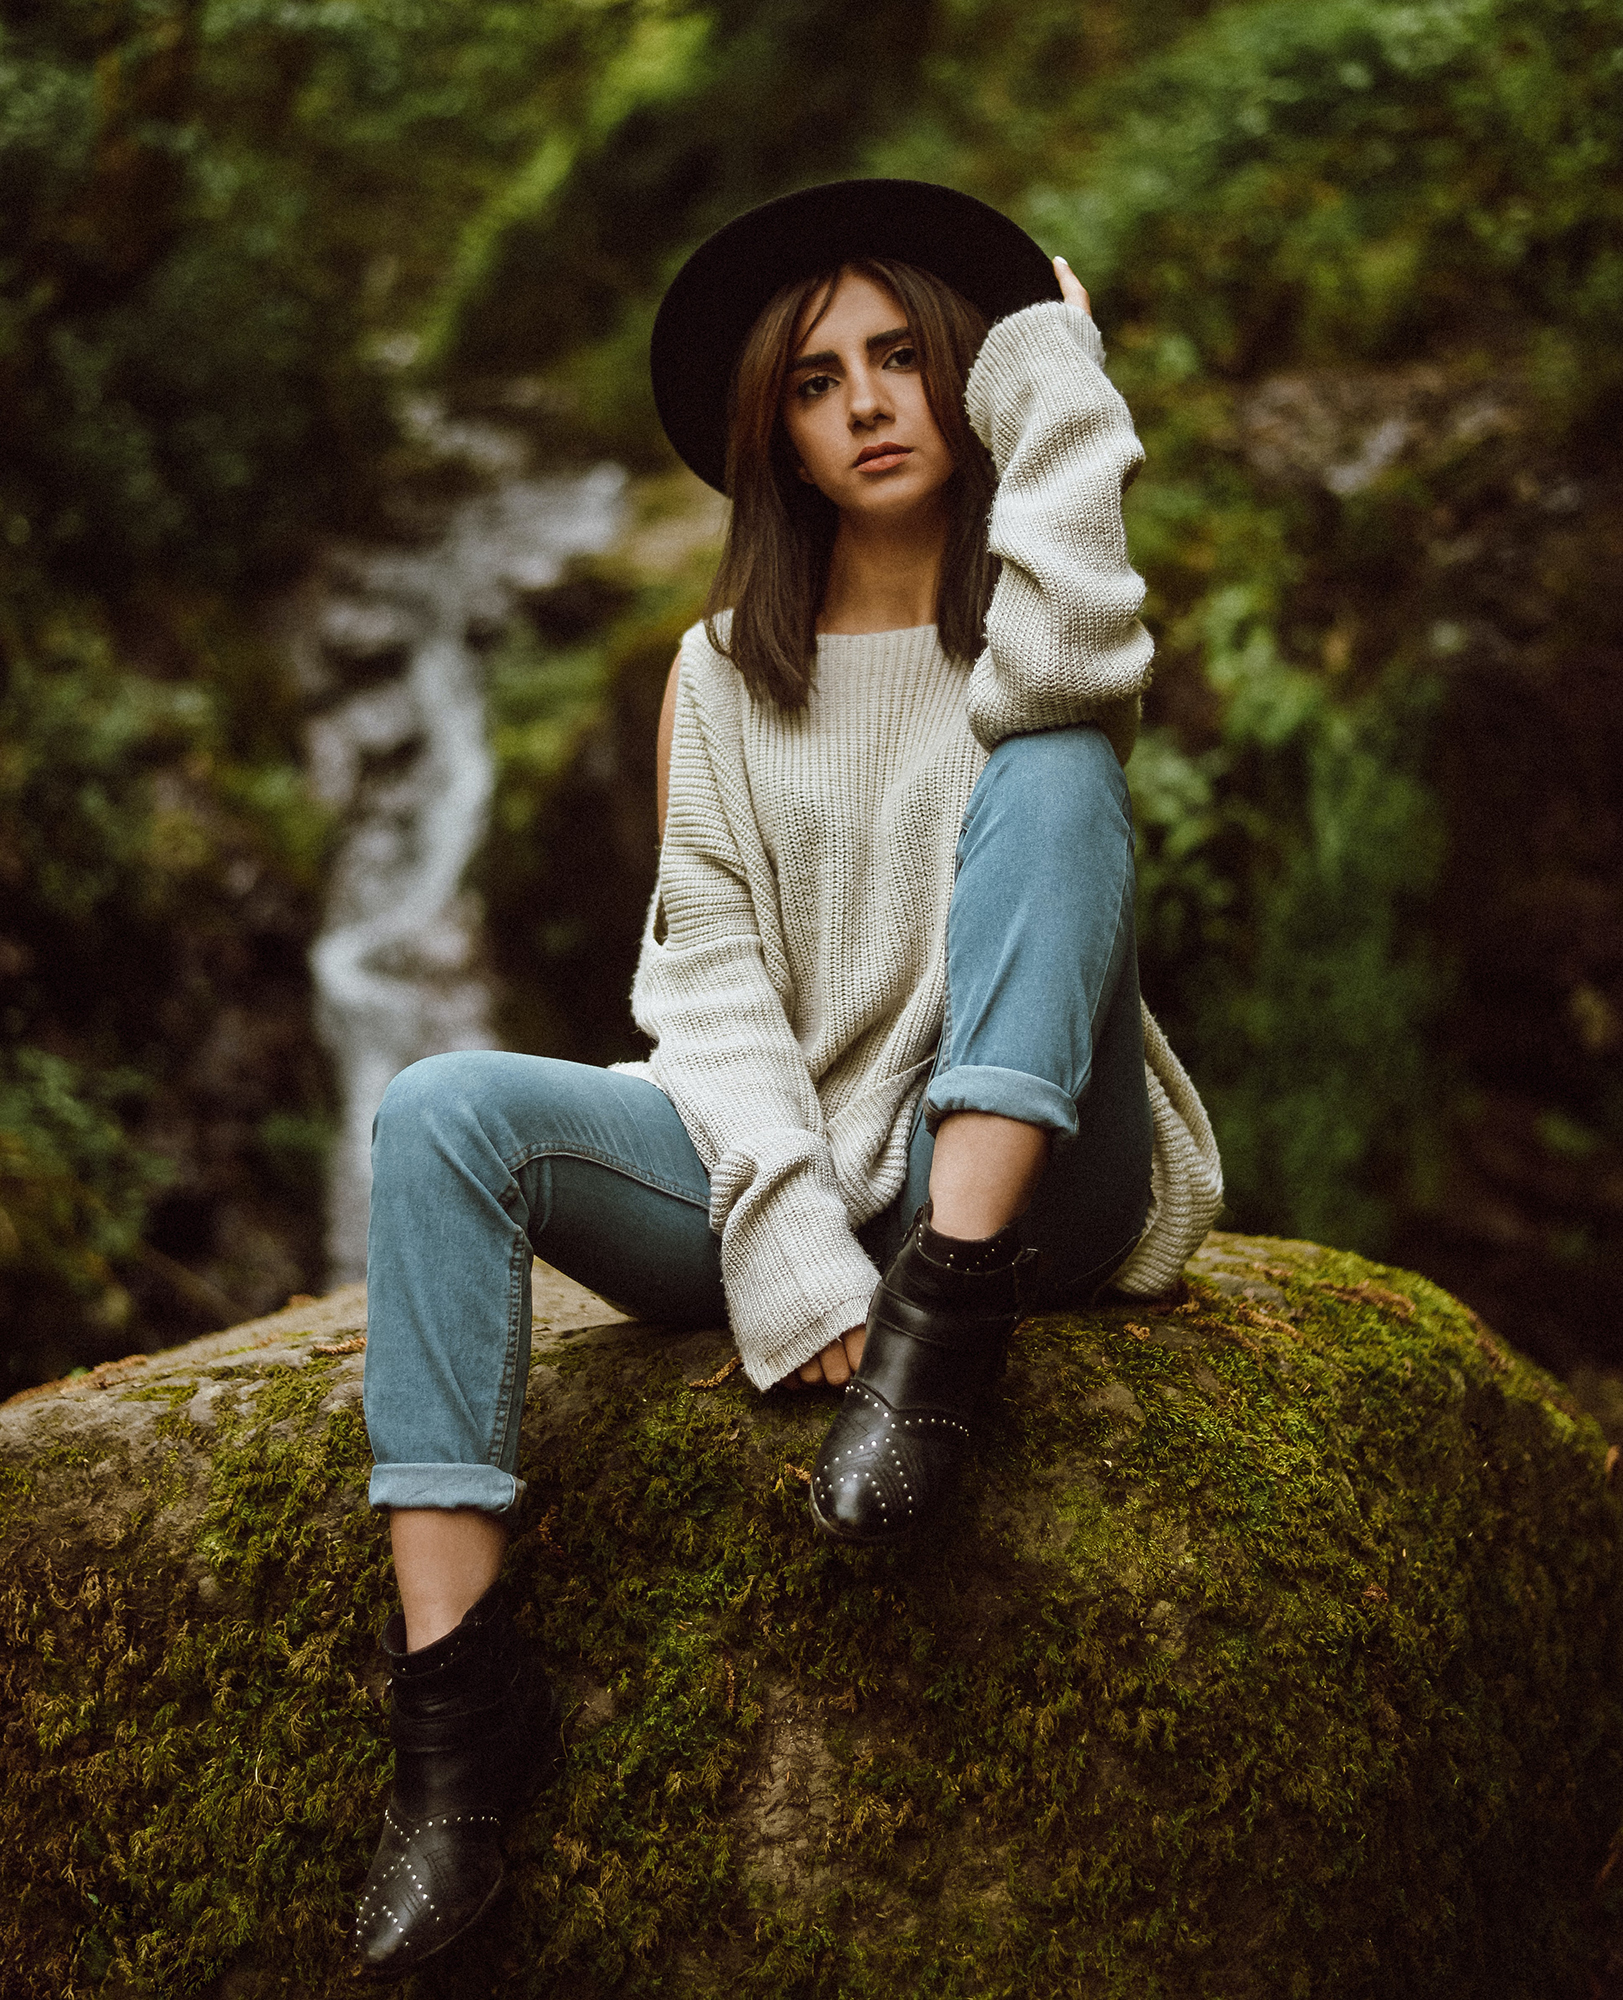
- Think about clothing – It’s important that your subjects wear clothes that they feel comfortable in and won’t be fiddling with throughout a shoot. Lighter colours work particularly well for outside portraits as these will help avoid any dark underexposed areas on your subject’s body.
Use a lens hood – Make sure that you use a lens hood when you’re shooting outside in the sun to avoid any haze and lens flare. It also helps if you can keep your lens in the shade.
In conclusion
Outdoor portraits lend themselves to naturalistic shots and are an easy way to produce relaxed photographs. I think the outside world is particularly great for shooting kids in, as there’s plenty of space for them to run about in! But shooting outdoors works for all ages and it’s a great way to start experimenting with your portraiture.
Self-help quiz
- What’s the key piece of equipment for outdoor portraiture?
- What’s the best aperture for a head and shoulders shot?
- What is the sun’s direction in the Golden Hour?
- What does a reflector do?
- Why should you use a lens hood?
Cover Photo By Stavrialena Gontzou
