We all know that light is vital to a photograph – without it, you won’t have an image. Natural light can produce beautiful imagery, but did you know that light produces different tones, colours and contrast throughout the day? In this guide, I’ll teach you all about the different times of day and the influence that they have on light.
Here’s what we’ll cover:
- How different times of day change the light
- Golden Hour
- Evening & morning light
- Midday light
- Twilight, dusk & dawn
- Shade & overcast
How different times of day change the light
Before I break down different times of day and the lighting you’ll see in more detail, here’s a handy list to show how light changes through the day.
| Time of day | Contrast | Colours | Sun Direction |
| Golden Hour | Medium | Warm to fiery | Near horizontal |
| Evening & morning | High | Slightly warm | Mid to low |
| Midday | Highest | Neutral white | Near vertical |
| Twilight, dawn & dusk | Low cool | Pastel | Below horizon |
It’s perfectly possible to shoot at any time of day, but you need to pay attention to what the light is doing and adjust accordingly. Let’s break down each time of day in a little more detail.
Golden Hour
Nearly everyone has heard of the golden hour – rightly regarded as the optimum time to be shooting photographs outside. The Golden Hour is defined as the hour after sunrise and before sunset, with light being particularly kind to subjects and, by extension, photographers! At these times of day, the light is full of pink and golden tones that are very flattering. This is due to the sun being lower in the sky, with the near horizontal levels making it easier to create back, side and front lighting.
Contrast is also reduced during the golden hour, leading to softer and more diffused light. And, as the light is scattered across a wider area, it helps to soften and reduce shadows. Do keep an eye out for sun flares – the Golden Hour is the perfect time to experiment with them, but you don’t want them to overpower an image. I’d also always recommend carrying a reflector to help bounce and diffuse light further as needed. And make sure to set your own white balance – auto white balance has a tendency to wash out the tones of the golden hour.
Evening & Morning Light
As the day goes into mid-morning or evening, light becomes slightly warmer, and shadows become more noticeable. This is because the light is higher in the sky. The side light and shadows can be very useful in making objects appear more three-dimensional, as well as producing strong and interesting portraits.
However, light at these times of day can be a little flat, which can translate into images that don’t have any ‘pop’. The trick here is to use the shadows to define subjects, creating interest and depth in your shot. Because the shadows aren’t too hard at these times of day, they won’t overpower an image or leave areas lacking in any definition at all. I actually like working with this kind of light for portraits, as you can use the shadows to define a face. And again, a trusty reflector helps to fill in any gaps.
Midday Light
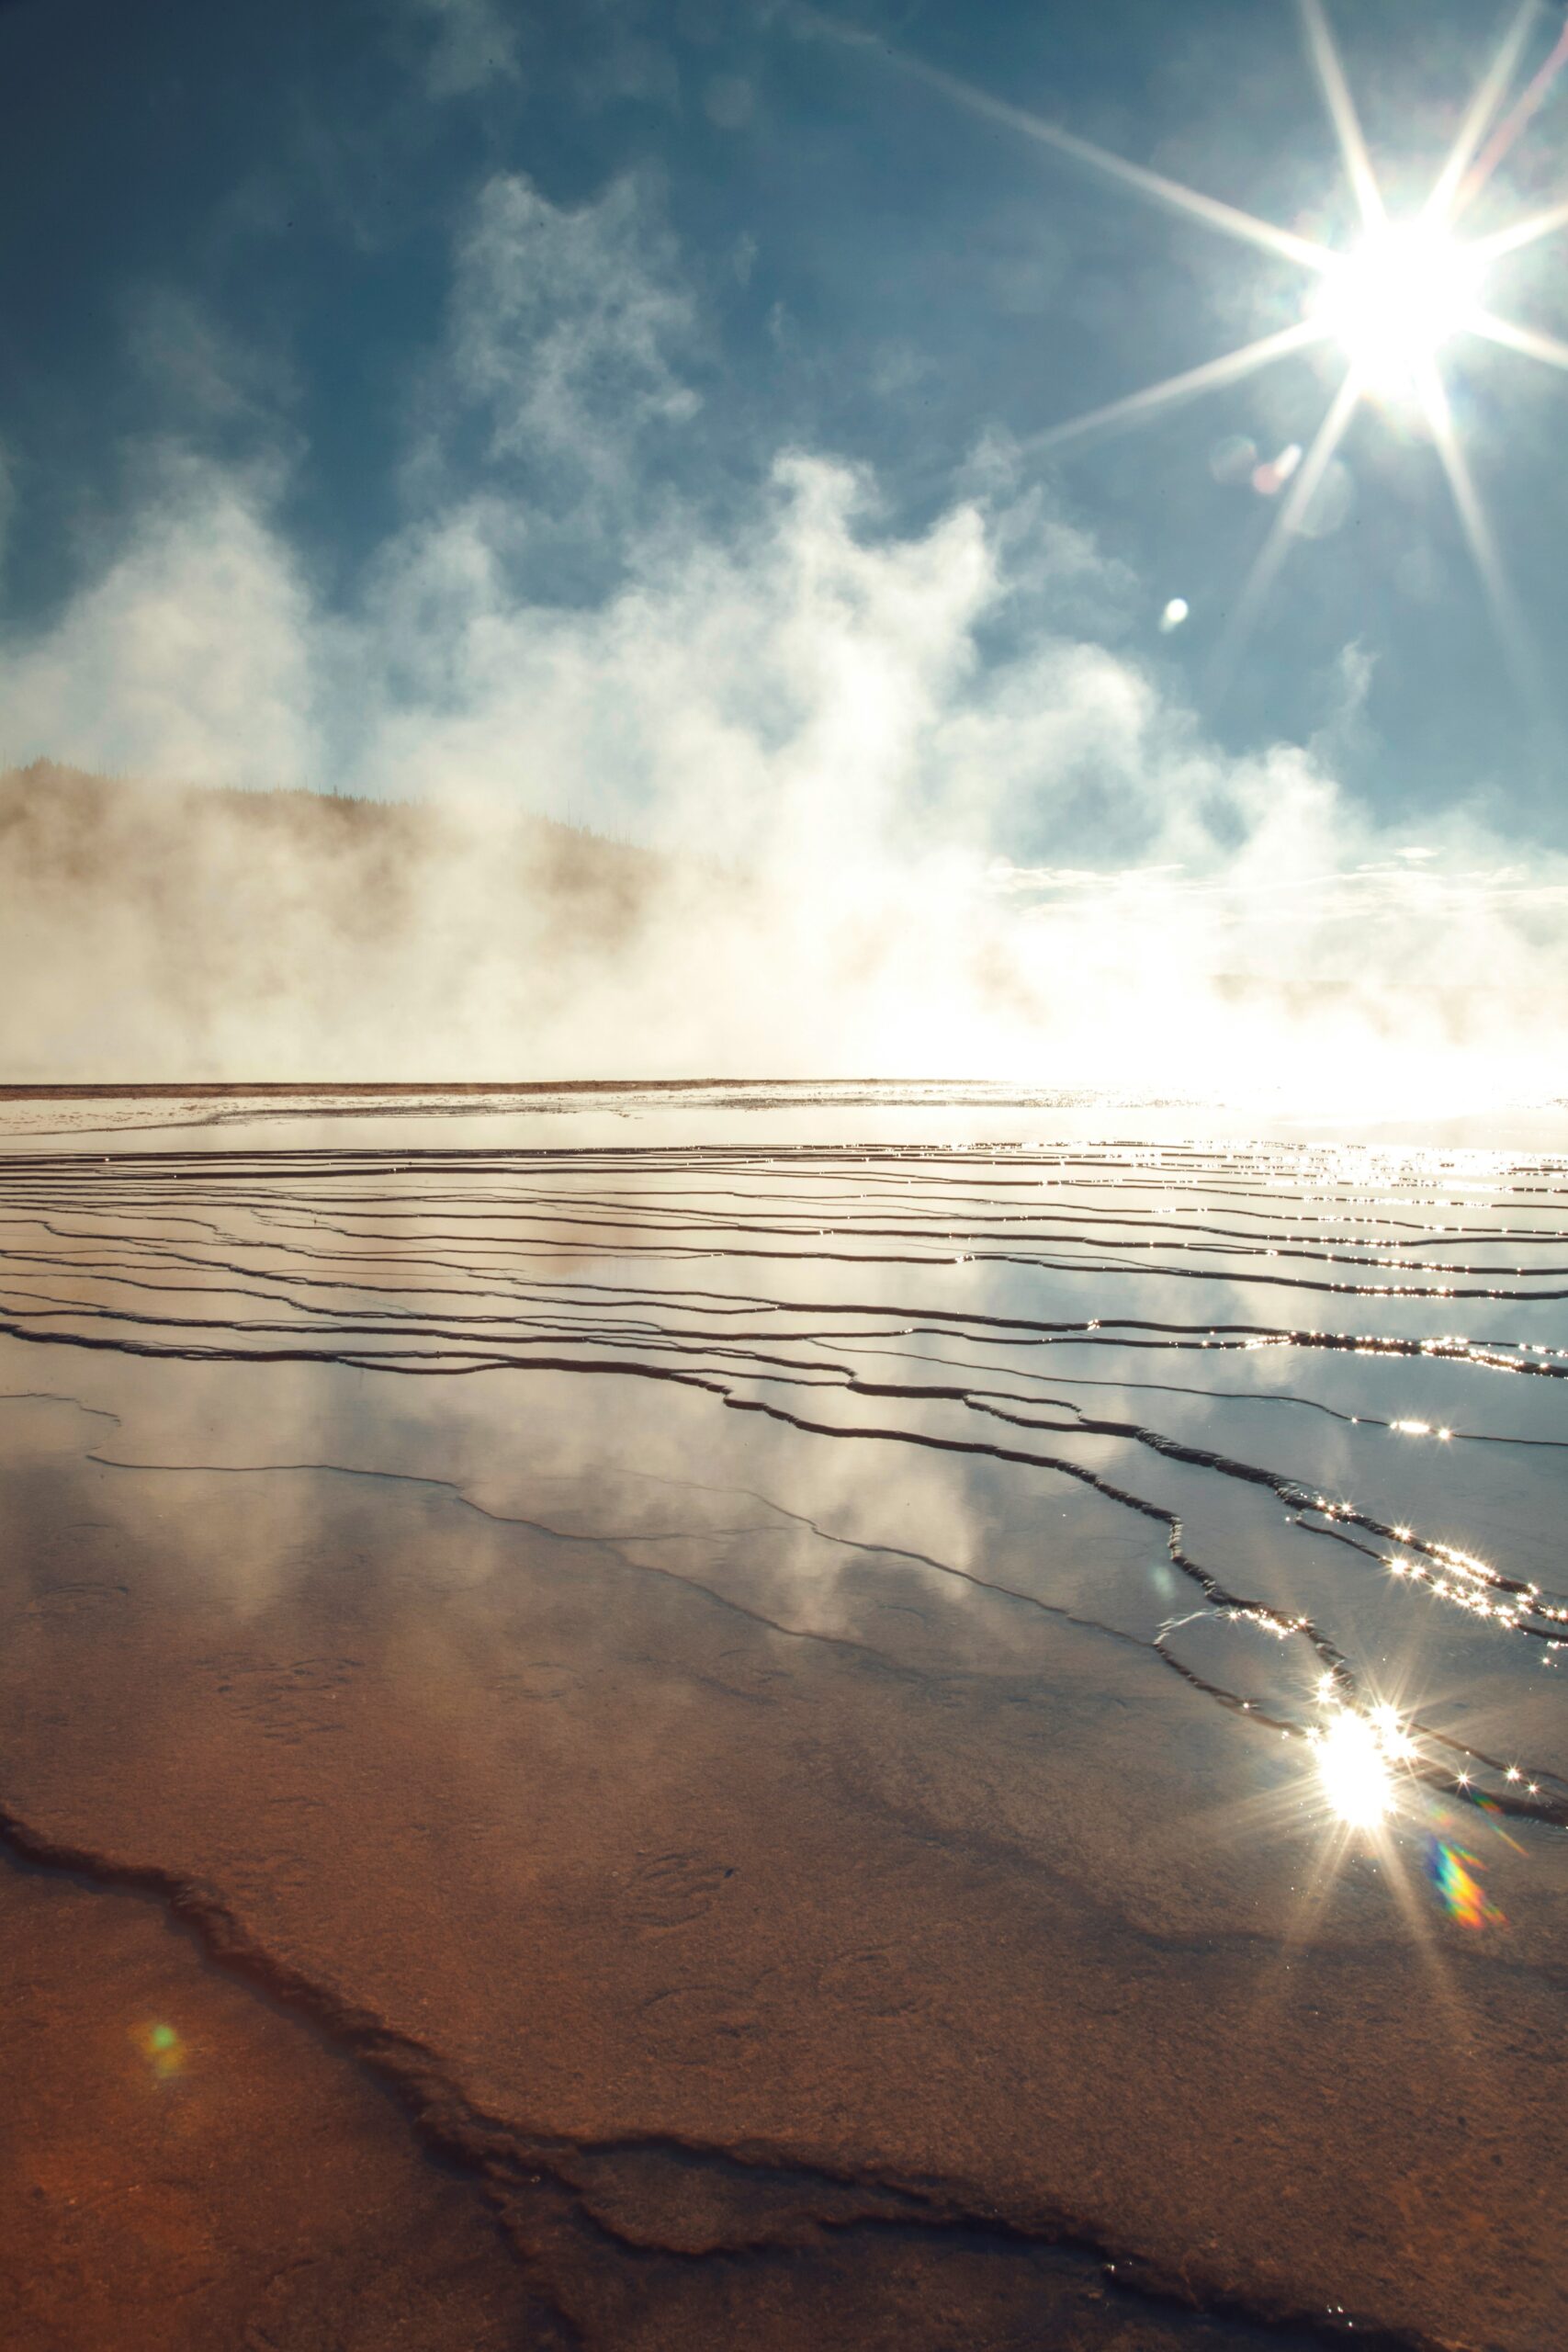
The sun is at its highest in the sky at midday, leading to very direct light that’s angled directly downwards from the sun. This means that there’s little chance of the light diffusing through the atmosphere, leaving a hard and fairly neutral white coloured light as its result. Of course, the neutral tones in the light aren’t without advantages. It’s a good time of day to photograph water, for example, as midday light will cut down on reflections and make water appear more transparent.
Because colour saturation is fairly low at this time of day, I’d recommend using a circular polarising filter to enhance the bright blue tones of the sky (I’m presuming it’s a sunny day here!). Get your reflector out again to help with shadows and consider using a flashgun to help fill in the shadows. If you position your subject in front of the sun and use backlight, you can then use fill-in flash to smooth out harsh shadows.
Twilight, Dawn and Dusk
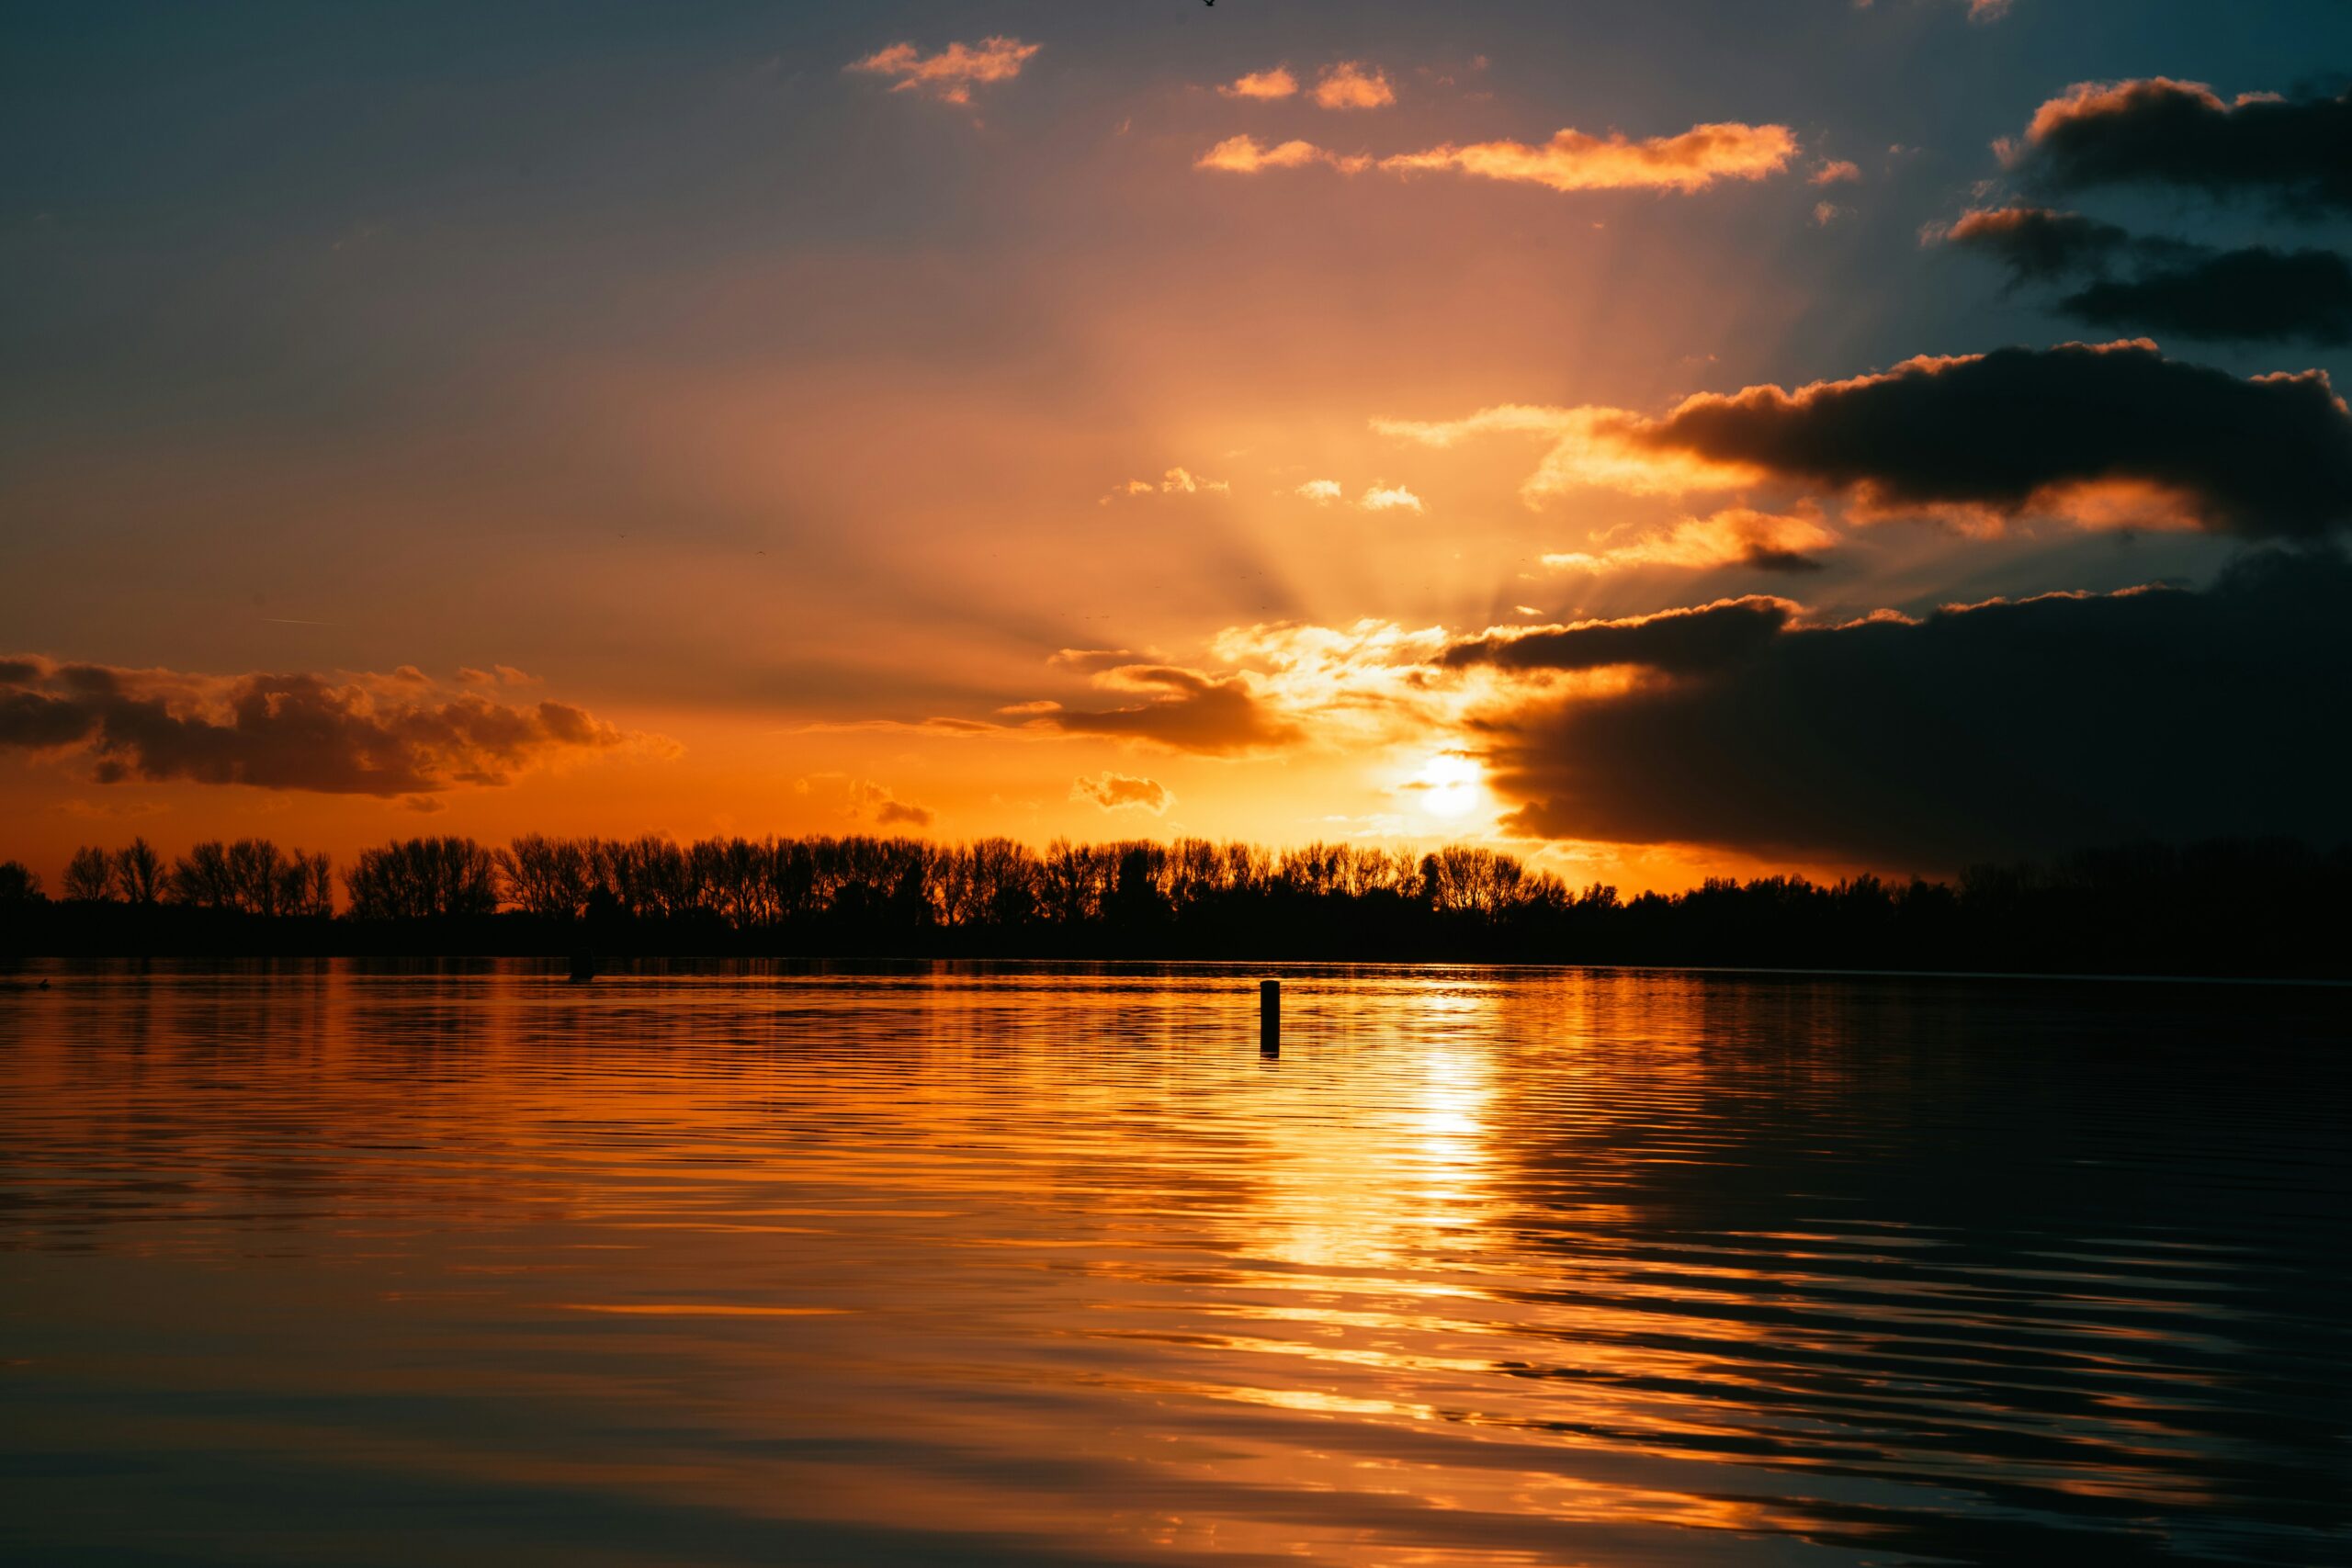
After the Golden Hour, the sky still remains bright even though there’s no direct sunlight. The muted multicoloured light that remains can produce beautifully serene and peaceful images. These times of day are also referred to as the Blue Hour, which is officially the hour before sunrise and the hour after sunset.
But, to capture it successfully, you’ll really need to use a tripod and a long exposure to allow time for the soft colours to be captured. Remember too that care should be taken with composition – soft colours need a strong focal point for them to stand out against. It’s also important to watch your white balance, as with the Golden Hour.
Shade & Overcast
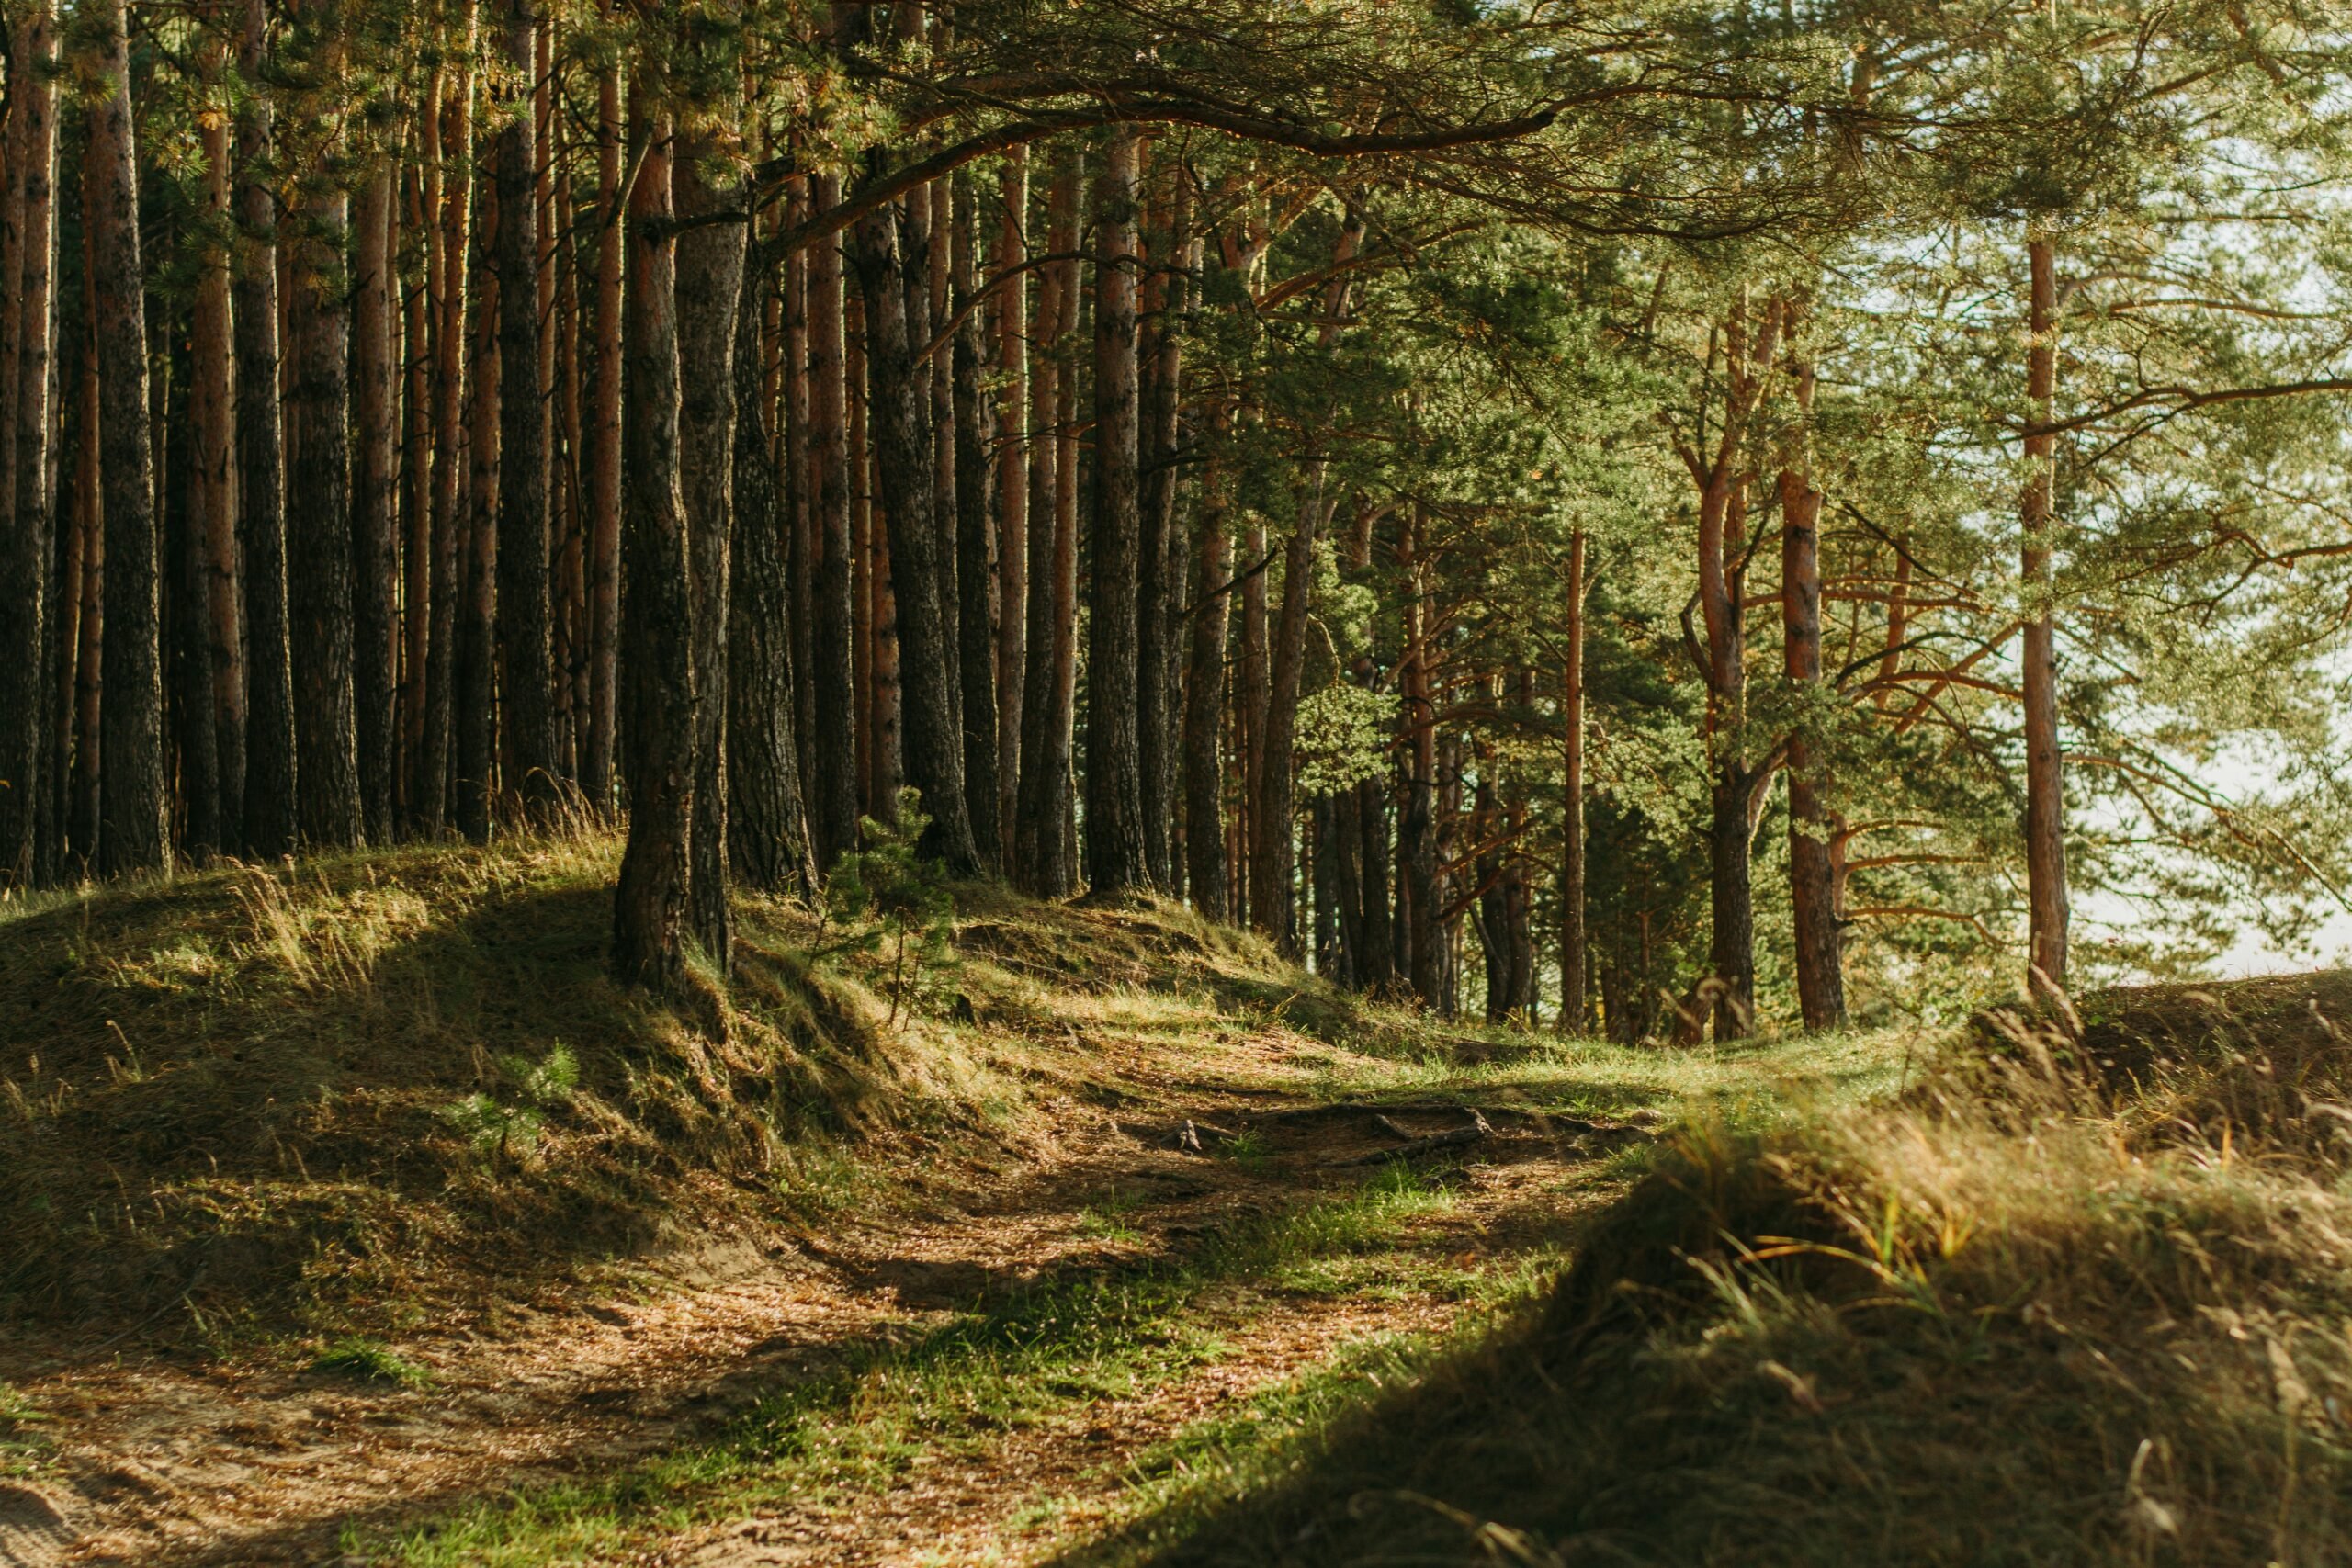
Wherever you live in the world, it’s highly unlikely you’ll always have perfect light. But shade and overcast conditions can provide plenty of shooting opportunities. Grey skies are perfect for shooting in forests and woods, where the softer light will act as a giant softbox, creating a flattering light.
Just because a sky is overcast or grey doesn’t mean that there won’t be different colours in your foreground and horizon. One of the advantages of an overcast sky is that light is very soft and gentle. This brings out colours that might not be visible in strong sunlight. Greens, blues and soft purples can come to life in dull light so focus on these to create interest in a shot.
I’d also recommend using a neutral density (ND) filter, as this will help emphasise colours that aren’t necessarily visible to the naked eye. The longer exposure is possible to use with a ND filter (without overexposing your image) will add more tones and colours, bringing more interest to duller lighting conditions.

Conclusion
Understanding different lighting conditions throughout the day makes it easier to get great shots, whatever you’re faced with. And by understanding light, it’s easier to get fantastic images.