The exposure triangle is the most fundamental concept in photography and understanding the relationship between its three elements of ISO, shutter speed, and aperture is absolutely crucial. Back in the days of film photography, using the exposure triangle correctly was the only way to ensure you got a perfectly exposed shot. And although digital photography allows us to see a preview of our finished photograph, LCD screens cannot be relied upon for 100% accuracy. The central tenets of photography haven’t changed, so in this guide, I’m going to explain the exposure triangle fully to help you confidently get your camera off auto and onto manual, thus taking the first step towards becoming an accomplished photographer.
Here’s what we’ll cover:
- What actually is the Exposure Triangle?
- What is a stop?
- ISO
- Shutter Speed
- Aperture
- Bringing it all together
What actually is the Exposure Triangle?
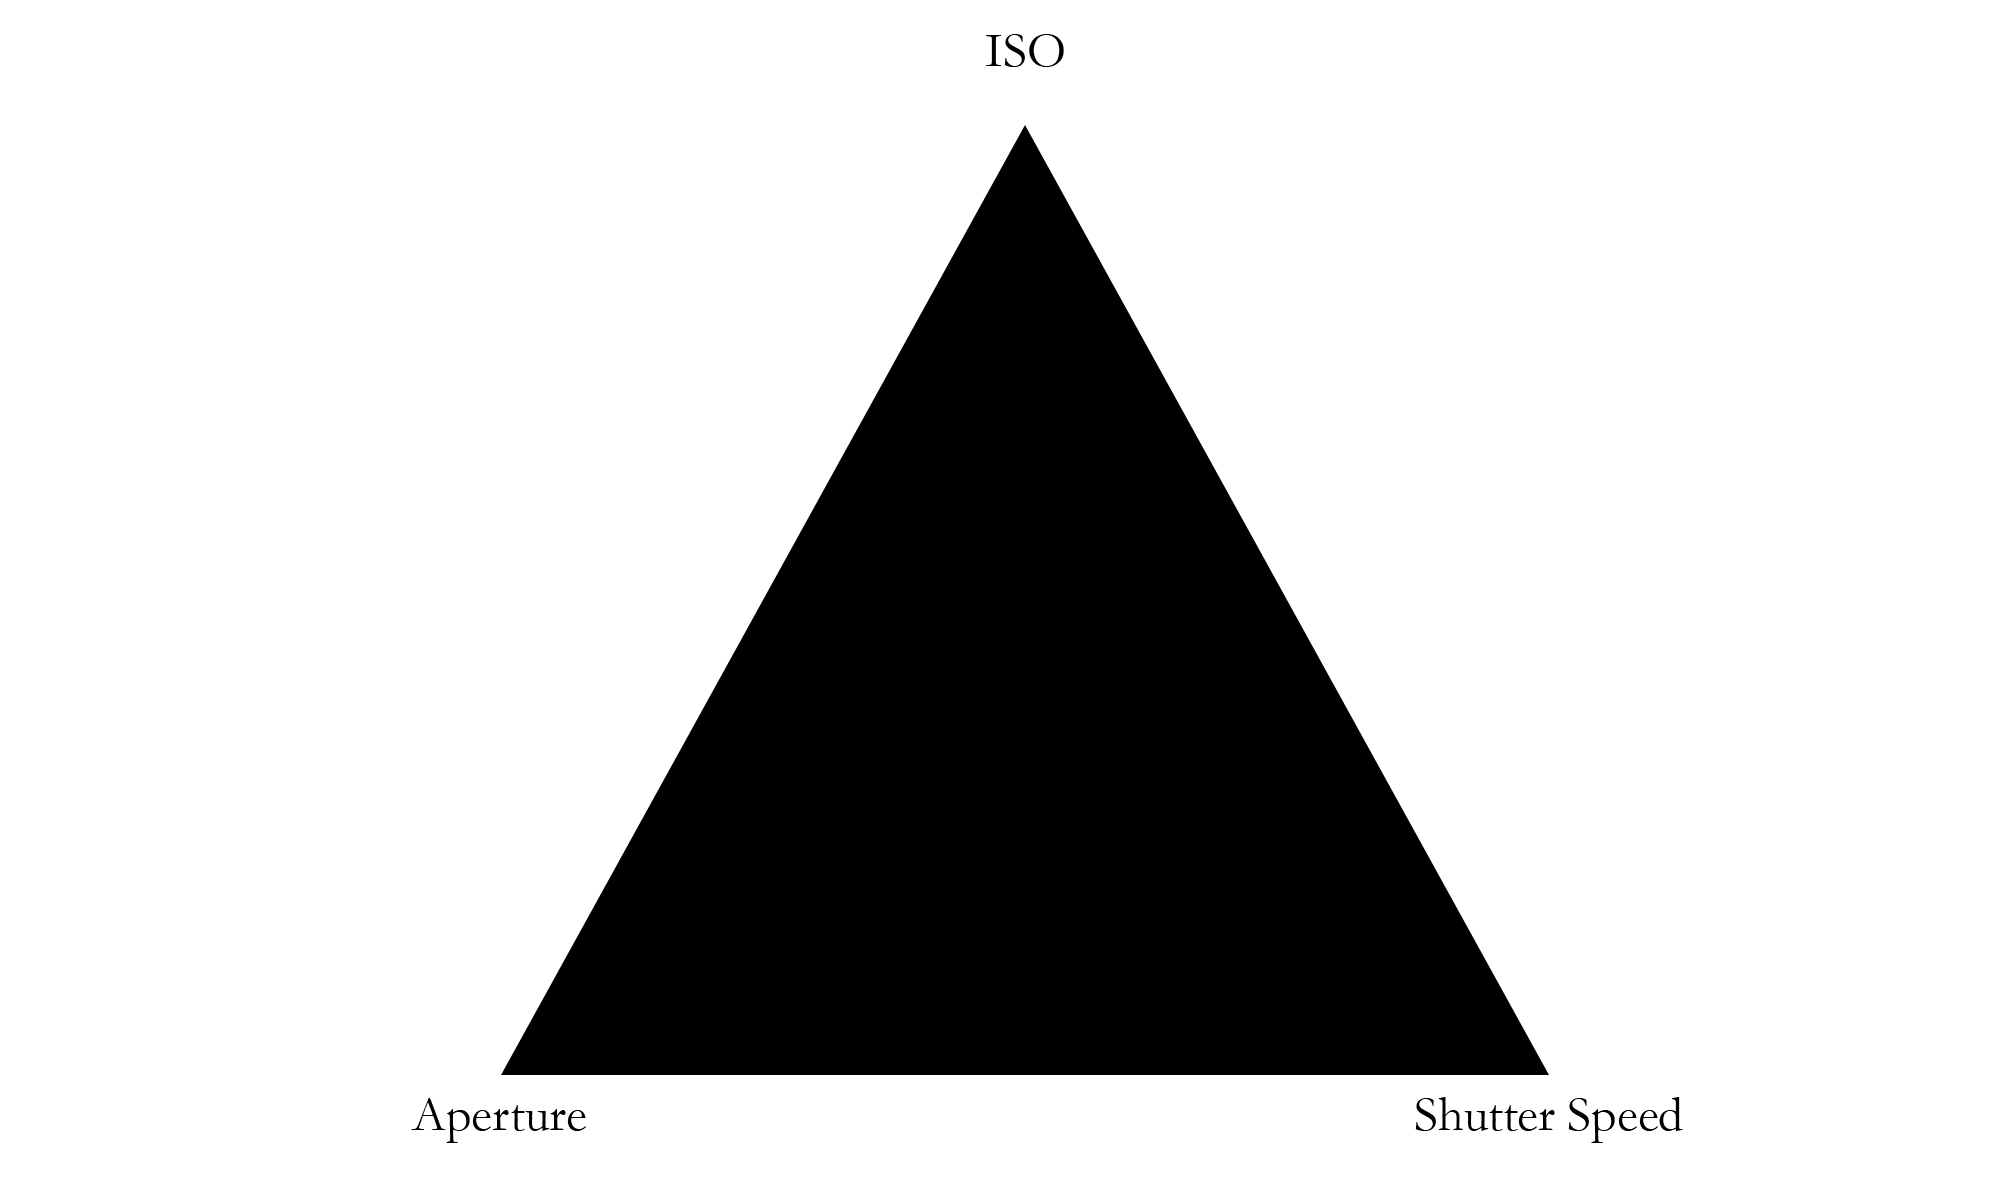
Diagram By Jo Plumridge
As I’ve already mentioned, the exposure triangle is made up of ISO, shutter speed, and aperture. These are placed on each side of the triangle and work together to produce a correctly exposed photograph. In very simple terms if one variable of the triangle changes then at least one other must also change to keep the correct exposure. Here is a very basic diagram of said triangle!
What is a stop?
To understand the elements of the exposure triangle, you’ll need to understand what I mean when I refer to a ‘stop’. Photography is entirely dependent on light and every photograph we take requires a certain amount of light to correctly expose it. A stop refers to either the doubling or halving of the amount of light making up an exposure. So, adding a stop of light by doubling the exposure will brighten up an underexposed shot. Halving the amount of light by decreasing the exposure by one stop will darken an overexposed shot. And we add or take away a stop of light by changing the ISO, shutter speed and/or aperture.
ISO
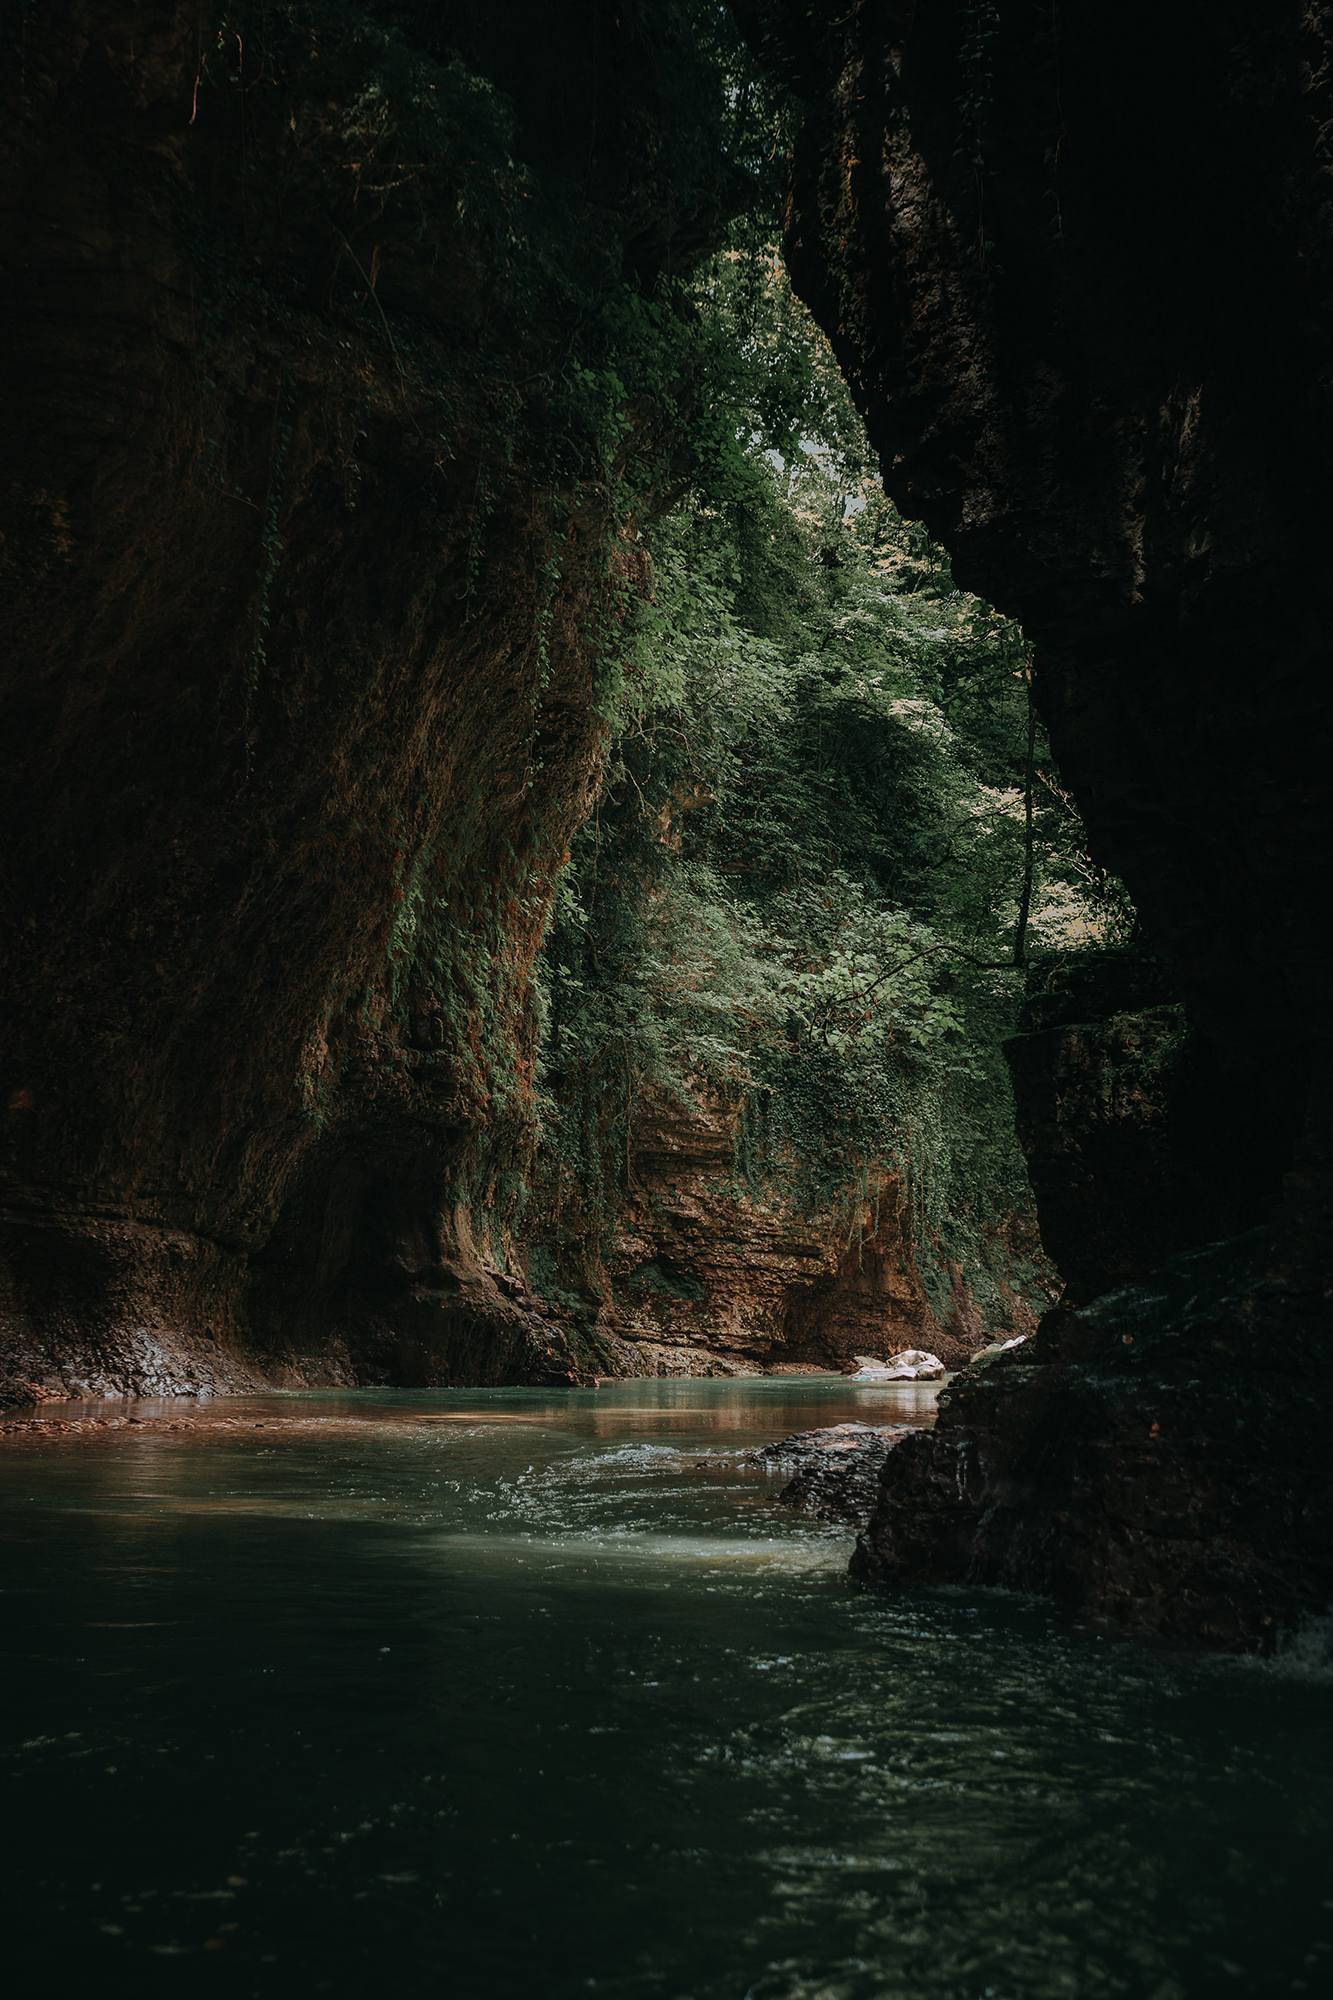
Photograph by Vruyr Martirosyan
In layman’s terms ISO refers to the sensitivity of your camera’s sensor. A low ISO means that the sensor has to gather more light to obtain a correct exposure, with higher ISO values, it means that the sensor needs to collect less and less light. ISO is a throwback to film photography when a roll of film came with a certain ISO. The joy of digital technology is, of course, that you can alter your ISO from shot to shot. As a very rough guide, these are the general recommended uses for different ISO speeds:
ISO 100 / 200 – sunny and bright daylight
ISO 400 – cloudy days, indoors with bright window light
ISO 800 – indoors without a flash
ISO 1600+ - low light situations
ISO values increase in ‘Geometric Progression / Sequence’ which is a mathematical way to say that each increase of the ISO value doubles the sensitivity of the sensor – i.e., ISO 200 is double the sensitivity of ISO 100. This doubling of the ISO also equates to a one stop increase in exposure.
You might wonder why you simply wouldn’t raise your ISO in all situations if there isn’t enough light. Unfortunately, the more you raise your ISO, the more noise will appear on your image. Noise is digital grain and at high ISOs, it can produce incorrectly colored pixels, fuzzy edges, and generally grainy shots. Modern digital cameras are very forgiving and you can raise your ISO significantly without too much deterioration but eventually, the quality will start to disappear.
Key Lesson: When I refer to ISO values, I am talking about the traditional ISO scale that goes as follows: 100, 200, 400, 800, 1600, 3200, 6400, 12800, and 25600 etc. Digital cameras usually have ‘in between’ ISO settings such as 320 and 500, which equate to a 1/3rd of a stop. This is to give you more finite control over your ISO setting but do remember that these are not ‘true’ ISO values in the traditional sense when it comes to working out a ‘stop’. There’s a very useful chart on this link: https://pixelsandwanderlust.com/iso-chart-understanding-iso/
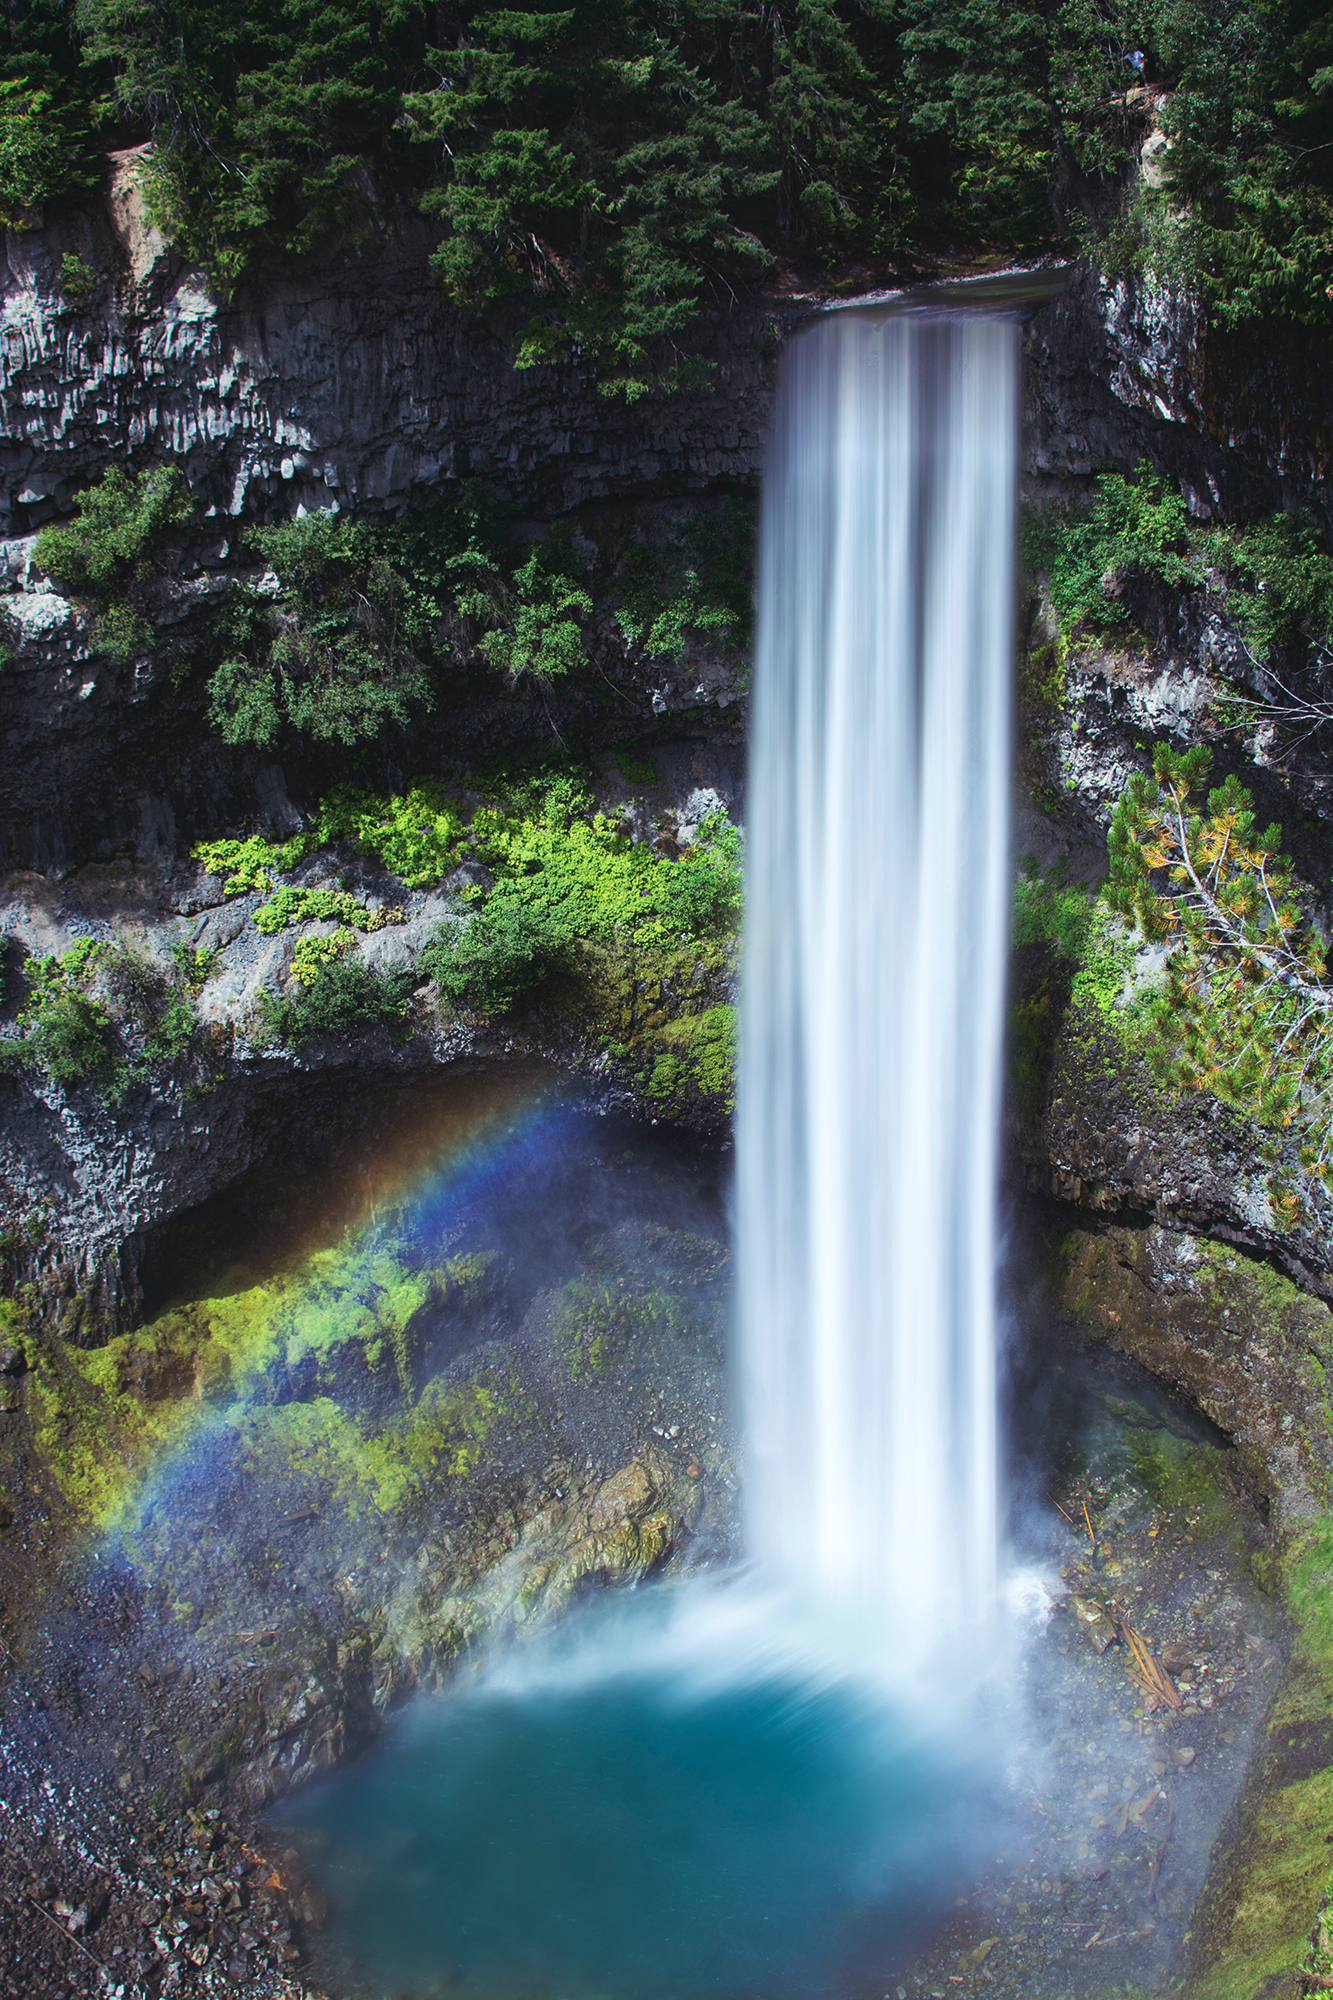
Shutter Speed
Shutter speed relates to how long the shutter in your camera is open and how much light is allowed to hit the sensor. A typical shutter speed range covers a range of around 30 seconds to 1/4000th of a second (some high-end cameras go up to 1/8000th of a second). You’ll also find a Bulb setting, which allows you to leave the shutter open for as long as you want. Do note that most people will struggle to handhold a camera at speeds slower than 1/60th of a second.
In relation to stops, shutter speed is relatively easy to understand. To double the amount of light, we need to double the length of the exposure. So, for example, slowing your shutter speed from 1/60th to 1/30th will add a stop as your shutter will be open for twice as long.
So, what do we use different shutter speeds for? As with all photography, there are no absolutes but here are some (hopefully!) helpful guidelines:
1 – 30+ seconds – Night and lowlight photos, using a tripod.
2- ½ second – To create an ethereal look on flowing water.
Landscape photos to add an enhanced depth of field.
½ - 1/30th second – To add motion blur to the background of a scene.
1/60th – 1/100th second – Hand-held photos without a large telephoto.
1/250th – 1/500th second – Freezing sports/action shots.
Hand-held photos with a large telephoto.
1/1000th – 1/4000th or 1/8000th second – Freezing fast / up-close motion shots.
Remember that the faster your shutter speed is, the less light will be coming into your camera, but the more motion will be frozen.
Aperture

I’ve left aperture until last as it’s the part of the exposure triangle that tends to confuse the most. Unlike shutter speed and ISO, aperture has two distinct functions. Firstly, let’s talk about its effect on the light. Aperture refers to the iris in your lens and controls how open or closed this circle is. So, the larger the aperture the more light reaches the sensor. And each time you double the area of the opening you double the amount of light and increase your exposure by one stop. Halving the area of the opening will halve the amount of light hitting your sensor and decrease your exposure by one stop.
Aperture is represented in f-stops, with a large aperture being a small number (for example f2). The traditional aperture scale of f2, f2.8, f4, f5.6, f8, f11, f16, and f22 will cause a 1 stop decrease in exposure as you move along this scale. Again, digital cameras add in extra partial f-stops such as f6.3 and f7.1
But, as I mentioned at the start of this section, aperture has two functions. And the second function is that it controls depth of field. I bang on about depth of field a lot, but that’s because I believe it’s one of the most important things to master in photography. Controlling your depth of field successfully turns your image from a snapshot to a professional photograph.
Put simply, depth of field is a range of distances around your subject (known as the focal plane) that are in acceptable sharpness. There’s no abrupt change from sharp to unsharp – depth of field occurs as a gradual transition. So, how do we tell whether our shot is going to have a small depth of field (very little behind the subject sharp), or a large depth of field (all of the photograph is sharp)?
Key Lesson: Your depth of field is controlled by your aperture and your f-stops. A small depth of field is represented by a small number (e.g., f2) and a large aperture. A large depth of field is represented by a large number (e.g., f22) and a small aperture. This can be a confusing concept to get your head around!
Bringing it all together
We refer to ISO, shutter speed, and aperture as the exposure triangle because when you change one setting (and therefore one side of the triangle) it has a direct effect on the other two sides of the triangle. Now that you’ve read this guide on the separate elements of the exposure triangle, you will probably be wondering how to start with the settings.
For every photograph, there will be one mathematically correct exposure. However, there will be a large number of combinations of ISO, shutter speed, and aperture that can be used to reach that exposure. What we choose to use depends on the look and feel of the image we want to create.
Most photographs live or die on the correct depth of field being used. A dramatic landscape won’t work if you use a small depth of field and only a tiny part of it is in focus! Therefore, if you’re shooting a landscape, you will choose a large depth of field of around f22. This means that your entire photograph will be sharp but, because you’re only using a small aperture, not much light will be let in through the iris of your lens. In order to get the correct exposure, you may need to either use a slower shutter speed or raise your ISO. If possible, I would always recommend using a slower shutter speed over raising your ISO in order to avoid noise. However, if you don’t have a tripod with you raising your ISO may be your only option.
On the flip side, a portrait benefits from a smaller depth of field, particularly if you are photographing a subject against a distracting background or in a busy street scene and want to make them ‘pop’ out. Portrait photographers often use an aperture of f4 for a sharp head and shoulders shot with a blurred background and a low ISO of around 100 to ensure there’s no noise on the subject’s face. This means that you’ll be using a large aperture that lets in a lot of light through your iris, which will give you more options with your shutter speed and the ability to shoot at a fast enough speed to handhold your camera.
There are occasions where you will need to pay more attention to your shutter speed as well as your depth of field. For instance, if you’re shooting sports or fast-moving objects you’re going to need a fast shutter speed to freeze the action. Conversely, shooting at night or creating a soft, ethereal look with water will mean that you need to use a longer shutter speed.
These are just a few examples but hopefully, they will start to show you how the three elements of the exposure triangle work together.
In conclusion
Understanding the exposure triangle is crucial for those starting out on their photographic journey. If you want to stop shooting on auto and start using manual, you’ll need to understand ISO, shutter speed, and aperture. This guide should help get you started.
Self-help quiz
- What is a stop?
- What ISO would you use on a cloudy day?
- Is 1/4000th a fast or slow shutter speed?
- What is the slowest shutter speed it’s advisable to hand hold at?
- Is f22 a small or large aperture?
- What would be a suitable f-stop to use for a head and shoulders portrait?
Cover photo by Mark Harpur