Most people have heard of the golden hour – the almost magical time of day where light has a warm, natural glow that makes photos sing. In this guide, I’ll be looking at shooting at the golden hour and all the tips and tricks you need to know to get the best out of this beautiful light.
Here’s what we’ll cover:
- What and when is the golden hour?
- Camera gear and settings.
- The advantages of the golden hour.
- Tips and tricks for shooting at the golden hour.
What and When is the Golden Hour?
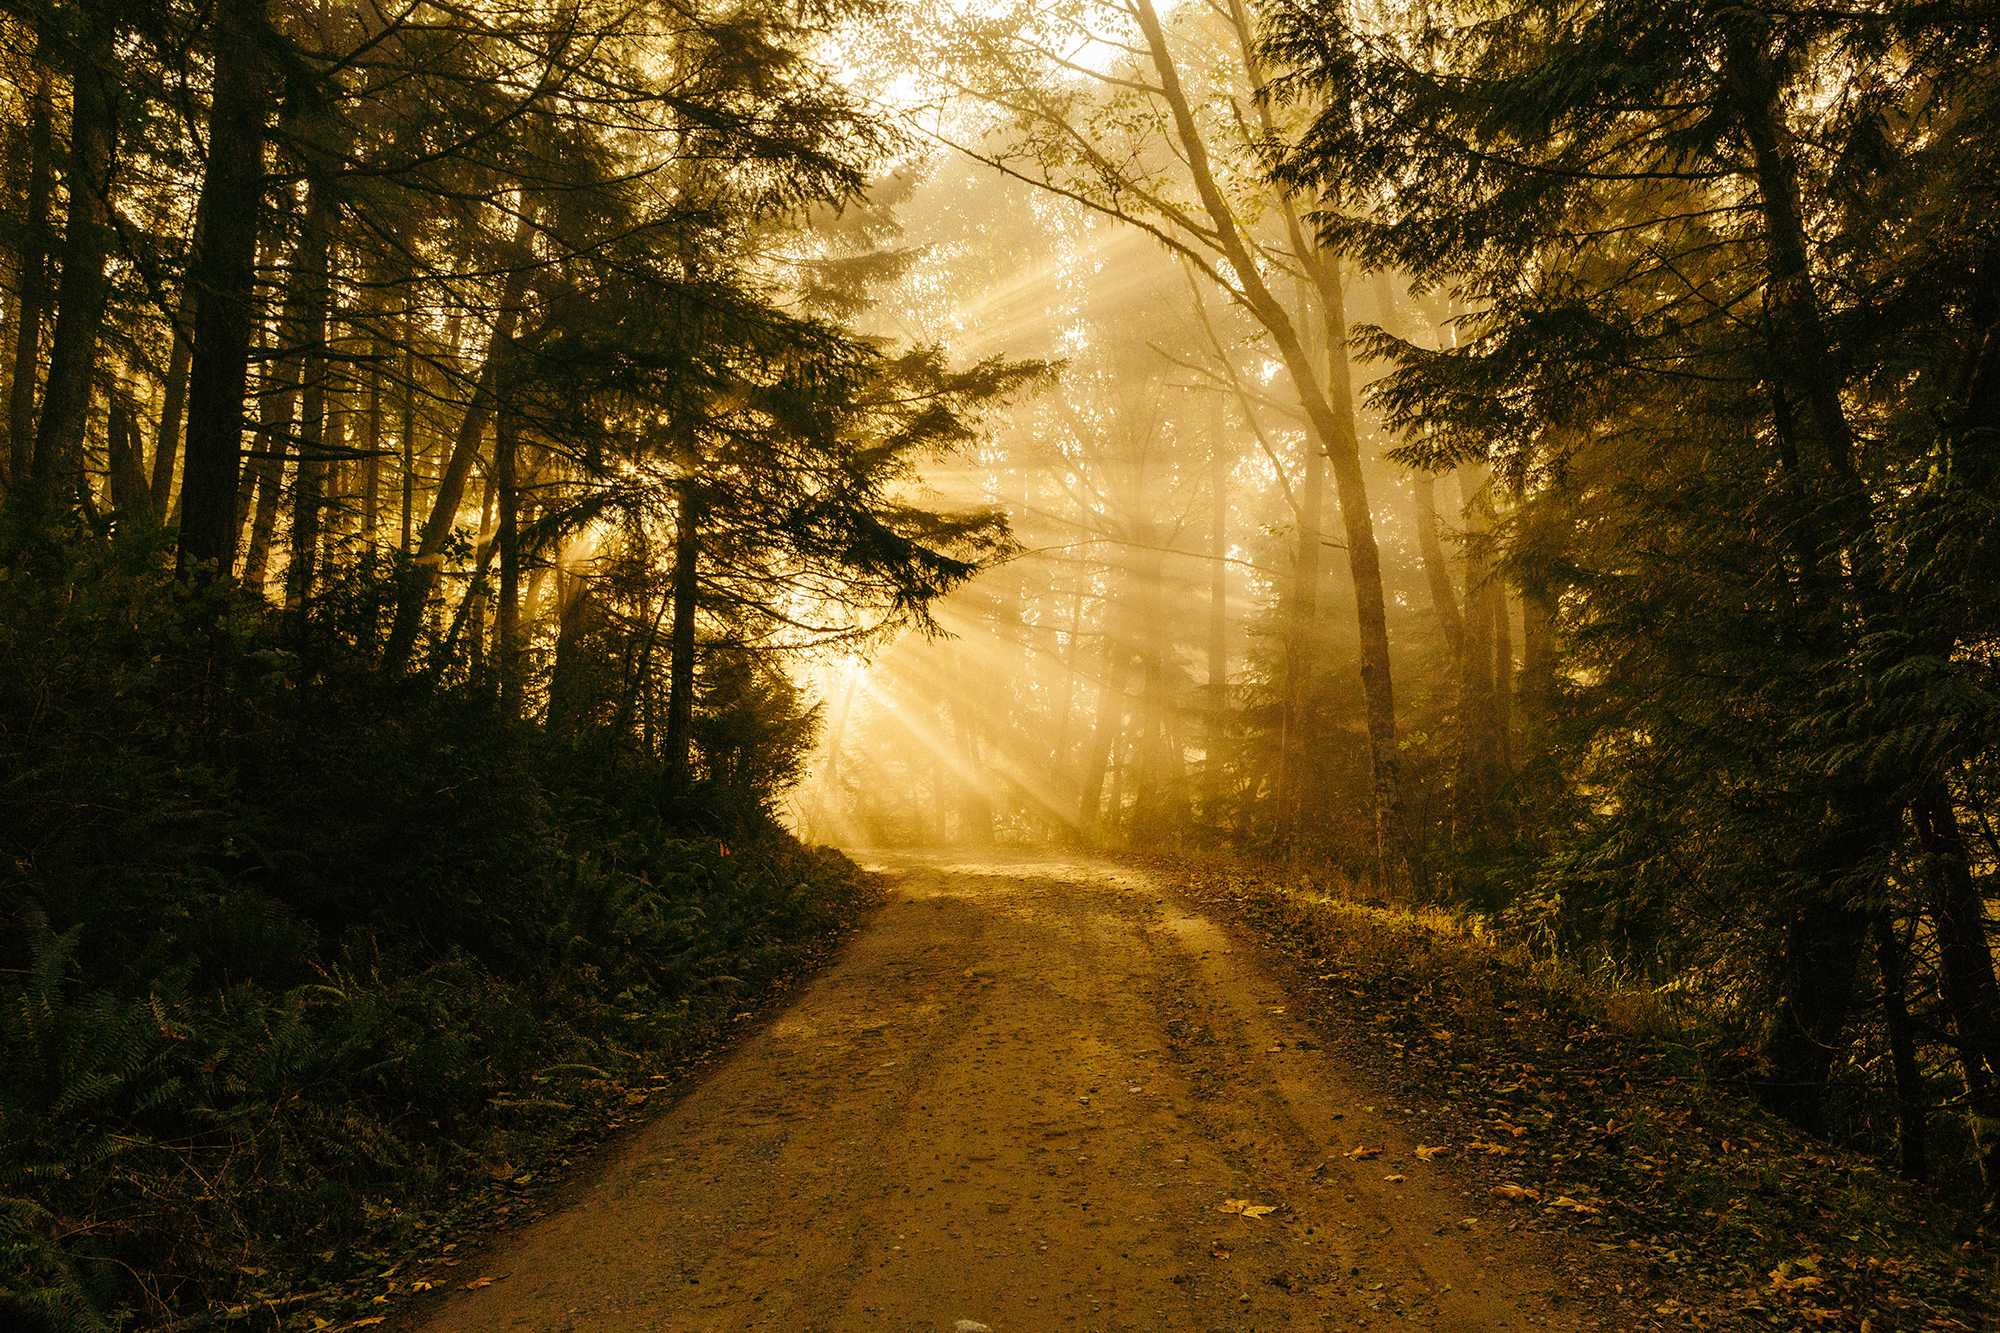
The golden hour is defined as the hour after sunrise and the hour before sunset. It’s obviously fairly easy to know roughly when the golden hour will be, but if you want a more precise time, you could always use an app (The Photographer’s Ephemeris is a reliable and easy-to-use calculator).
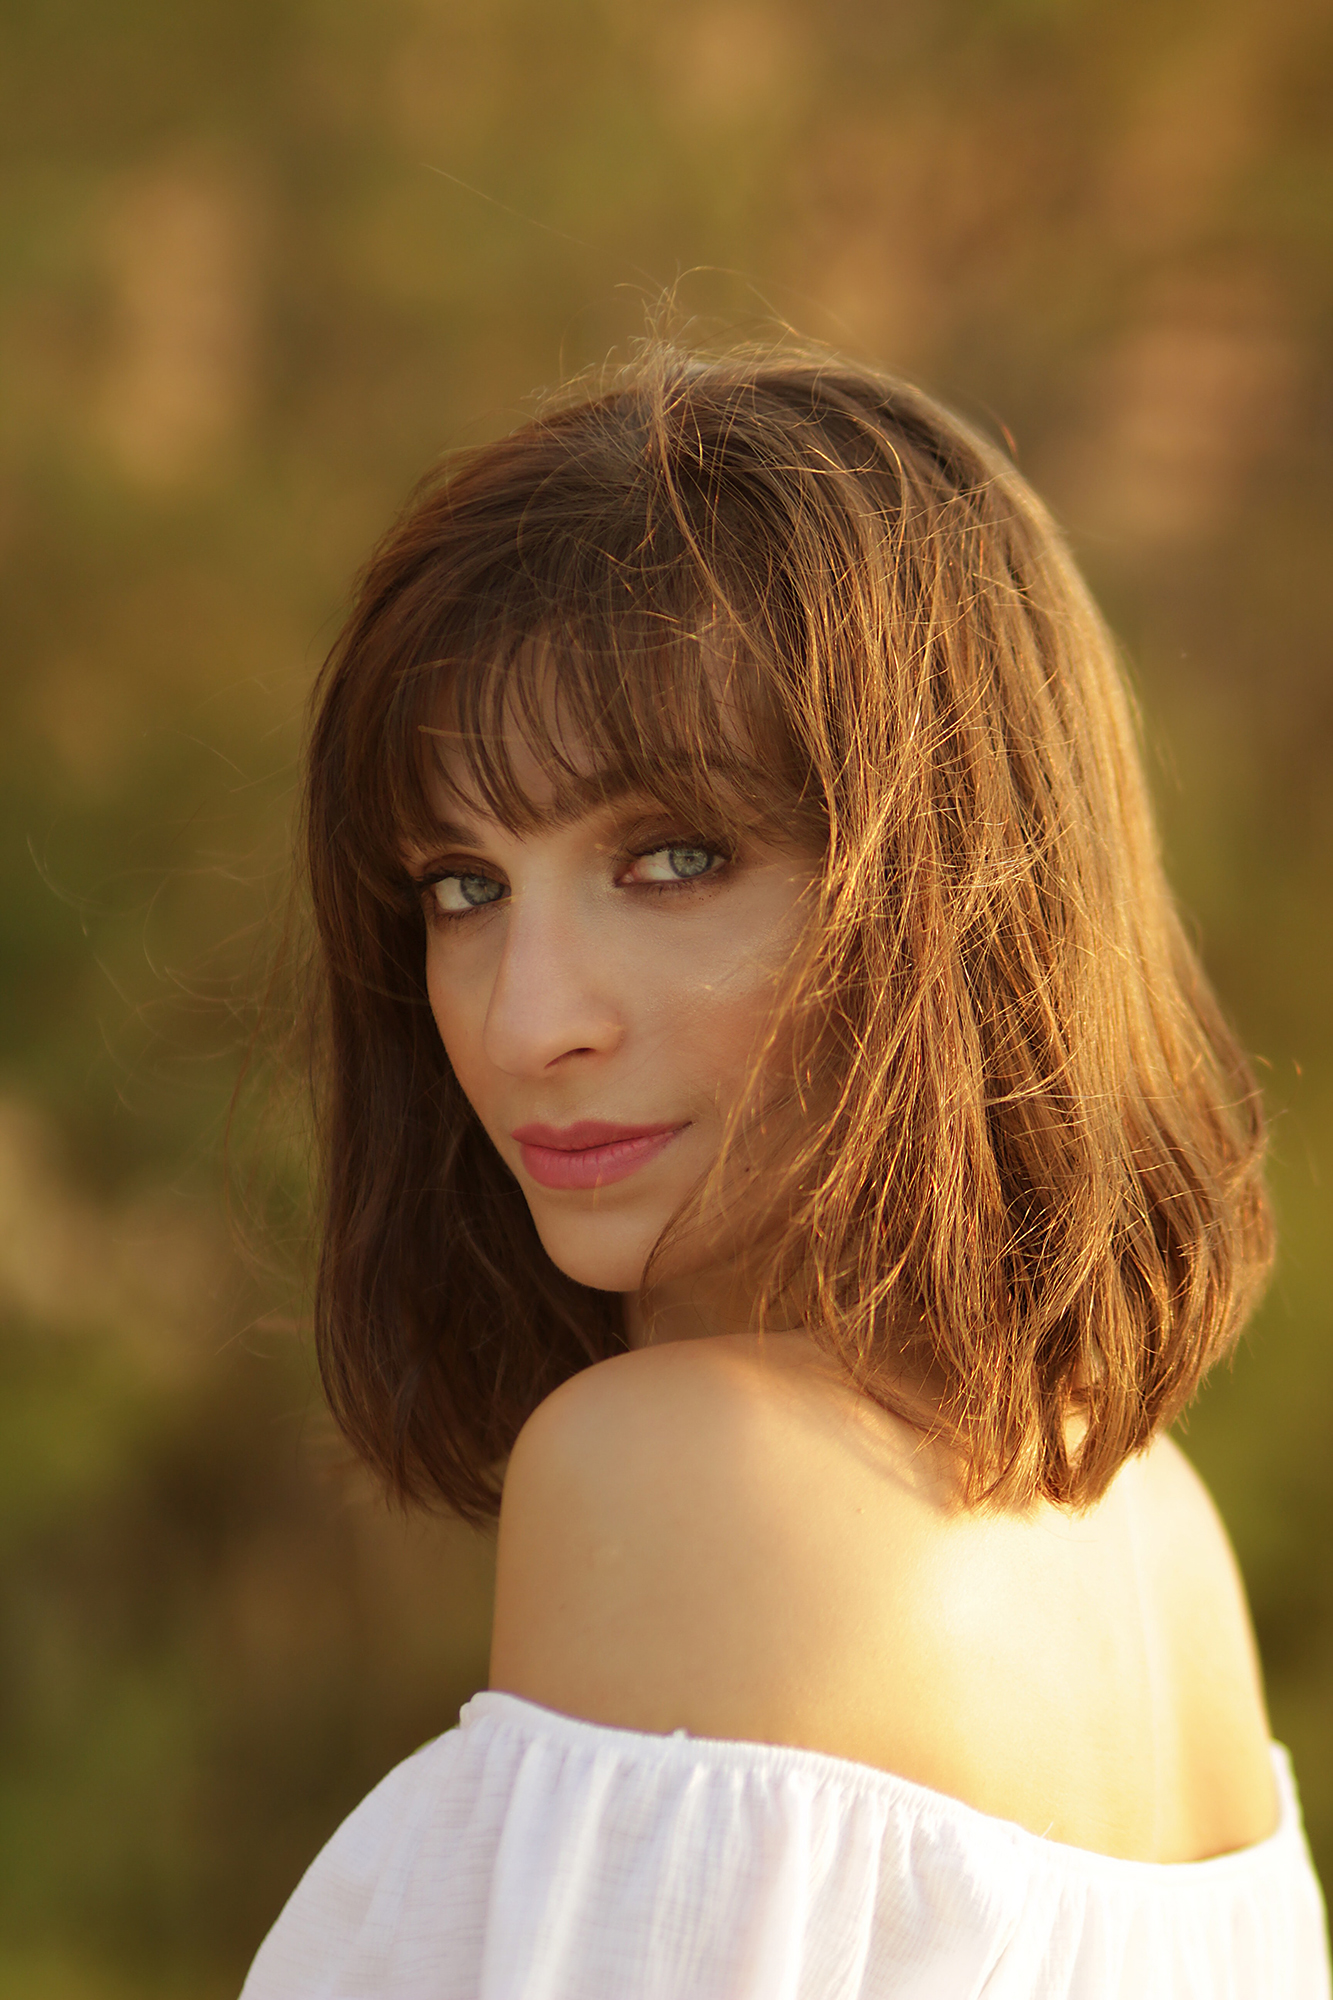
The soft, warm, and directional light of the golden hour make it far easier to shoot with than the harder light you’ll find at other times of day (particularly with the midday sun). The characteristic look of golden hour light comes because the sun is lower in the sky. This makes it easier to create back, side, and front lighting with just the sun (and possibly a cheap reflector or fill-in flash!). The pink and golden tones of the light, combined with the fact that the transition from light to dark is gradual, make golden hour light universally flattering.
Camera Gear and Settings
Golden hour photography is most often used for capturing landscapes, although it’s also a wonderful time of day for taking portraits. You’ll want a wide-angle lens for landscapes but a telephoto lens if you’re planning to capture portraits. I recommend a DSLR or mirrorless camera that allows you to interchange lenses along with a sturdy tripod. A reflector is always a useful piece of kit to carry, as well as a flashgun if you want to use fill-in flash. These are particularly useful if you’re shooting with a backlight. Lastly, make sure you pack a graduated neutral density (GND) filter for more photographic opportunities.
Key Lesson: Always shoot in RAW to give you all the data available in your image and to keep the quality as high as possible. Shooting in RAW does mean that you can leave your white balance on Auto and change it in Camera Raw during editing. You might, however, find that your camera attempts to neutralise the warmth of your image, in which case try using the cloudy or daylight setting.
Shoot in manual mode for full control of your settings. If you’re using a tripod, you can shoot at your lowest ISO setting (usually ISO 100 or 200). If you’re shooting handheld you’ll likely need to push your ISO far higher – modern cameras cope with higher ISOs very well but be aware your images may have some noise.
Landscapes will require a large depth of field (around f22), which is a small aperture. If you’re shooting portraits, use an aperture of around f4 for a head and shoulders shot – this is a large aperture. If you’re shooting handheld you’ll need to shoot at 1/60th of a second with your shutter speed to prevent camera shake. This is another reason why using a tripod with golden hour work adds more possibilities!
I mentioned the usefulness of a graduated neutral density filter earlier. When you’re shooting at the golden hour, you may find that the brightness of the sky causes your foregrounds to be underexposed and too dark. The simplest way to correct this problem is to use a graduated Neutral Density (ND) filter. The dark part of the filter is placed over the sky, with the gradient where the dark and light parts meet is placed over the horizon. This leaves the clear part over the foreground. The filters come in different f-stop ratios (e.g. 2, 4, 6, 8, 10), meaning that the dark part of the filter will be an allocated number of f-stops darker than the clear part. This allows photographers to easily balance the exposure.
The Advantages of the Golden Hour
There are a number of advantages to shooting at the golden hour, so let’s have a look at them in more detail.
Colours
As the sun moves across the sky through the day, it creates different colour temperatures – measured in Kelvins. I mention this as the temperature has an effect on the colours you see in the sky. The middle of the day, of example, produces fairly dull and neutral colour temperatures, which don’t always look particularly appealing in photographs. During the two golden hour periods, colours are more extreme. In the morning, just after sunrise, the colour temperatures are slightly cooler with a slightly bluish tone. In the evening before sunset, the colours are warmer, with warm oranges and reds.
Reduced Contrast
Black and white images can benefit from harder light and strong contrast, where high contrast and sharp shadows better define your subject and environment. But when it comes to colour landscapes, the softer diffused light of the golden hour is far more flattering. Light from the golden hour reduces the contrast in your photographs, giving you longer and less defined shadows and an altered tonal range.
Diffusion
The light during the golden hour is diffused, which means it’s soft with less defined edges. It’s also scattered across a larger area and helps to take away hard shadows. Landscape shots will benefit greatly with less pronounced shadows, giving you images with bags of atmosphere.
Sun Flares
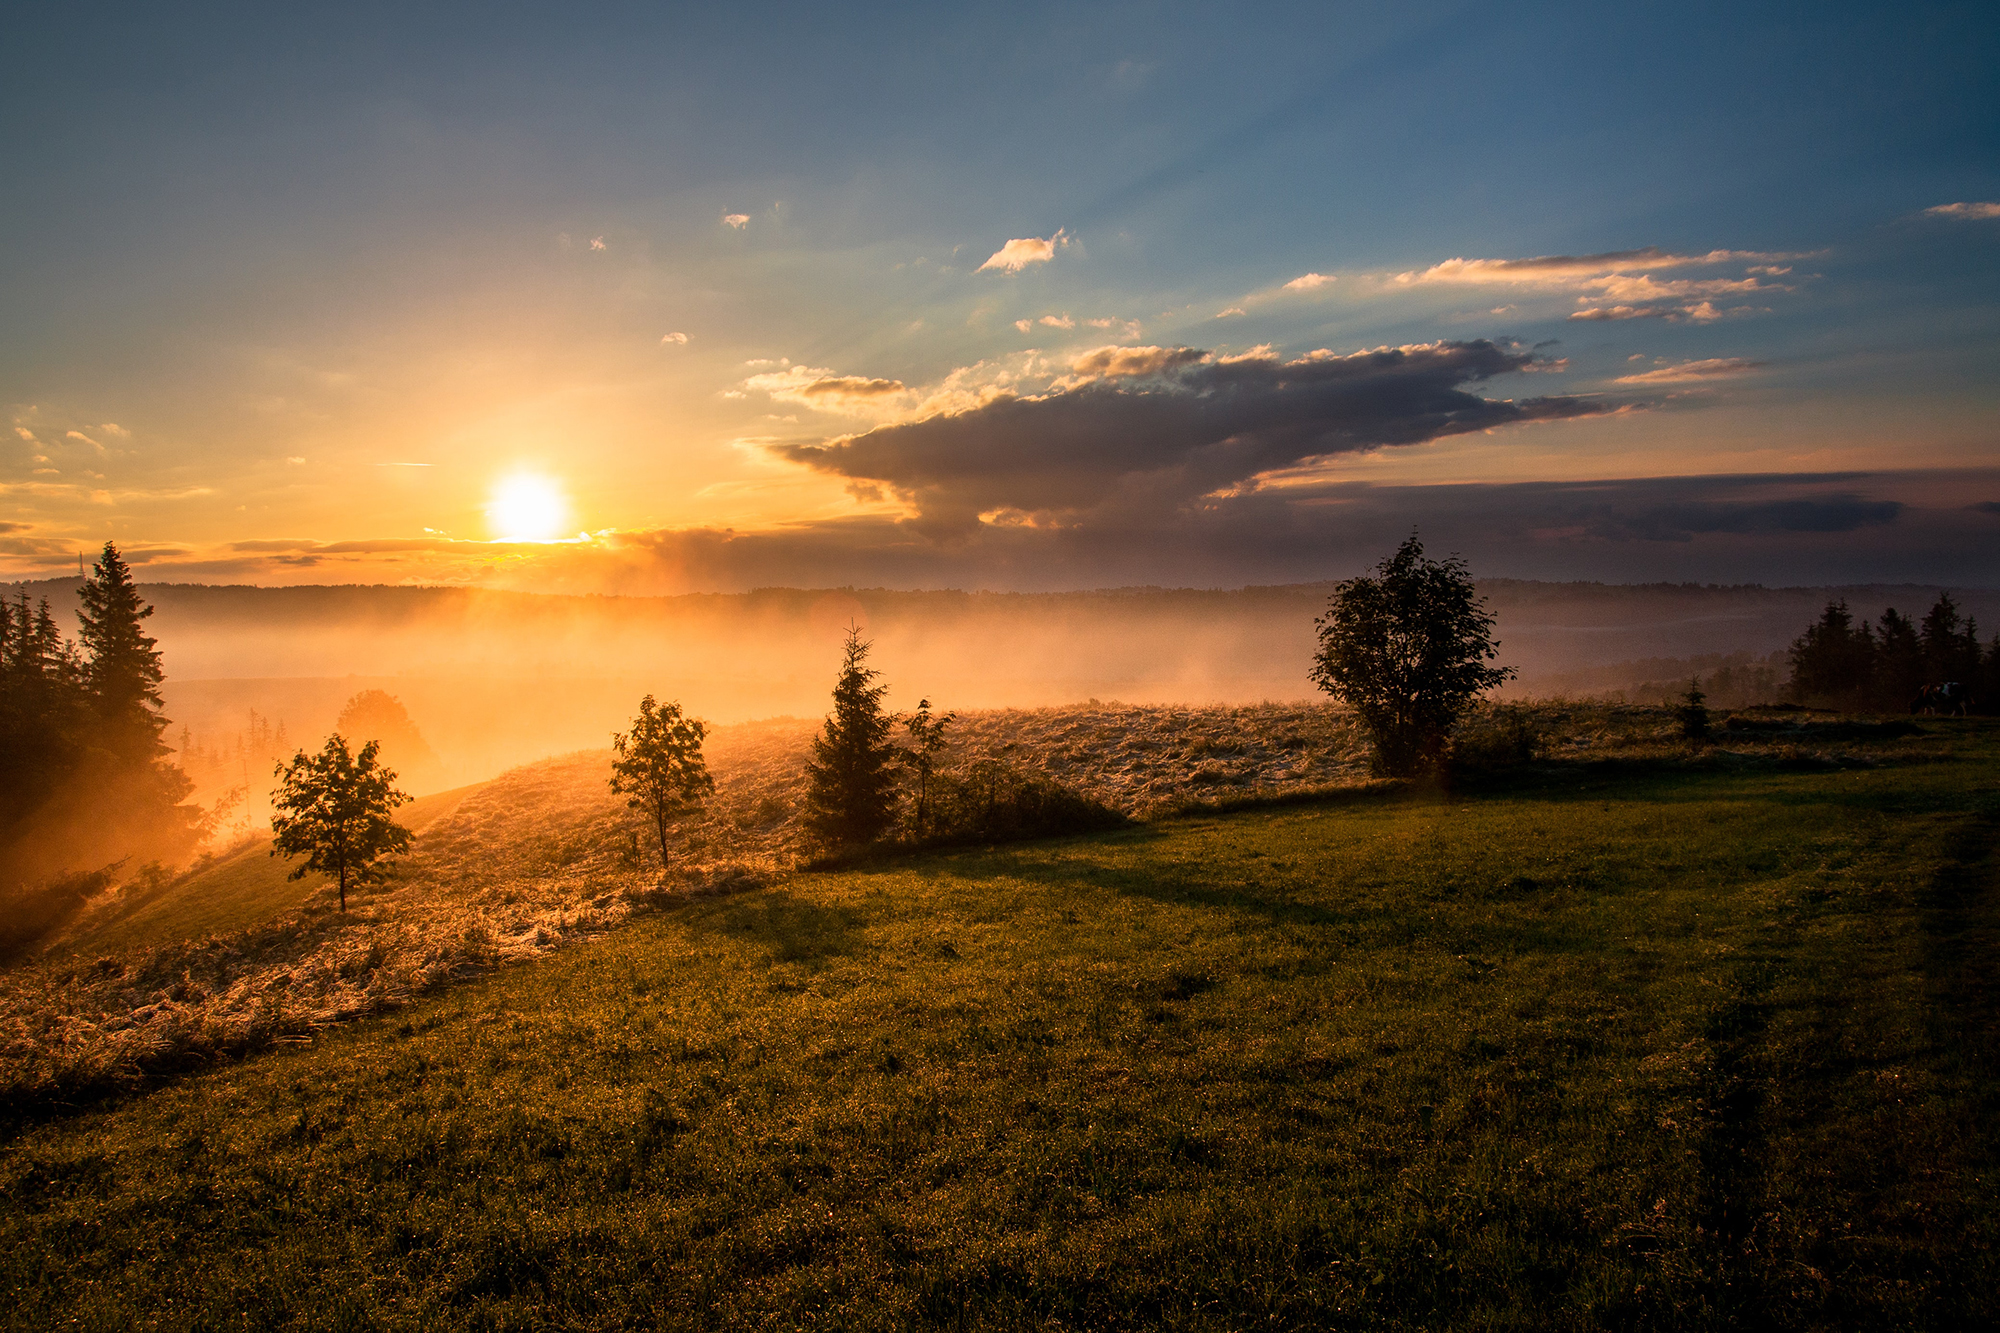
The golden hour is the perfect time to try out backlighting and sun flares. Because the light is low in the sky, you can introduce sun flares without them overpowering your shot. As they’ll be softer and lower, the sun flares can add mood and drama.
Tips and Tricks for Shooting at the Golden Hour
Photograph the sunrise and sunset!
Don’t forget that the classic sunrise and sunset photographs are wonderful images to capture during the golden hour. Composition is key when it comes to landscape photos using sunrise/sunset. Although the sky will be powerful in its own right, don’t forget to add elements to give balance and perspective to your image. Put more sky into your image than foreground but use leading lines and a focal point to balance your shot out.
Think about your location
The golden hour doesn’t last long (the clue is in the name!), so you need to be prepared for your shoot. It’s worth scouting out potential locations beforehand so that you can choose the best spot to shoot from and have your camera set to the right settings in advance. If you’re using a tripod it will take a bit of time to get it set up correctly and securely. On a more practical note, make sure you take warm enough clothing and pack some food and drink if you plan to be out for a while!
Get up early
Although you can shoot in the golden hour around sunset, you’ll probably find that there are fewer people around at sunrise! During the golden hour at sunrise, you will find it easier to take landscapes without crowds of people, leading to calmer shots.
Watch the direction of the light
Contrary to what a lot of photographers might say, I believe you can make a golden hour landscape work with the sun coming from any direction! You just need to be aware of shadows and their directions (and watch out for lens flare).
If you’re shooting a portrait during the golden hour though, use either side or backlighting.
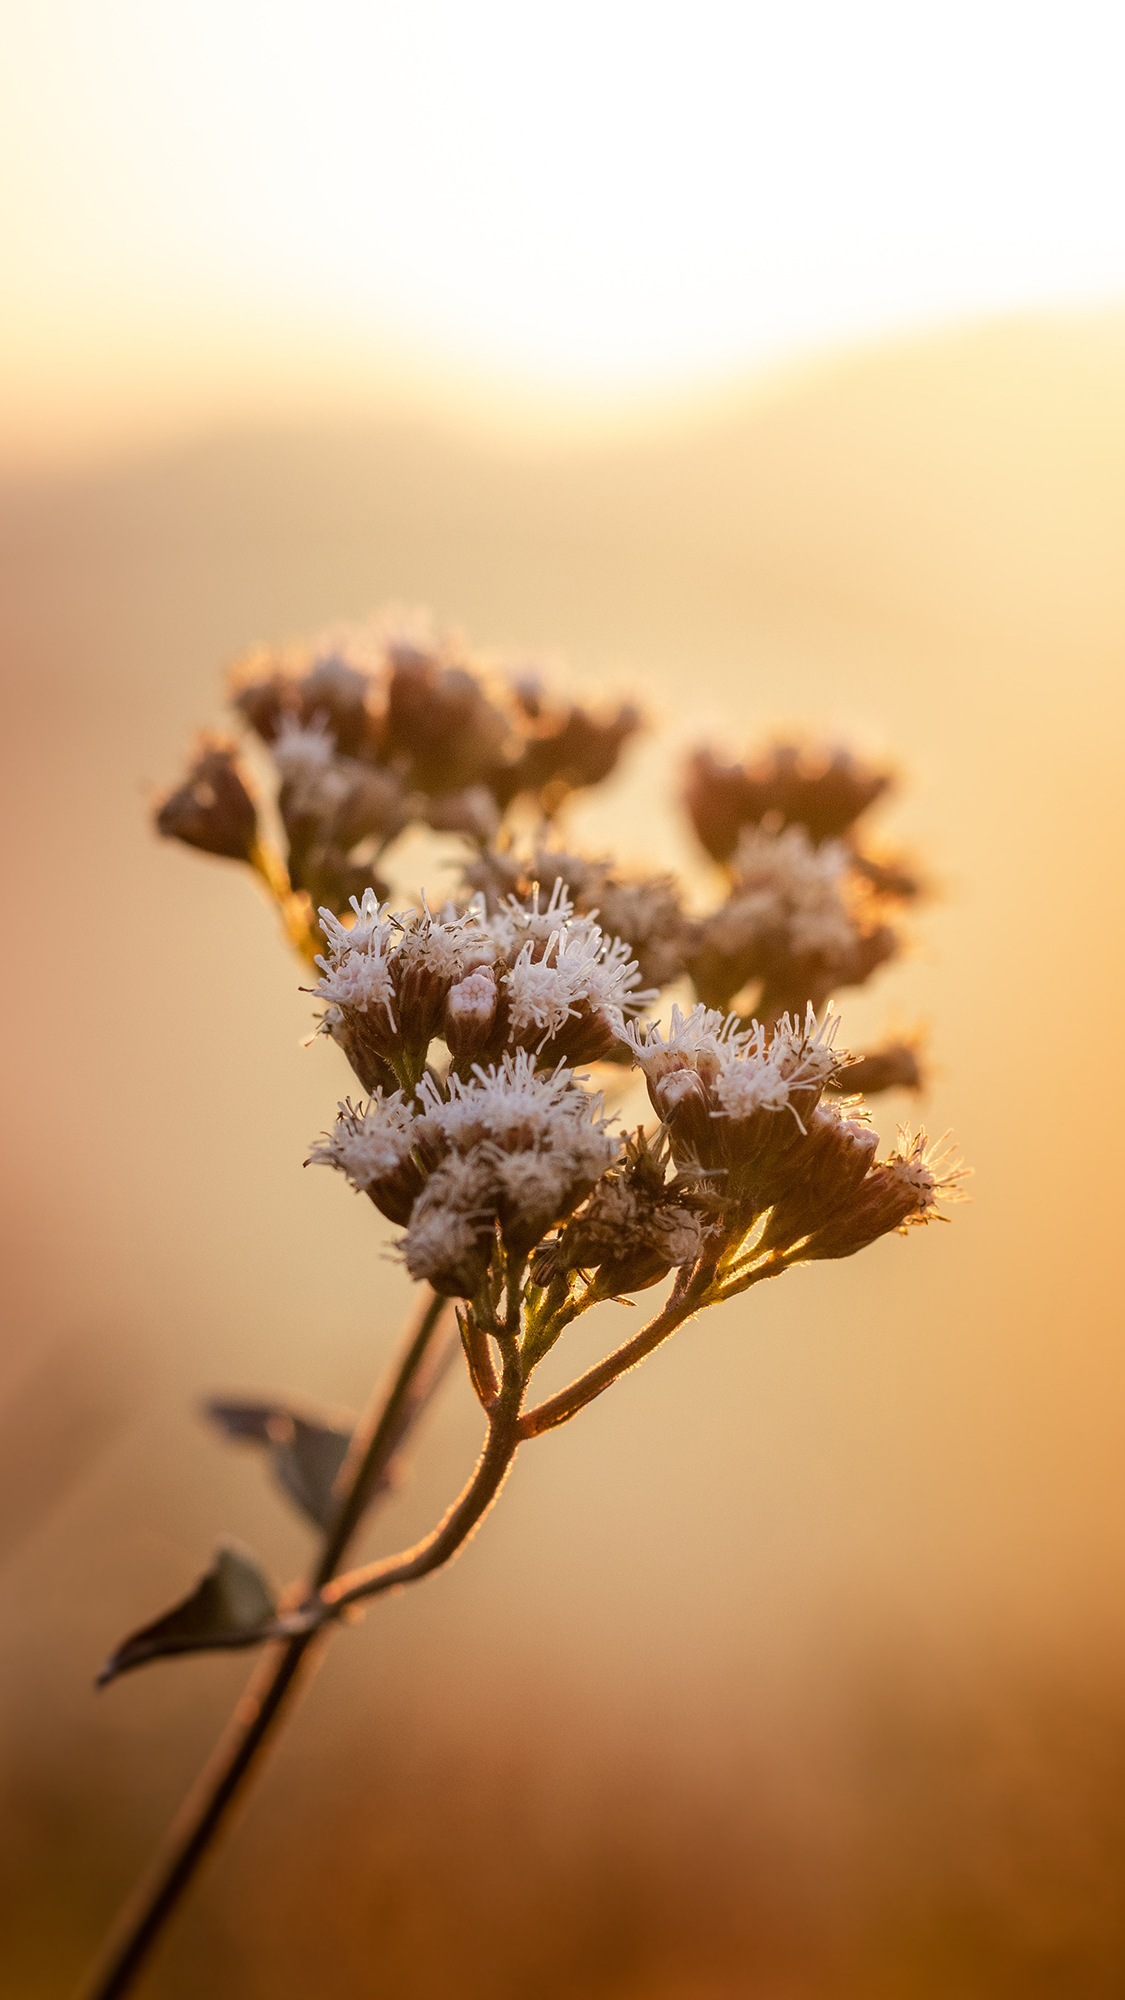
Backlighting is more dramatic and can be used to almost make your subject glow! It creates a halo effect, which is why it’s sometimes called rim lighting.
Clouds are your friend!
Clouds add texture and interest to shots taken during the golden hour. And, because clouds reflect light, they can extend the reach of the golden hour and help to add even more drama to the shot.
In conclusion
There are numerous advantages to shooting at the golden hour but for me, the primary one is the beauty and softness of the light. The warmth and colours during these hours make it so much easier to get gorgeous images. Make sure you make the most of it!
Self-help quiz
- When is the golden hour?
- What filter is useful for shooting in the golden hour?
- What are colour temperatures measured in?
- Is sunrise or sunset better to shoot landscapes at?
- What lighting should you use for a portrait?
