Winter isn’t always a time of year where we feel like going out and taking photographs. It can be cold and damp, leading most people to want to hibernate in the warmth! But winter light can actually lend itself to beautiful images and that’s before we’ve got to the added bonuses of ice and snow. In this guide, I’m going to show you how to work with winter light.
Here’s what we’ll cover:
- Preparation and equipment
- Understanding winter light
- Tips for photographing in winter light
- How to photograph snow
Preparation and Equipment
Depending on where you live in the world, winters can be bitterly cold (especially in the Northern Hemisphere). While it might seem obvious, you need to do a little bit of preparation to make sure you’re set up to shoot in the cold.
Firstly, make sure you’re wearing warm clothing. Wear layers that don’t constrict your movement and allow you to take off or add more clothes as needed. Always wear a hat as you lose a lot of heat through your head. I’d also highly recommend in investing in decent gloves. There are gloves made specifically for photographers that allow you to use the controls on your camera with them on or, for a cheaper option, buy some fingerless gloves with a mitten attachment to warm your hands back up after each shot. A thermos of hot drink and some snacks will also keep you warm and give you energy if you’re going to be out for a while.
Your camera equipment won’t be a massive fan of getting cold either, so make sure you keep your gear wrapped up until it’s time to shoot. Spare batteries are a must, as the temperature can affect their reliability – keep spare ones as close to your body as possible so they benefit from your body heat.
Most winter shoots revolve around landscapes so if you’re going to be walking to a location think about the weight of what you’re carrying. These kinds of shoots benefit from a pared down camera kit. You will want a wide-angle lens to capture landscapes and could also take a small telephoto for picking out details. The longer exposures you’ll need for winter light mean that a tripod is essential, but I’d highly recommend investing in a lightweight travel tripod if you’re going to be shooting landscapes regularly. Carbon fibre tripods are the lightest but unfortunately have the largest price tags – there are also plenty of aluminium travel tripods that aren’t quite as light but are more purse friendly.
In conjunction with your tripod you’ll want a camera remote to avoid camera shake when pressing the shutter. Pack a graduated neutral density (GND) filter and a polarising filter so that you can make the most of the light and don’t forget those extra batteries and plenty of memory cards.
Understanding Winter Light
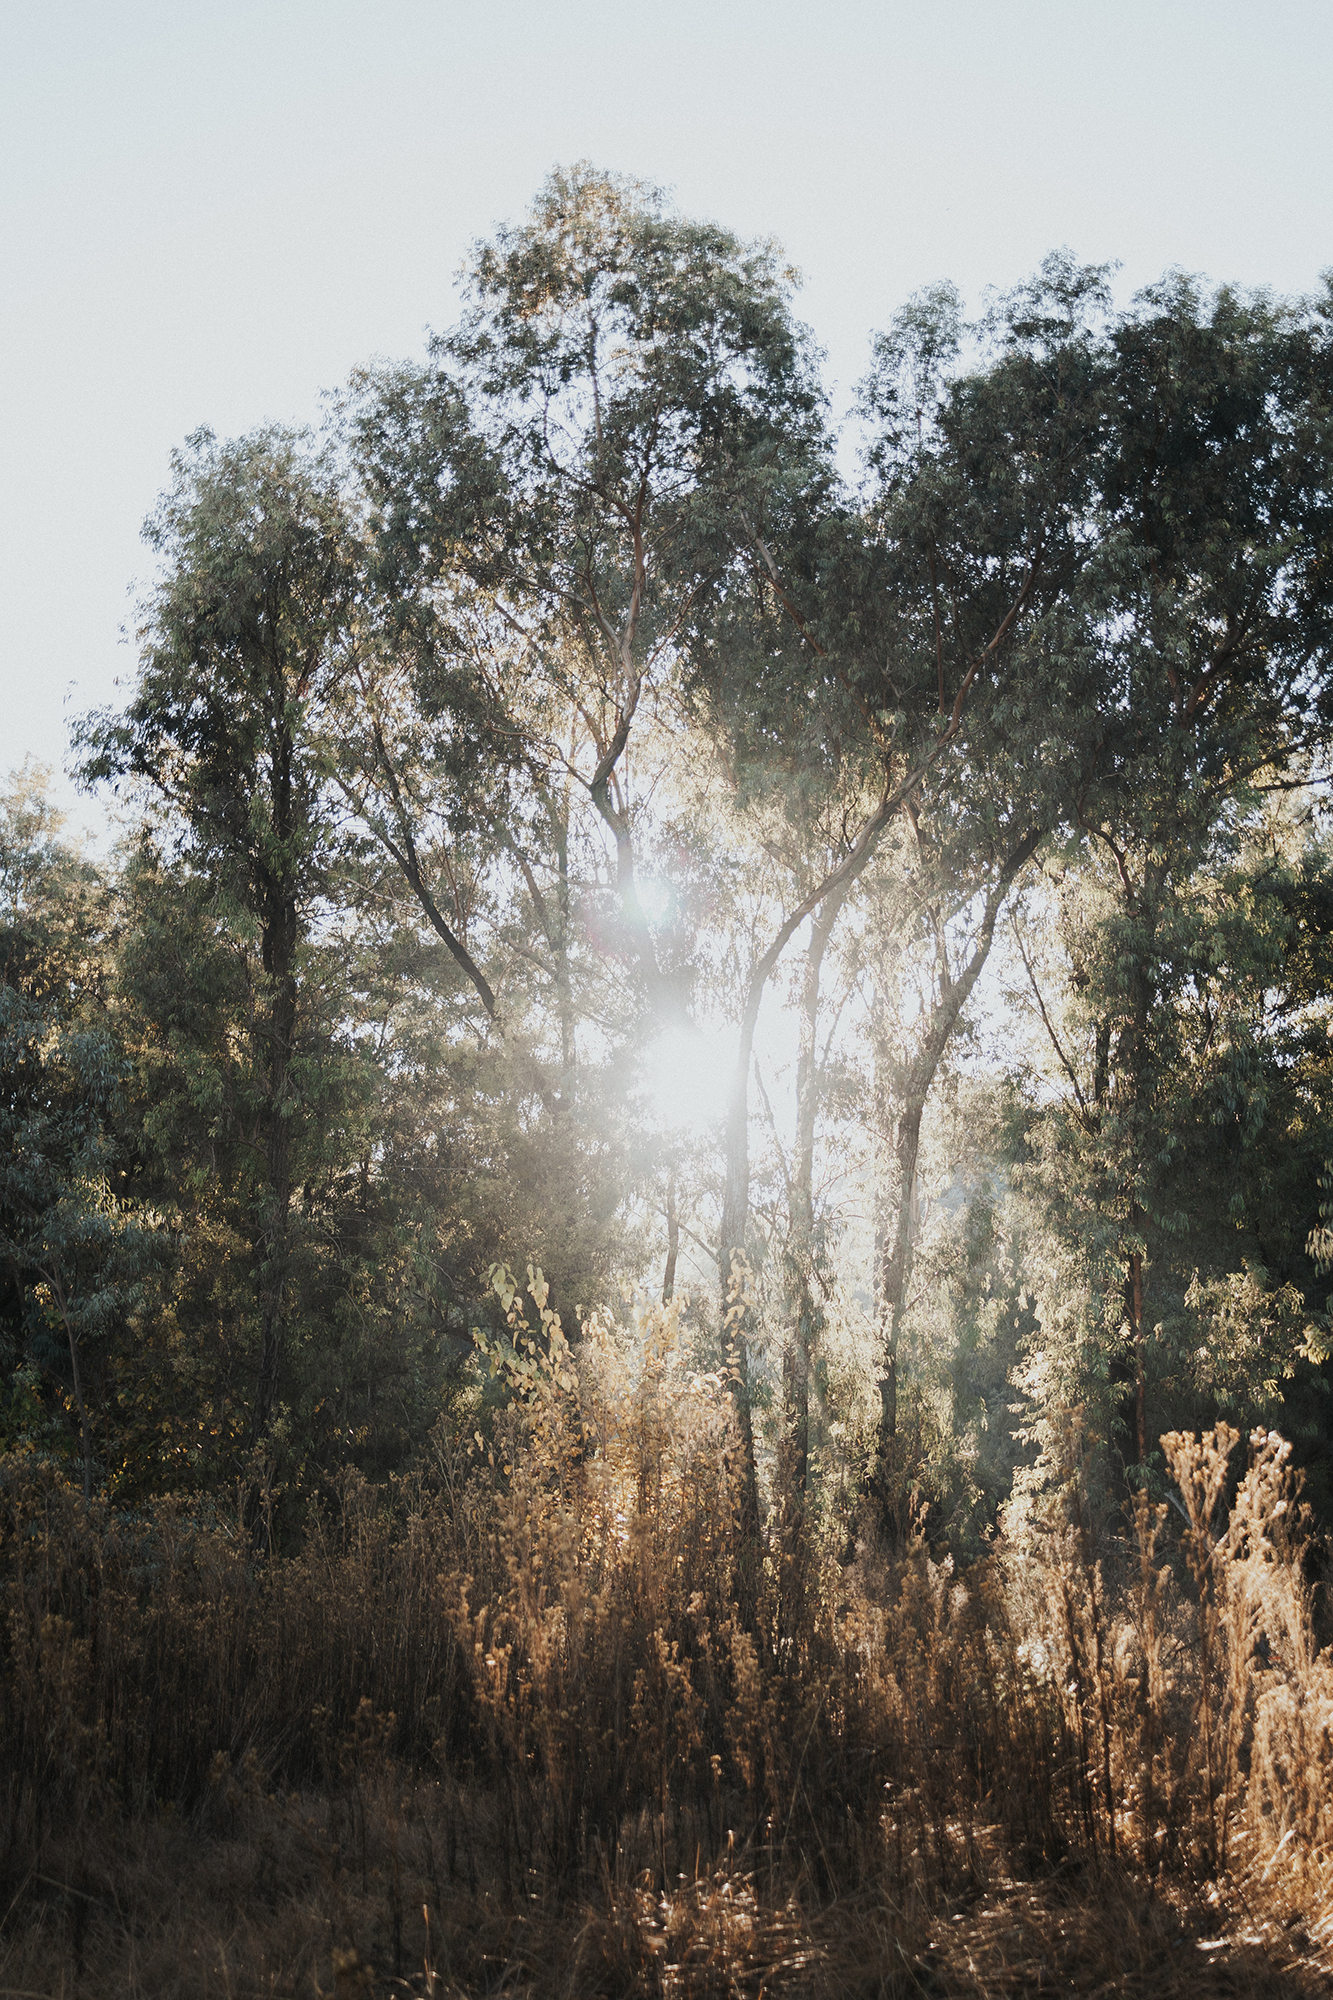
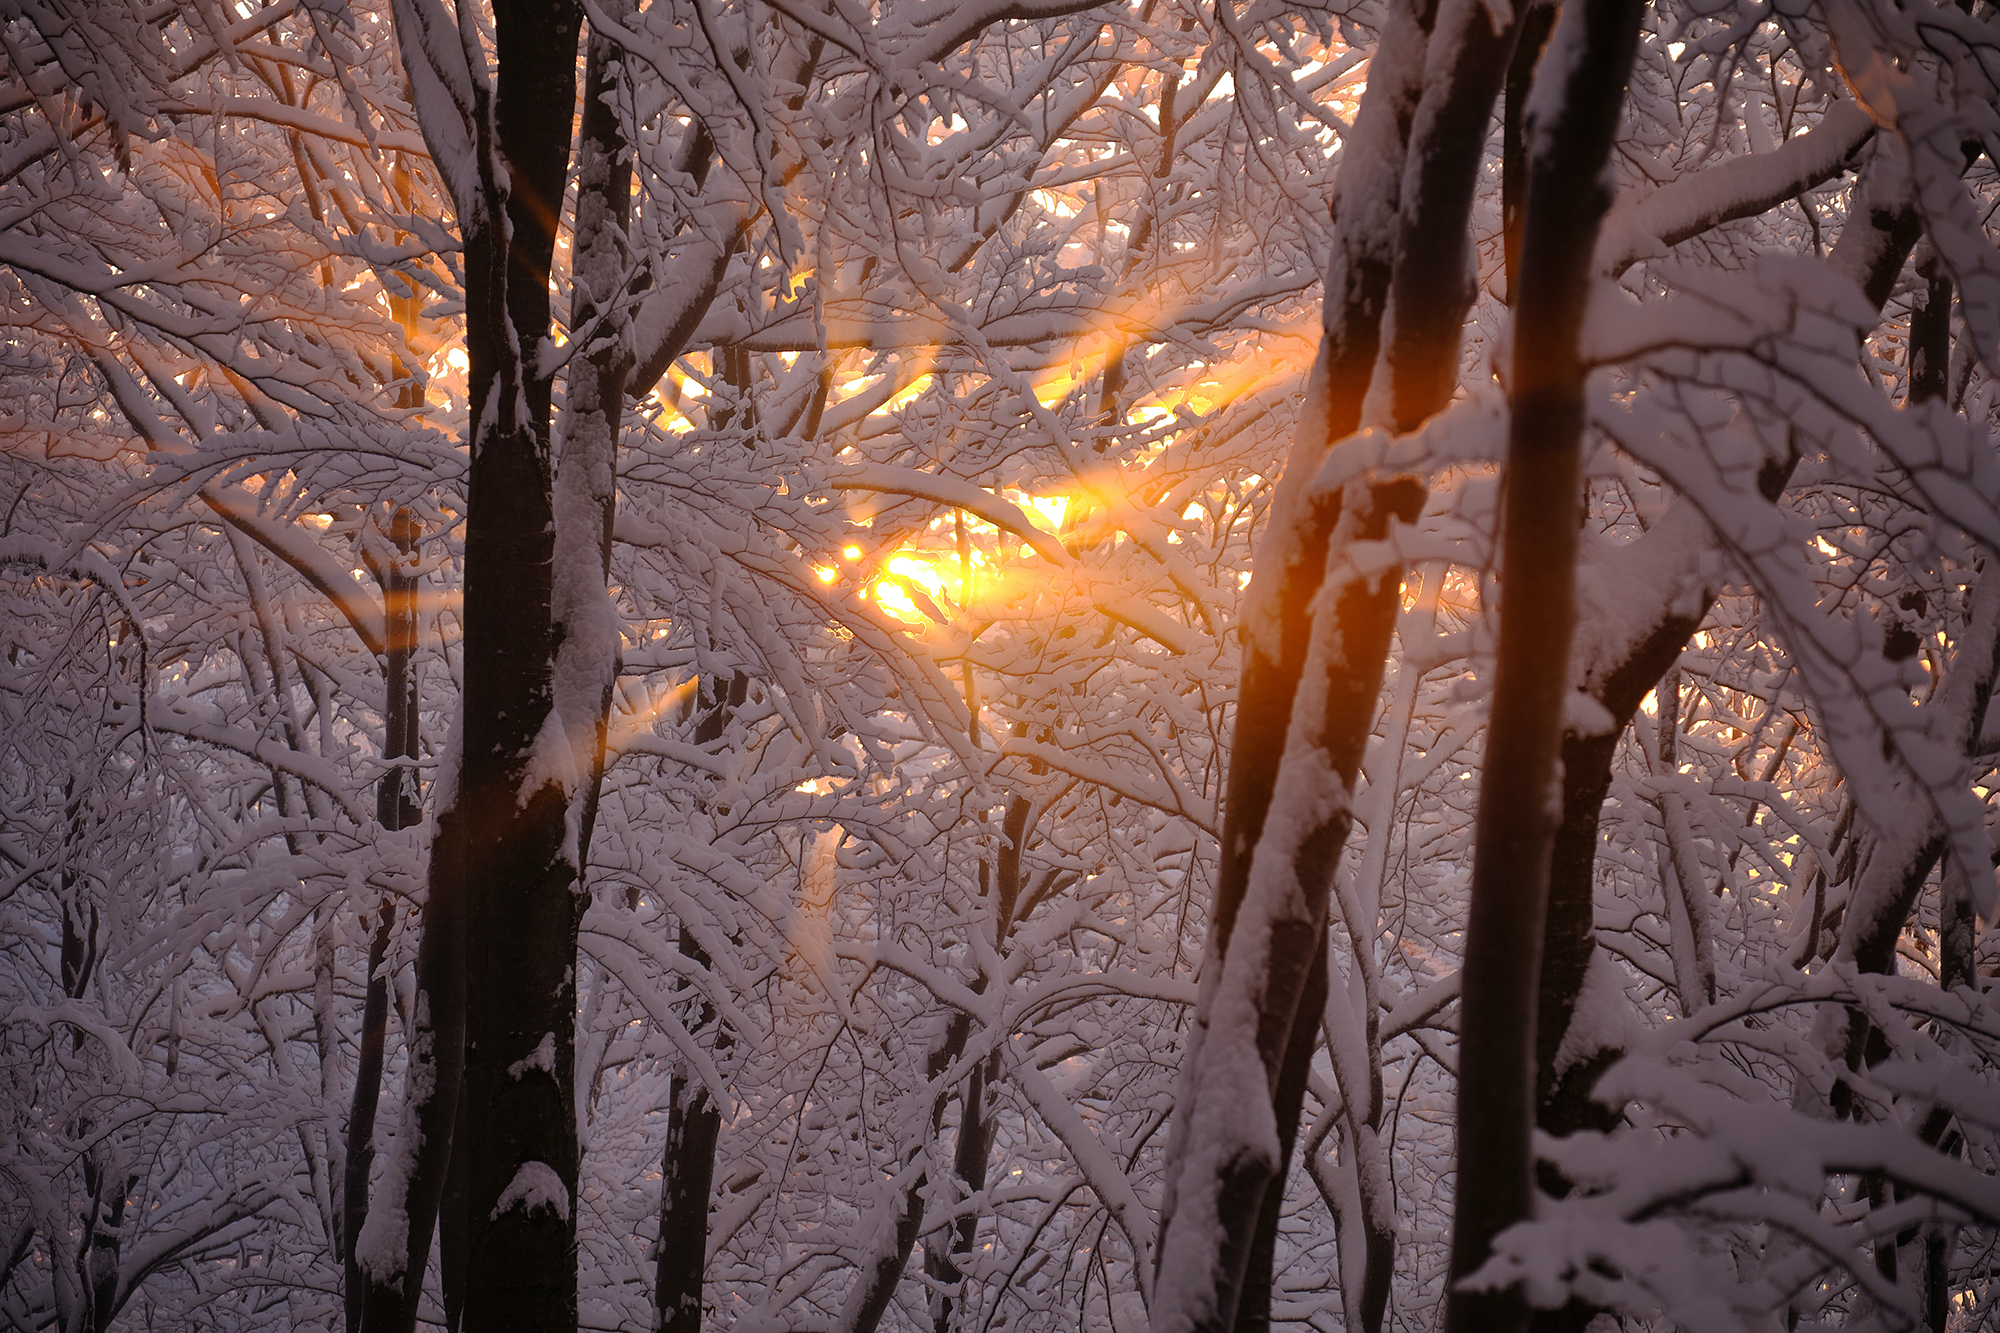
One of the pleasing things about winter light is that you can shoot throughout the day, as the light is not as strong as it is in summer months and has a more muted feel. The angle of the sun on the horizon is smaller during winter and the sun doesn’t rise that high above the horizon. This means you’ll get prolonged golden hours, although there will be more reddish tones in the light during winter. Shadows will be longer and textures can look more three-dimensional. Do be aware though that the light can change quickly and that days are much shorter, so there’s less shooting time overall.
Tips For Photographing In Winter Light
- Always shoot RAW. Winter light can be extremely changeable with sunshine one minute followed by heavy cloud. RAW gives you the option of making changes to the file without corrupting it. For this reason, you can leave your white balance on Auto and again make any changes in post-production. If you’re photographing snow in the shade, it can appear blue in images so in these situations you may want to consider changing your white balance to Shade.
- If you’re shooting landscapes, you will be using a small aperture of around f16 / f22 in order to get a large depth of field and everything in focus. A low ISO of 100 / 200 will prevent any noise in your image. As the light will be low, you’re likely to need a longer exposure in order to get a correctly exposed shot. Do bear in mind though that if it’s snowing, you’ll need a faster shutter speed to freeze the snowflakes.
- When it comes to composition, the rule of thirds is often your friend, particularly when you want to produce a harmonious and well-balanced shot. However, winter landscapes are often about a particular element so, if that’s the case, it’s important to focus your composition on those elements. Remember that leading lines are a great way to draw your viewer into a shot.
- Strong contrast is important in winter lighting, particularly as you can be working with long shadows. This is where your filters can come in useful. A graduated ND filter allows you to create dramatic blur in water, for example or gives you the opportunity to get the correct exposure without blowing out your sky.
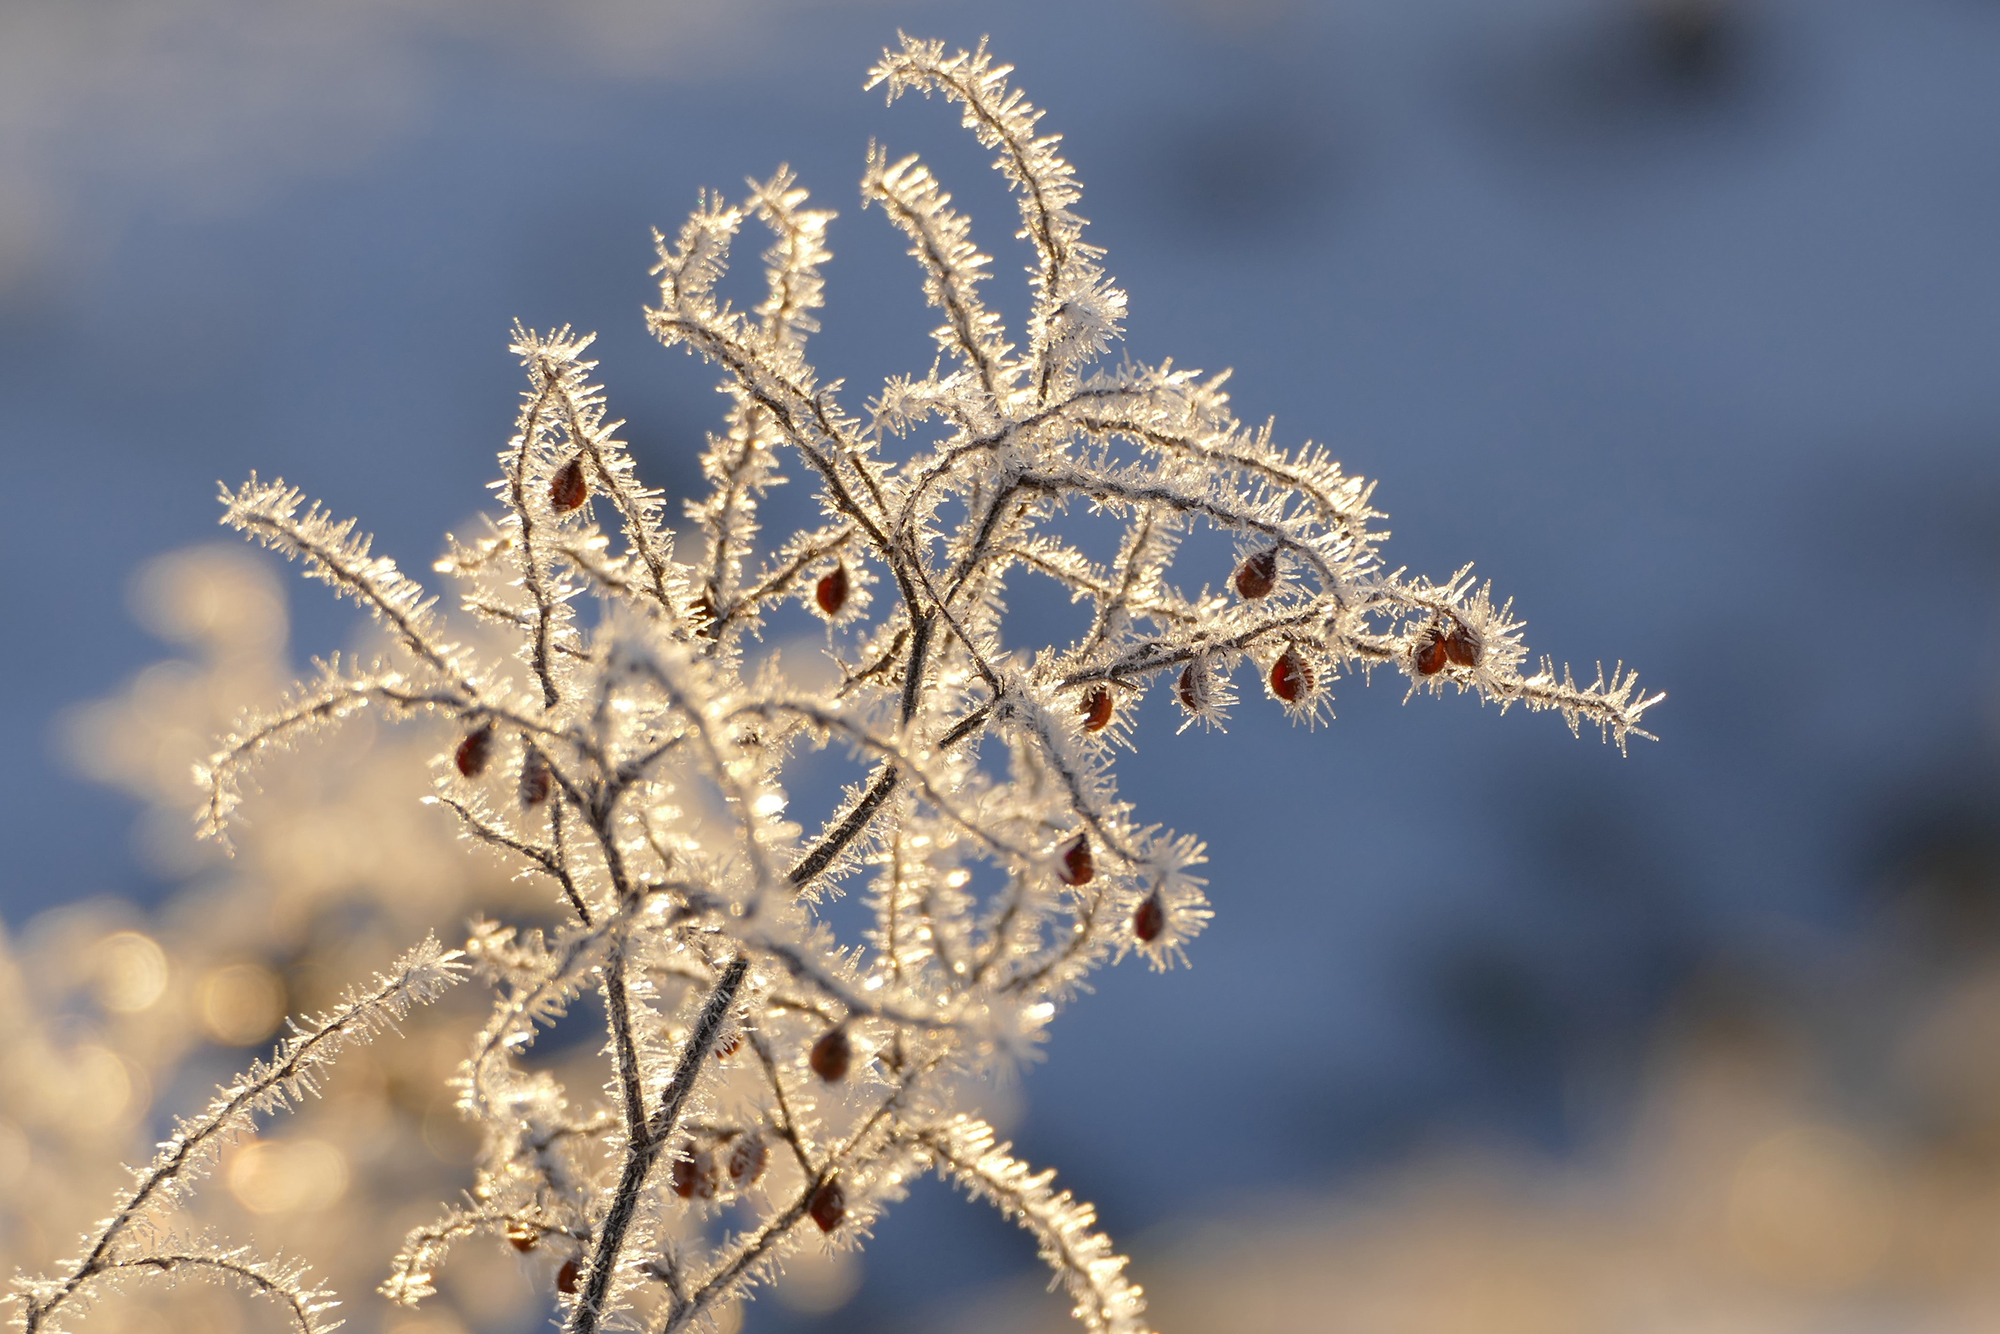
- Select locations that work with the weather on offer. If it’s a day with a flat sky then use other features to add interest (trees, waterfalls etc.). You’ll also be able to shoot long exposures more easily, as there’s less chance of the highlights burning out. With more dramatic skies, make them a feature of your photographs and look at finding equally dramatic landscapes to make the most of them. Or, if the ground is frosty, try backlighting your shot, which will make the frost glow. The creative possibilities are only limited by your imagination.
- Make sure you plan ahead. Winter daylight doesn’t last for long so it’s a good idea to have locations already scouted.
How To Photograph Snow
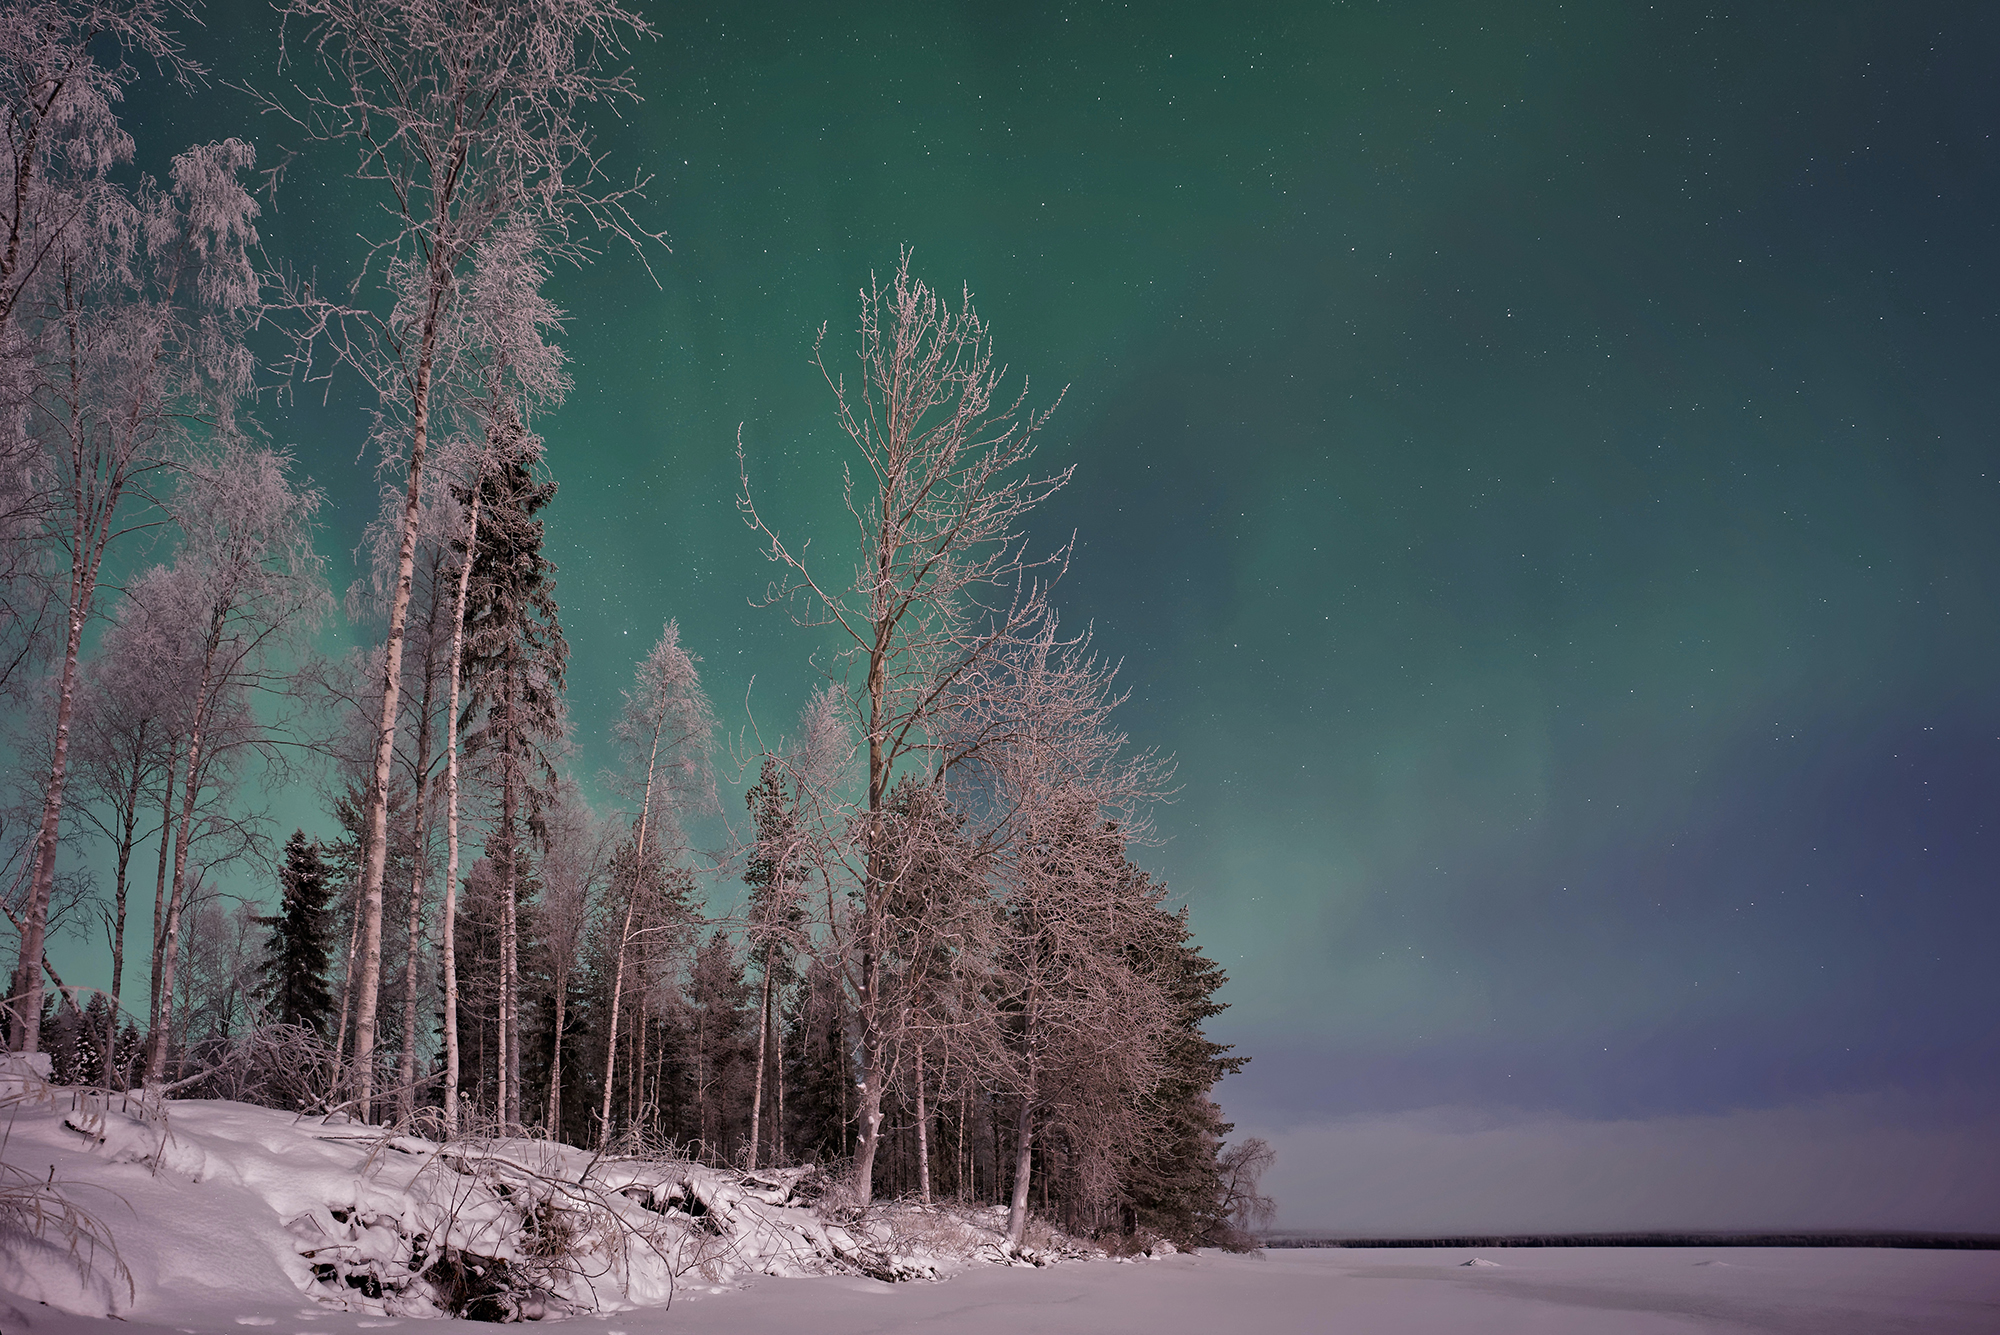
When we mention winter photography, most people’s minds go automatically to snow. Snowy images are the quintessential winter shots, but photographing snow takes a little skill and knowledge.
Why is this? Well, your camera will want to make everything mid-toned and this can lead to problems when shooting snow. Brilliant white snow confuses your camera, and it can lead to under-exposed shots and snow that looks gray in the final image. You’ll need to help your camera out in one of these three ways.
- First, frame your shot and focus. Then zoom in to a bright area of snow in the scene. Using your exposure compensation button, dial in a value between +2/3 to +1 2/3 EV, depending on the brightness of the snow. Take a meter reading, remember the settings, switch to manual, and dial in the new shutter speed and aperture. This overexposure will ensure that the snow looks white, but it won’t blow out other objects in the photo.
- If any mid-tone objects (such as a gray rock or building) are visible in the scene, take a meter reading off these. Setting your camera to these settings will then help it to render the snow correctly. You may have to dial in a little negative compensation (such as -1/3 EV) to stop the highlights in the snow from being blown out.
- Alternatively, you can just use your camera’s histogram to correct exposure. Take a test shot and check the histogram. If it is slightly “humped” in the middle, then just dial in a little positive compensation to add brightness. If the graph appears to fall off in the right-hand edge, then just dial in a little negative compensation to stop blown out highlights.
Use a lens hood when you’re photographing snow, as the brightness of the snow can create a lot of flare that makes images look hazy.
In Conclusion
Winter light can produce magical and atmospheric images. There’s something very evocative about snow, ice and soft light. It’s not necessarily the easiest (or the warmest) time of year to shoot at but the results are worth the effort.
Self-Help Quiz
- Where should you keep your spare batteries?
- What two filters are useful for winter light landscapes?
- Will you need a fast or slow shutter speed if it’s snowing?
- Is f22 a small or large depth of field?
- Should you dial in positive or negative exposure compensation to help your camera expose snow correctly?
