Getting your camera off fully automatic modes is the first step to gaining creative control over your images. Left to its own devices, a camera will inevitably produce a decent basic shot, but it won’t always make the right decision from a creative standpoint. In this guide, I’m going to look at the mode dial and explain what the main functions do, as well as talking about the other modes you’ll find on different cameras.
Here’s what we’ll cover:
- What are camera modes?
- Auto mode
- Program mode
- Shutter Priority mode
- Aperture Priority mode
- Manual mode
- Other camera modes
What are camera modes?
Camera modes allow for the control of the exposure triangle (shutter speed, aperture and ISO) either by the photographer, or fully or partially by the camera. The mode dial on a camera simply gives access to the different camera modes. Camera modes essentially do the job of a light meter, evaluating the amount of light passed through the lens to pick the right exposure parameters for a correctly exposed image.
Auto mode
Auto mode is usually labelled with the word ‘Auto’ on the mode dial. In this mode, the camera controls everything. It’s what most people start out using, particularly if they know nothing about photography. And actually, Auto can often produce perfectly acceptable shots as digital cameras are extremely clever.
The major problem with Auto however is the complete lack of creative control. For example, you might be shooting a portrait and want to blur out a distracting background with a small depth of field (i.e. a large aperture). But your camera has no way of knowing this and may choose settings that don’t create the bokeh effect. In addition, if your camera has a pop-up flash, Auto mode will often employ this to add extra light in. This can lead to fairly garish results!
When is Auto useful? If something happens in front of you and you only have a second to capture it, Auto is your best bet. Sure, the shot might not be technically perfect but it’s better than missing that ‘Decisive Moment’ (as coined by Henri Cartier-Bresson).
Program mode
Program mode, represented by the letter ‘P’ on the mode dial is a semi-automatic mode. Your camera will set the shutter speed and the aperture, whilst you have control over the ISO. This allows you to prevent noise appearing on your image by keeping the ISO low, or gives you the option to raise the ISO, giving your camera more options with the shutter speed and aperture.
It’s not as popular as other modes, probably because controlling ISO is often not as important to your final image as the ability to control shutter speed or aperture. But as well as controlling your ISO, Program mode also allows you to use exposure compensation, meaning you can make add or subtract some exposure in your shot. In addition, you can adjust other camera settings such as white balance, metering mode and whether the camera should use a pop-up flash.
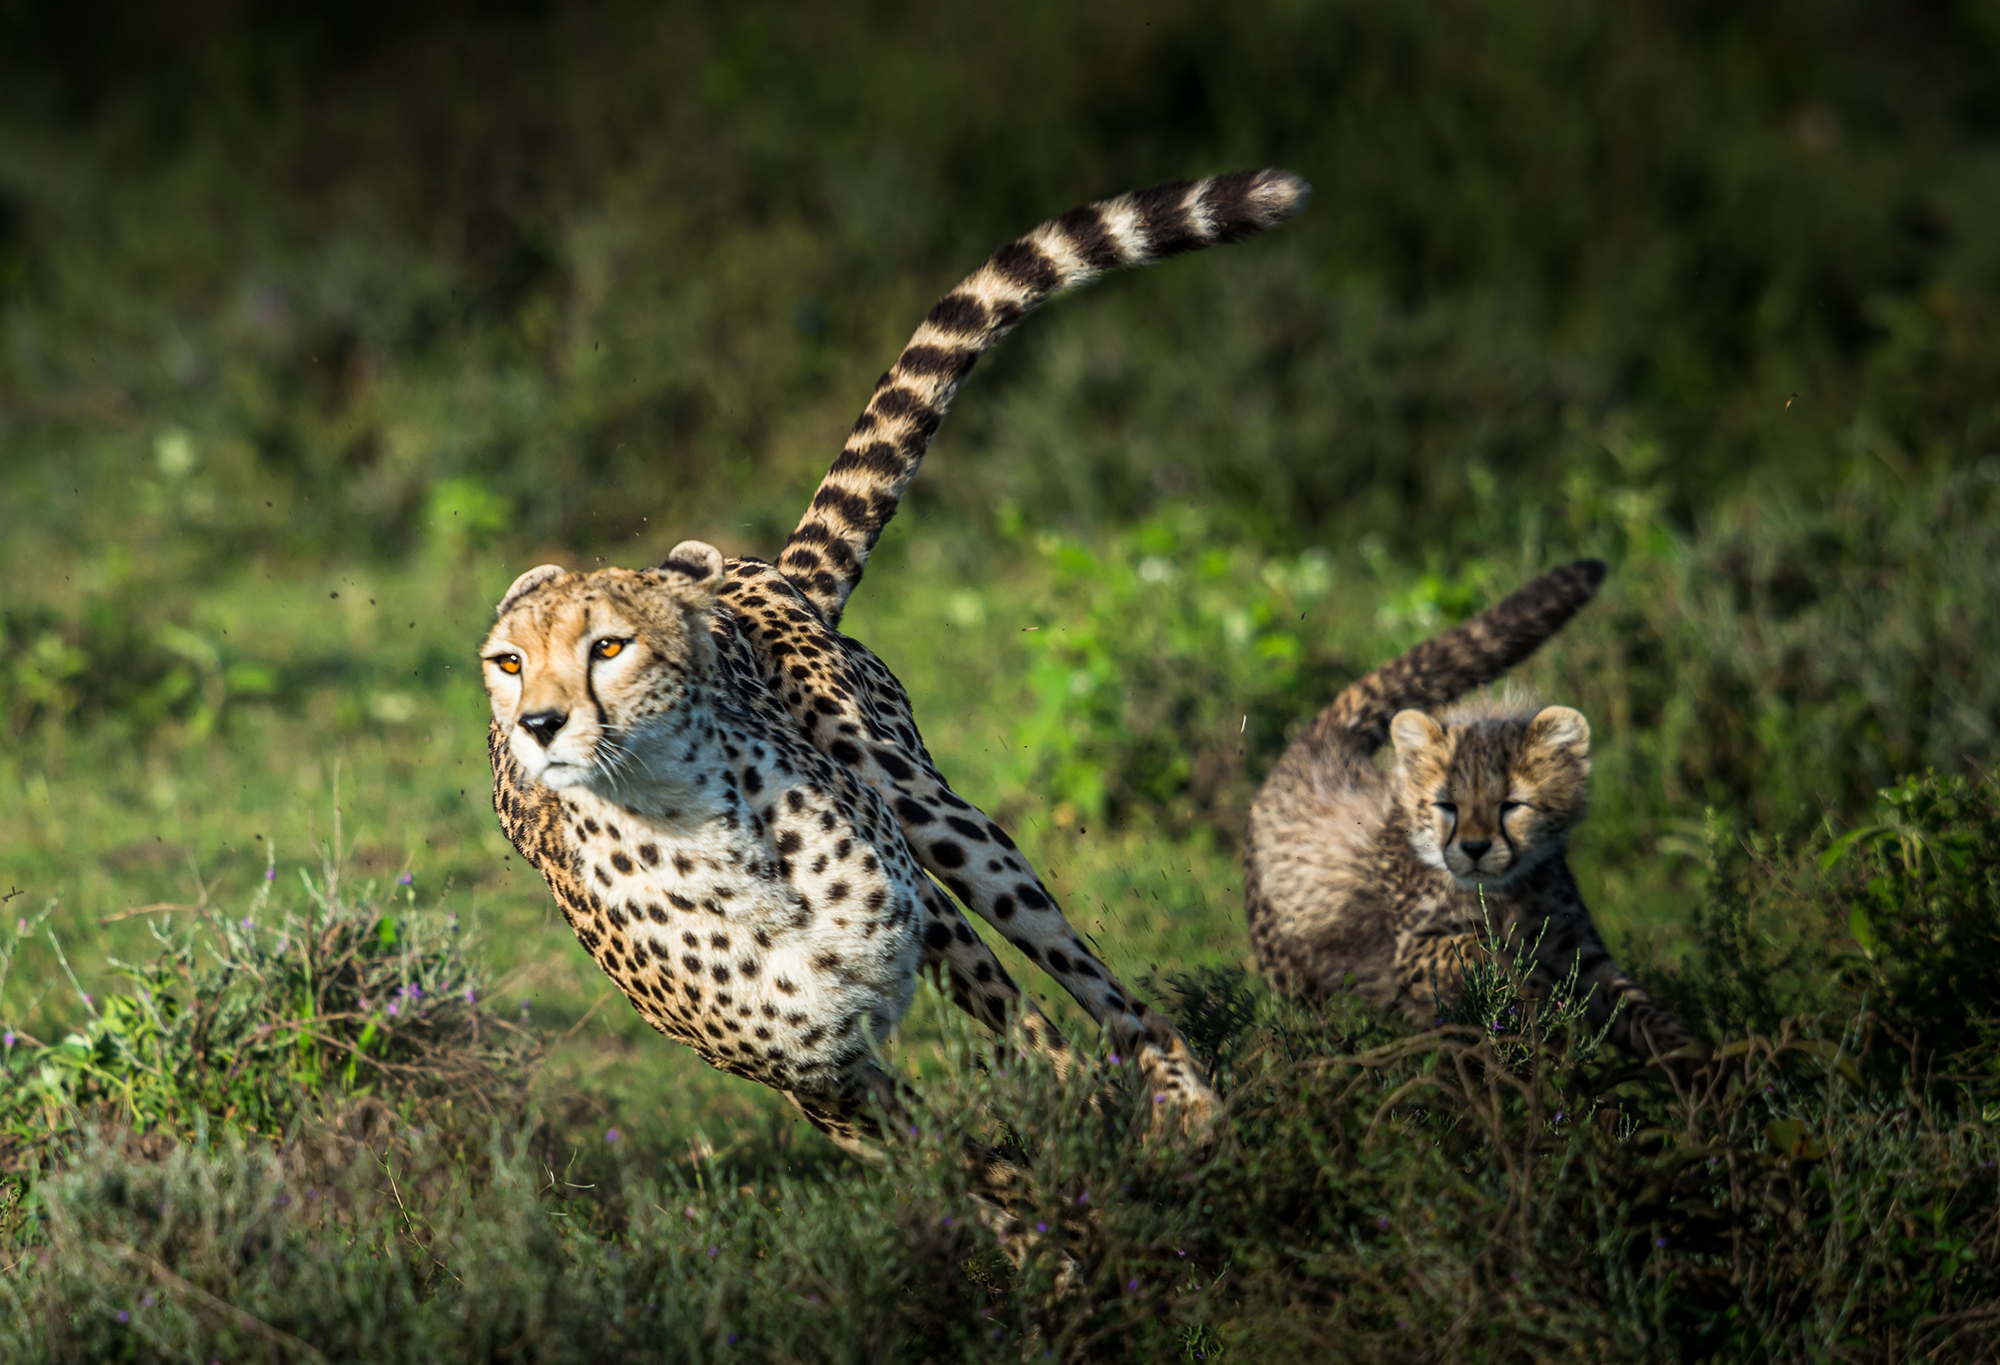
Photograph by Sammy Wong
Shutter priority mode allows you to practice freezing action, such as a cheetah at full pelt.
Shutter priority mode
Shutter priority mode, represented by ‘S’ or ‘TV’ on your camera dial allows you to manually set the camera’s shutter speed, with the camera picking the appropriate aperture to use alongside it depending on the light available. This semi-automatic mode is a great way to learn how to freeze motion or intentionally blur a shot. Here’s a quick guide to what different shutter speeds are used for:
-
1 – 30+ seconds – Night and lowlight photos, using a tripod.
-
2- ½ second – To create an ethereal look on flowing water.
Landscape photos to add an enhanced depth of field.
-
½ - 1/30th second – To add motion blur to the background of a scene.
-
1/60th – 1/100th second – Hand-held photos without a large telephoto.
-
1/250th – 1/500th second – Freezing sports / action shots.
Hand-held photos with a large telephoto.
- 1/1000th – 1/4000th or 1/8000th second – Freezing fast / up-close motion shots.
While you set the shutter speed, your camera will open up the aperture if there isn’t enough light or close it down if there’s too much light. What’s the issue with this? Well, in this mode you have no control over depth of field (which is controlled by your camera’s aperture). You can also run into problems caused by the lens you’re using. If you set your shutter speed to a very high setting, say 1/4000th your exposure will be limited by the speed of your lens. If, for example, the maximum aperture of your lens is f4 but there’s not enough light, shooting at 1/4000th of a second will give you an underexposed image.
Having said all this, I still think this is a great teaching mode – particularly for learning to freeze fast moving objects, which is a tricky skill to master at the best of times!
Aperture priority mode
In aperture priority mode, you manually set the camera’s aperture, while the camera picks the right shutter speed to correctly expose your image. Aperture priority mode is represented by ‘A’ or ‘AV’ on your mode dial.
A lot of photographers use this mode, which allows you to control depth of field and subject isolation within an image. Depth of field is, in my mind, one of the most important aspects of photography. Using the right depth of field in an image is what makes or breaks a shot. It’s no good trying to shoot a single person in a crowded scene without using a small depth of field to blur the background, isolate them and make them ‘pop’ out of the shot. And, by the same token, shooting a landscape without a large depth of field would generally be a bad idea!
Key Lesson: What is depth of field? Put simply, it’s a range of distances around your subject (known as the focal plane) that are in acceptable sharpness. There’s no abrupt change from sharp to unsharp – depth of field occurs as a gradual transition. So, how do we tell whether our shot is going to have a small depth of field (very little behind the subject sharp), or a large depth of field (all of the photograph is sharp)? In complete reverse to aperture, a small number (e.g. f2) is a small depth of field and a large number (e.g. f22) is a large depth of field (f2 is a large aperture, whereas f22 is a small aperture).
The added bonus of aperture priority mode is that there’s little risk of under or overexposure. However, do be aware that if your camera picks a shutter speed lower than 1/60th of a second you’ll need a tripod to ensure your shot is sharp and doesn’t suffer from camera shake.

Photograph by Marie-Michèle Bouchard
Aperture priority mode gives you control over depth of field, allowing for subject isolation by using a small depth of field to blur out a distracting background.
Manual mode
Manual mode, represented by ‘M’ on the mode dial, gives photographers full control over the exposure triangle. In this mode, the photographer can choose whether they want a fast or slow shutter speed, small or large depth of field and a low or high ISO.
Manual mode is the mode I use most of the time, as I appreciate having full creative control over the look and feel of my images. But it’s also the best mode to use when you’re working in tricky lighting conditions or have lots of highlights and shadows to deal with. Lighting conditions or scenes that might trick a camera’s meter are best shot in manual, so you can instruct the camera on the look you want.
Other camera modes
As well as these main modes that you’ll always find on a mode dial, different manufacturers include a variety of other modes on the dial. Whilst by no means comprehensive, these are some of the most common you’ll find.
- Video – Most digital cameras have the ability to shoot some form of video as well as stills and you’ll generally find video included on the mode dial for an easy switch.
- Bulb – The Bulb setting allows photographers to choose how long they leave the camera shutter open for.
- Custom – Many cameras allow you to save your favourite settings under a Custom button for quick access. Some manufacturers place this on the mode dial.
- Auto Scene Modes – DSLRs include auto scene modes, represented by symbols, that are shortcuts to achieve certain styles of photography. These include things such as portraits, landscapes, sports and night mode. In my view they are somewhat limited as they have fairly strict parameters and don’t allow for much creativity.
- Panorama – Allows photographer to shoot a panoramic image by compositing the images.

Photograph by Clarisse Meyer
Bulb mode allows photographers to choose how long the shutter is open for, which can be particularly useful when shooting at night.
In conclusion
Understanding the functions of the mode dial is a basic but vital skill. These settings are a quick way to change how your camera behaves, as well as a good teaching tool for when you’re starting out.
Self-help quiz
- What does the exposure triangle consist of?
- Which of the three elements of the exposure triangle does Program mode allow you to control?
- What would you use a shutter speed of 1/1000th of a second for?
- Is f2 a small or large aperture?
- Is f2 a small or large depth of field?
- What does the Bulb setting do?
Photograph by Daniela Cuevas